
Jump to section
Method 1: Using the "Add Content" menu
-
- Navigate to and open your website's folder through the Site Content panel
- Within your website's main folder, open the folder in which you want to create the Page by clicking the side arrow ( > ) that appears next to the folder's name when you hold the cursor over it
- In the example below, we chose to place the Page in the "abp" site's "descriptions-pages" folder
- In the top-left corner of the Page, select: Add Content > [Your Website] > Secondary Page (it may also say "Page")
- Note: If you do not see your website in the "Add Content" menu, or if you do see your website yet don't see the particular document type you want to create, then you can ask itweb@jmu.edu to set that up for you. If you do not want to have this set up for you, you may use the "Copy _blank-page" method below.
- Note: If you do not see your website in the "Add Content" menu, or if you do see your website yet don't see the particular document type you want to create, then you can ask itweb@jmu.edu to set that up for you. If you do not want to have this set up for you, you may use the "Copy _blank-page" method below.
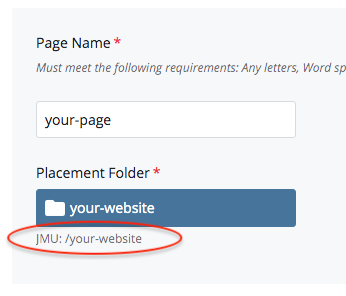
- Name the page and choose a placement folder
- Click "Submit"
When to use the "Add Content" method: You will use the "Add Content" method because it is the easiest and quickest way to create a Page, as long as itweb@jmu.edu has already configured the appropriate options for you to do so.
In this method, you copy an existing "_blank-page" document within your website's "_blocks" folder, creating a new page elsewhere on your website.
- In the Site Content panel, navigate to your website's folder
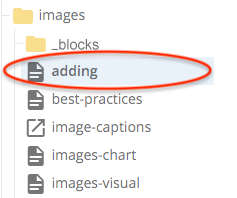
- Within the folder you want to create a page in, click on its "_blocks" folder
- Right-click on "_blank-page"
- If you do not have a "_blank-page" file, contact itweb@jmu.edu, and they will set it up for you
- Click "Copy"
- Name the page and choose the placement folder
- Click "Copy"

When to use the "Copy _blank-page" method: You will use this method if you would like to set up several different Page templates (for example, if your site has different footers on each page). In this case, you would create multiple "_blank-page" files rather than ITWeb creating a new "_blank-page" for you each time you want to create a new template.
The three fields that are important to understand when naming a page are:

Page Name
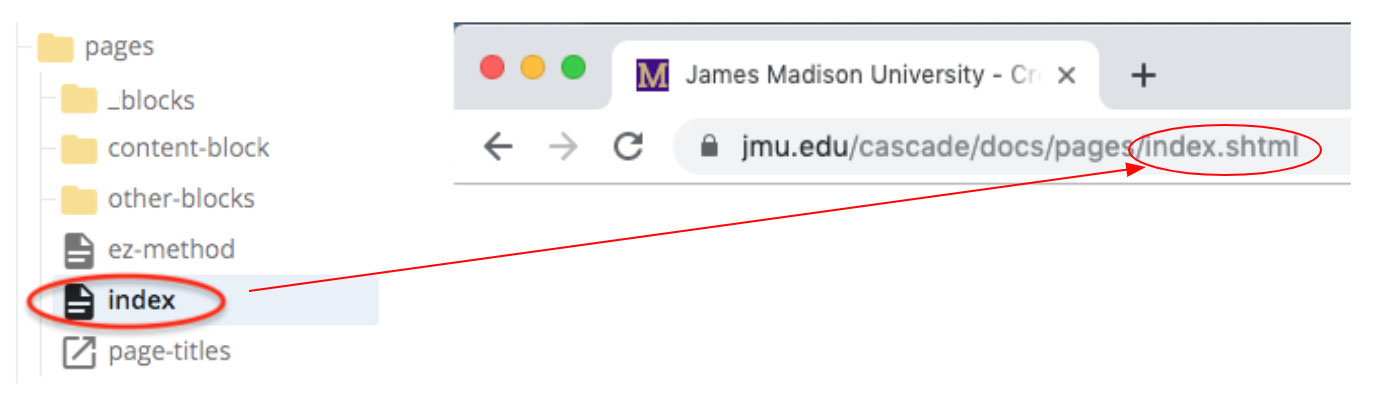
The "Page Name" is the name that will appear in the Site Content panel and becomes the address/URL of the page. In the example below, "index" is the page name. Notice how this is what appears in the location bar of a web browser as the page's URL.
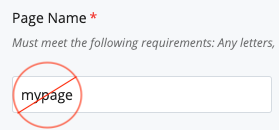
- Make your page name so you (and Google) can understand what the contents of the page are. For example, "mypage" is not a good page name, since it does not indicate the contents of the page. The only exception is the page name "index," which should be the "main page" in every folder. Only in that case is it ok for the page name to not describe the content in the page. For more on the special properties of "index" pages, read the section on "Index pages" below.
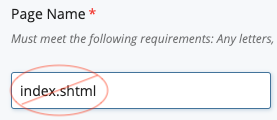
- When the page is published, a ".shtml" extension is put on the end. For example, if your page name is "index", that page will be "index.shtml" on the webserver. In other words, you do not need to name your page "index.shtml" because then the URL would appear as "index.shtml.shtml"
- Your Page Name should not be the same as the Display Name or Title. For example, if the page name is "index," yet the page is your homepage, the Title and Display Name should definitely not be "Index"; it should be descriptive of the content on the page. See "Index Pages" below to learn more about the special properties that pages named "index" have.
- Here are some best practices for naming your files in Cascade:
- Use human-readable words (Google uses this, and it helps us to know what the page contains without opening it in Cascade. The only filename that is ok to be non-human-readable is "index" - but that is ok because it is a convention well known by Google. It will use the meaning of its parent folder for context, which makes it important for folder names to be human-readable!)
- Use all lowercase letters (Prevents unnecessary redirects on the webserver and SEO confusion over what the canonical url is)
- If multiple words are needed, separate by dashes (Google likes dashes, and it looks more professional to have consistency across the site)
- Examples:
- GOOD: /my-site/clubs-organizations.shtml
- BAD: /my-site/clubs_organizations.shtml (underscore not as good as dash)
- WORSE: /my-site/clubsorganizations.shtml (no word separators)
- EVEN WORSE: /my-site/tempFINAL3.shtml (no semantic meaning, mixed caps, and just never say something is "final" because it never is :)
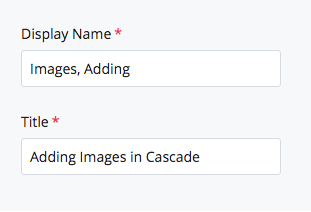
Display Name
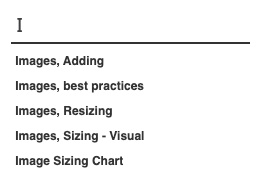
The "Display Name" is the visible Heading 1 that displays at the top of a page. It is also used in breadcrumbs and your Sitemap (if you have one).
Note: Choose your Display Name carefully for index pages. An index page's Display Name is used as the breadcrumb label for the whole folder and will appear on every subpage within it.
Title
The "Title" is a page title that is unique to your specific page and will be used by search engines. You will want to be very specific when creating your Title so that search engines can distinguish between pages in search results.
An Example: Page Name, Display Name and Title
The "Student Employment" page on the CEVC site is an exellent example of properly using Page Name, Display Name, and Title:
Page Name: The Page Name, found in the Site Content panel, is simply "student-employment" because it is a concise way of describing the page and makes it easy for you to identify that page's contents.
Title: The Title of the page is "Community Engagement and Volunteer Center: Student Employment," which is descriptive of the page's content. It is also unique enough to be helpful for search engines and not be confused with student employment pages in other areas.
Display Name: The Display Name is "Student Employment" is more consice than the Title. This Display Name appears at the top of the page as the visible content title and is used in CEVC's sitemap.
Every folder must have an index page that serves as the "homepage" for that folder of content. Here is an example of an index page:
https://www.jmu.edu/cob/accounting/index.shtml
Index pages have two primary functions:
-
Index pages display automatically for a folder when users only specify the folder in the location bar of their browser. For example, if users wanted to go to the Accounting page within COB's website but did not type "https://www.jmu.edu/cob/accounting/index.shtml" and only typed "https://www.jmu.edu/cob/accounting" into their browser, then the server would automatically display the index page in the cob/accounting folder. Another example is the JMU homepage. Nobody really types "https://www.jmu.edu/index.shtml", but that is the page that shows when people type "https://www.jmu.edu/" — the webserver automatically displays the index page when no page within a folder is specified in the URL.
-
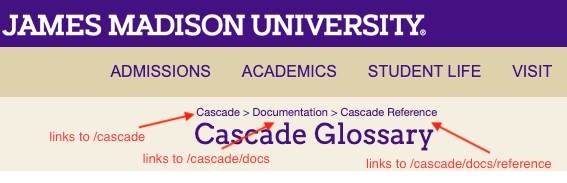
Index pages and organized folder structures allow users to use Breadcrumbs to navigate through your website. Each link within Breadcrumbs links to each level of folders in your site; therefore, if you do not have an index page within each folder, then no breadcrumbs will be displayed. Having a page named "index" in each folder will make sure these breadcrumb links appear and go to a homepage for that folder, providing the visitor with additional ways to explore your website.
Placement Folders
Placing your page into folders help you keep them organized and quickly accessible, but it is easy to accidentally misplace pages and other files. Be sure to place your page in your website's folder and then the appropriate subsequent folder(s) by browsing through Cascade's files if the placement folder is not already in your recent searches.
Note: Although how websites are organized will vary, new pages should NOT be placed in "_blocks" folders since those folders are reserved for blocks only.
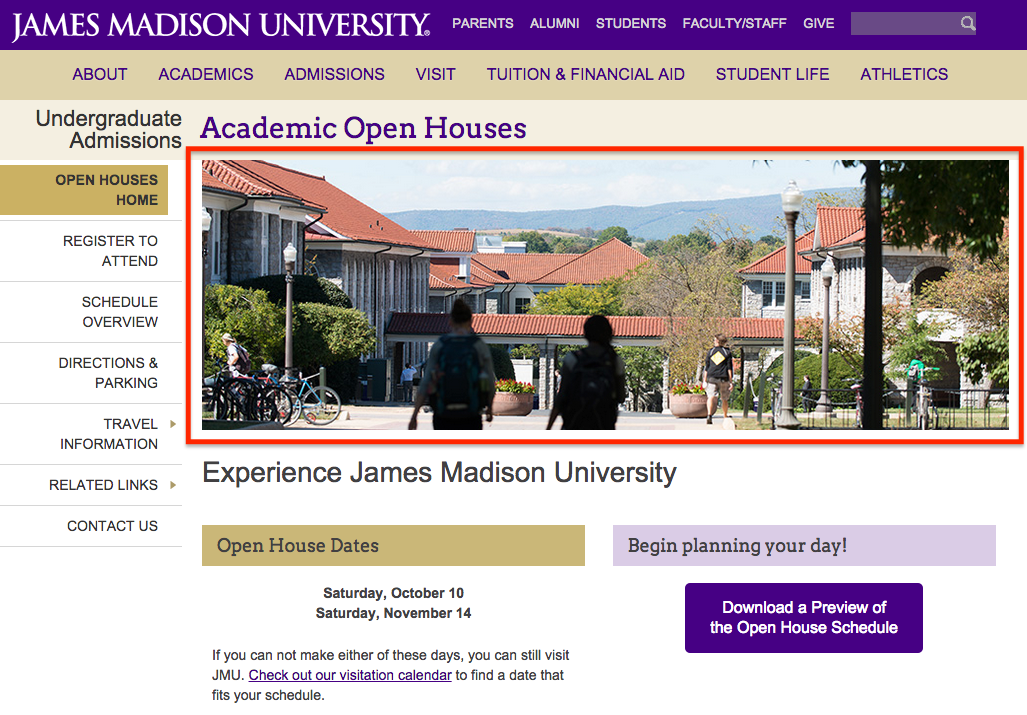
Adding Feature Images
Feature images are full-width images that appear at the top of a webpage, like in the example below:
To insert a feature image to a page, follow these steps:
- On a page, click "Edit" in the top toolbar
- Check the "Yes" box under "Use a feature image?"
- Click "Choose File"
- Upload an image
- Option 1: upload an image that is 820px wide by 273px high with a resolution of 72dpi (recommended file format is .jpg with a quality of 8)
- Option 2: browse _images/_features
- Click "Ok" and submit changes
Note: If there is a slideshow on the page, you will have to remove the slideshow to display the feature image. If you want a slideshow, see adding and editing Slideshows.
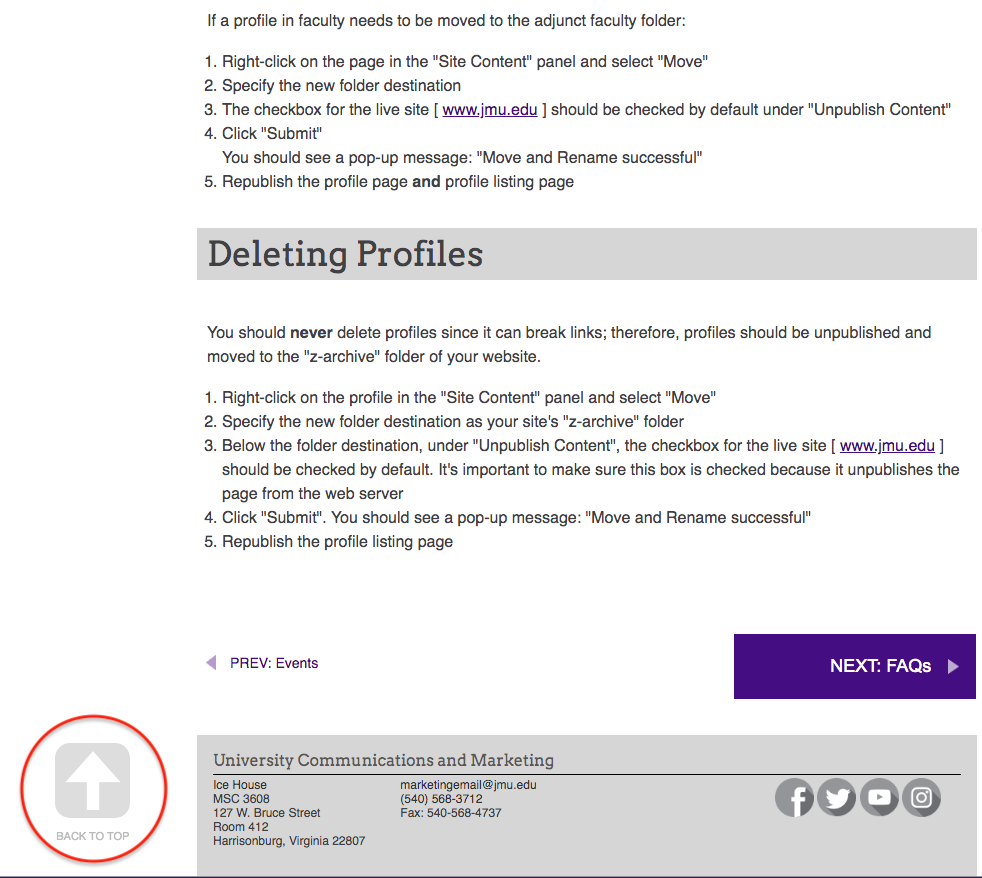
Adding "Go To Top" Icon
"Go To Top" icons are useful for pages with a lot of content. Here is what a "Go To Top" icon looks like on a page:
Follow these steps to add a "Go To Top" icon:
- Click "Edit" in the top bar of a page
- In the "Content" tab, scroll down and check "Yes" to apply a "Go To Top" icon
![]()
Note: This icon appears automatically on long pages at mobile screen sizes
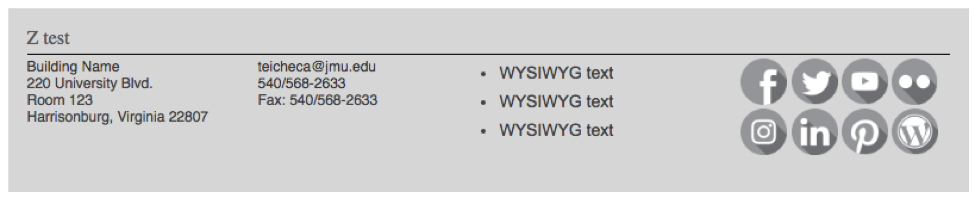
Displaying Your Departmental Footer
Your departmental footer displays your department's information. This footer will be set up for you by ITWeb, but you can hide or show this gray footer on your pages by following these steps:
- Click "Edit" in the top toolbar of a page
- In the "Content" tab, scroll down and check or uncheck the "Use in-page-footer" box
The gray footer containing your contact information will appear at the bottom of the page if it is checked:
If a departmental footer is displaying incorrect or generic information, contact itweb@jmu.edu for assistance.

