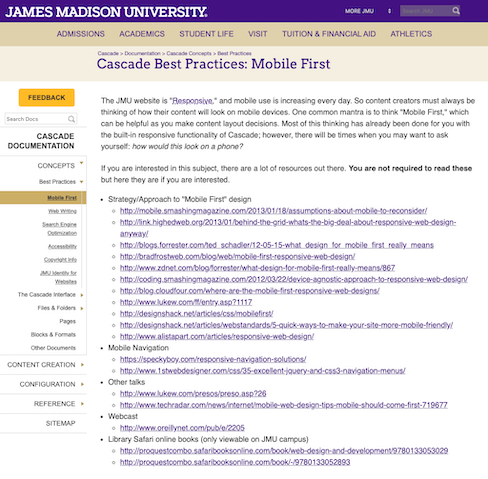
With EZ pages, you only have one column of content in which you can only insert text, images, and links. They are also very quick and "easy" to create. Later in this documentation, you will learn how to create pages with more than one column of content. Here is what an EZ page looks like:
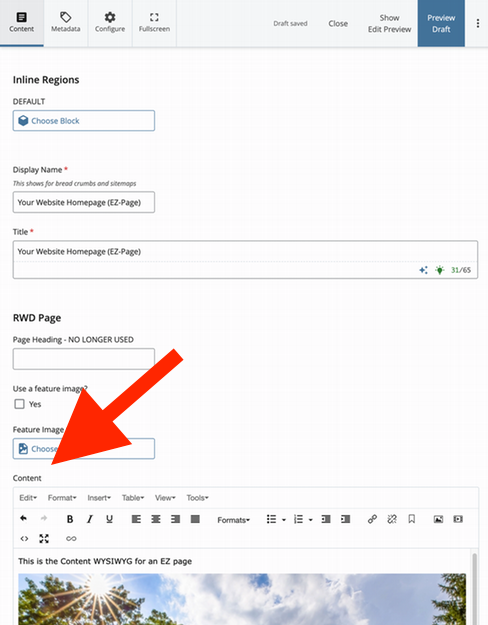
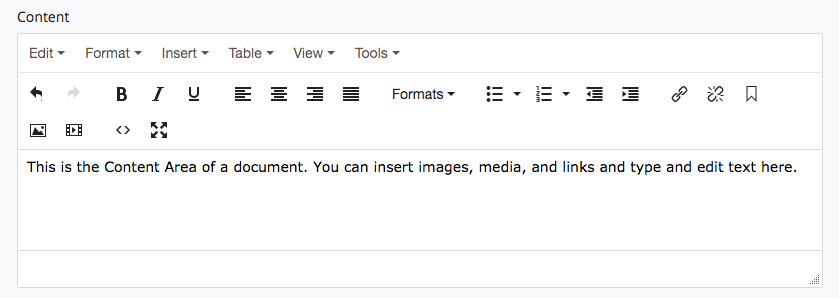
How do you recognize an EZ page from within Cascade? When you click the "Edit" button you will see a "Content" WYSIWYG field as shown here:
If you do not see that, you may be working with a "Built-in-Multi-block" page which when you click the "Edit" icon, will look like this, with a "RWD-widget-v2" heading at the top. This is merely a built-in multi-block (more on multi-blocks later):
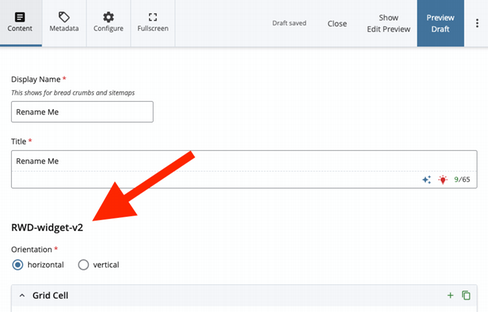
So if you see that, you can refer to the Built-In Multi-Block documentation.
- In the top toolbar of a page, select: Edit > Content tab
- Add/edit content in the "content" field
Fixing small text on a page
Sometimes when text in the Content Area is saved and submitted, its font is very small, like in this example:

To fix the font, return to the Content Area, click your cursor at the end of the text, and press enter. By doing so, you will change the text to act as a paragraph, which has different styling.

Pro-Tip: Line Breaks
When you press Enter in a WYSIWYG Content Area, Cascade will automatically add a paragraph break to the text, but you may not want that extra spacing if you are making lists without bullets or numbers. If you want to add a line break in between text without Cascade automatically adding a paragraph space, follow these steps according to your computer:
- For Macs: Hold Shift + Return
- For PCs: Hold Shift + Enter
Images in an EZ Page's Content Area are not responsive, which means they do not shrink dynamically as screen size shrinks. For example, if you put a 820px wide image in this content area, it will stay 820px wide.
If you want to add an image in this content field, it must either:
- Be 310px wide to work at the smallest mobile resolution, OR
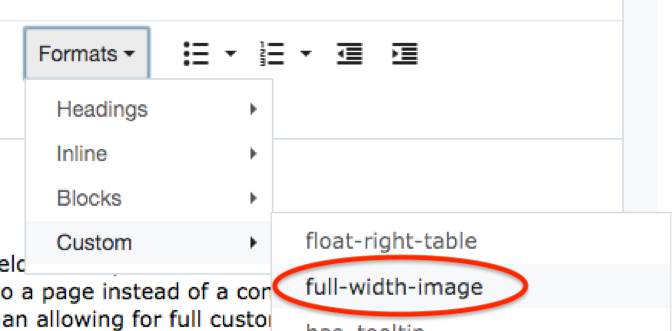
- Have a "full-width-image" format applied to allow the image to shrink down for smaller resolutions.
- To apply this format, select the "full-width-image" option from the "Formats > Custom" dropdown when adding or while editing an image to make the image full width.