
In addition to heading styles, another feature you can add to pages is links. You can add a link to an image or text so that it will navigate to another page when clicked. In this tutorial, you will learn how to create links.
Links can be applied to text or images; they have the option of linking to pages in your website (internal) or outside of your website (external).
To add a link:
- Select the content (image or text) from a content field
- Click the Insert/edit link icon
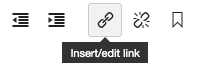
- On the pop-up window (see screenshot below), choose internal or external link:
Internal Link: (PREFERRED)
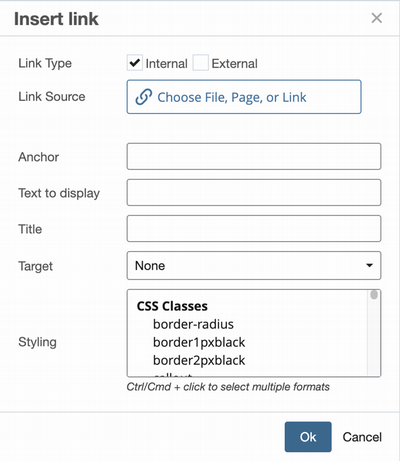
- Click the "Link" field and navigate to the page within your website that you want to link to
- Note: Use this option for all links to pages within your website or pages you can access in Cascade. Why? If the linked page is moved or renamed in the future, the internal link will be preserved, and your website won't have a broken link.
External Link:
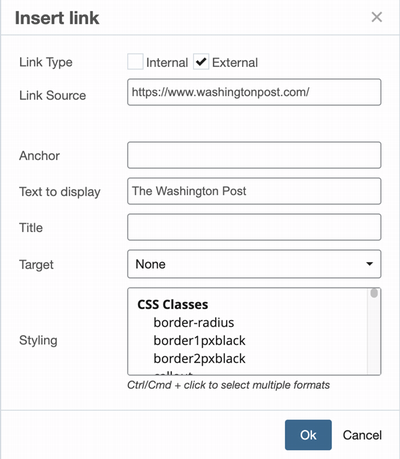
- Copy the URL (for example, "https://www.jmu.edu/some/page.shtml" or "https://external.website.com/") and paste it in the "Link" field
- Note: Email links should be external and have "mailto:" before the email address, with the Target field set to "None".
IMPORTANT: When you enter an external link, the "Link" field will already have "https" as a way of preventing broken links. If you add a link that begins with "http", a warning will pop up to remind you it should be "https." If you are certain that the website does not support "https," then you may disregard the warning.
4. Fill in other fields as necessary:
- Anchor: Anchors allow viewers to scroll automatically to a specific place on a page. If desired, add an anchor to a link.
- Text to display: The text to display is the text that appears in place of the URL. It is a best practice to be specific and descriptive with link text. Instead of saying "Click here", try more descriptive link text, like "Apply to the Honors College."
- Title: The title can provide additional text that describes the link. In most cases, this is unnecessary since the "Text to display" should be serving that purpose.
- Target: Target refers to which window the link will open in when a user clicks on it. If you select "None", the link will open up in the same window (this is recommended). If you select "New Window," the link will open up in a new window, which makes it more difficult for users to manage your website because they would have to click between two or more tabs or windows.
- Styling: You can add custom text styles to a link. For example, select "purple-button" from the dropdown to create a purple button link.
5. Click "Ok"
Anchors allow viewers to scroll automatically to a specific place on a page. For example, if you have a very long page with several headings, you could create a few links at the top of the page that correspond to the headings below. If you set up the anchors and links correctly, it will scroll the page down to that heading when users click the link. This page uses anchored links at the top. When you click "Anchors" at the top of this page, it scrolls down to this section. Try it!
An anchor's terminology can get confusing, so it's important to understand a few terms first. There are two things that have to be set up in order for an anchor to work:
- The anchor link (the thing that will be clicked on)
- The anchor target (where the link will go when clicked)
Adding an anchor link
In your page, add the link by following the directions above, but in the "Insert link" pop-up, you will see an "Anchor" field. This is where you specify an "anchor id" that will be shared by the anchor link and the anchor target.
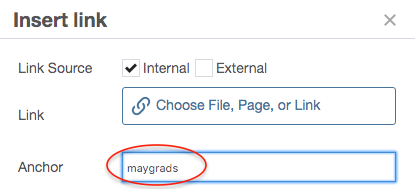
- Select "Internal" and choose the page that has your anchor target (or will have it if you haven't set it up yet).
- Type your anchor id. In this example, it is "maygrads." If you haven't already set up your anchor target, you will have to remember this because you will have to specify this same anchor id on your anchor target.
Now you have created your link. You must now create the anchor target (the place you want your link to go). There are two methods for adding anchor targets:
Method 1: Adding an anchor target to the top of a grid cell
Multi-block grid cells have a field called "Grid Cell Anchor," which allows for you to specify the top of a grid cell as the target of an anchor link. In this example, the anchor id is "maygrads".
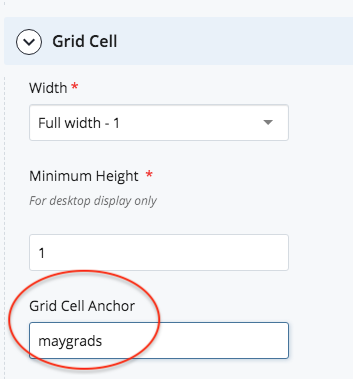
So now we have a grid cell with an anchor target of "maygrads". If a link is set up to this grid cell's page with an anchor id of "maygrads", the page will instantly scroll down to the top of this grid cell.
Method 2: Adding an anchor target within a WYSIWYG content field
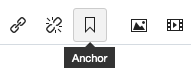
If you want an anchor target to be in the middle of a grid cell, or if your anchor target isn't in a multi-block grid cell, you can set up an anchor manually within a WYSIWYG content field. Simply select the text or image that you want to be the link and click the "Anchor" button in the content field's toolbar.
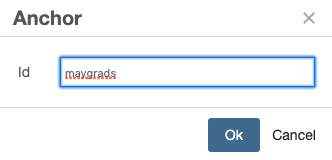
Then specify the same anchor id that you specified when generating the anchor link.
Buttons are links with a special class added to them. You have the option of either yellow, purple, or light-purple buttons.
Here are examples of buttons:
To create a button:
- In a WYSIWYG content field, type the text you want to appear on the button.
- Select the text in the content field, and then click the "Insert/edit link" icon in the toolbar (looks like a chain link).
- Specify your internal or external link.
- In the Styling dropdown, select "yellow-button", "purple-button", or "purple-light-button".
- Click "Ok".
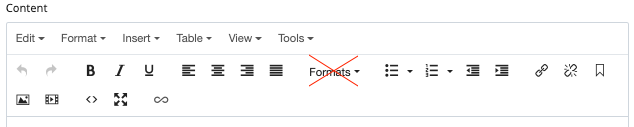
NOTE: Do NOT use the Formats dropdown in the toolbar to apply the "yellow-button or "purple-button" format to a link. Using this dropdown menu may prevent your button from being center aligned.
- Buttons are reserved for "Calls To Action" (CTAs) which are the main thing you want a user to do on your page. They should NOT be used as regular links.
- Button text should be limited to 3 words or less - or else it isn't recognizable as a button
- There should be only one button per page. In rare cases, there could be two, and if that is the case, they should be different colors (one yellow, one purple).
- Avoid grouping multiple buttons together.
- Don’t have more than one yellow CTA button on a page.
Links to "Give" can often be long and confusing. For example:
https://give.jmu.edu/campaigns/50710/donations/new?designation=abc123
Specifying these long urls is error prone, and we want to have all give links go through a centralized redirect since the form resides on another system so we recommend specifying give urls like this:
https://www.jmu.edu/give/now&designation=abc123
Notice the two parts to this url:
- The "Base" (in red): https://www.jmu.edu/give/now
- The "Designation" (which is the fund ID, in green): &designation=abc123
Note: we still support the iModules give links, with "dids" in the url. But all new links should use the designation number. If you want to know the designation number for a fund, please contact giving@jmu.edu
All you have to do is copy the above sample URL and replace the number with your own designation number.
It is recommended to have give links be a button such as the following:
See the directions above for creating button links.

