If you are on a Built-In Multi-Block page, you will most likely not need to worry about "wiring" Multi-Blocks to your page, unless of course the built-in Multi-Block content isn't enough, and you need to create additional Multi-Blocks to meet the content needs of your page. Or if you want to share multi-blocks with multiple pages, you will need to wire each multi-block to each page. Continue reading if either of these cases apply to you.
Once you have created a multi-block, you will need to add, or wire, it to the page(s) for which you created it. But first, let's define the concepts of "Regions" and "Formats".
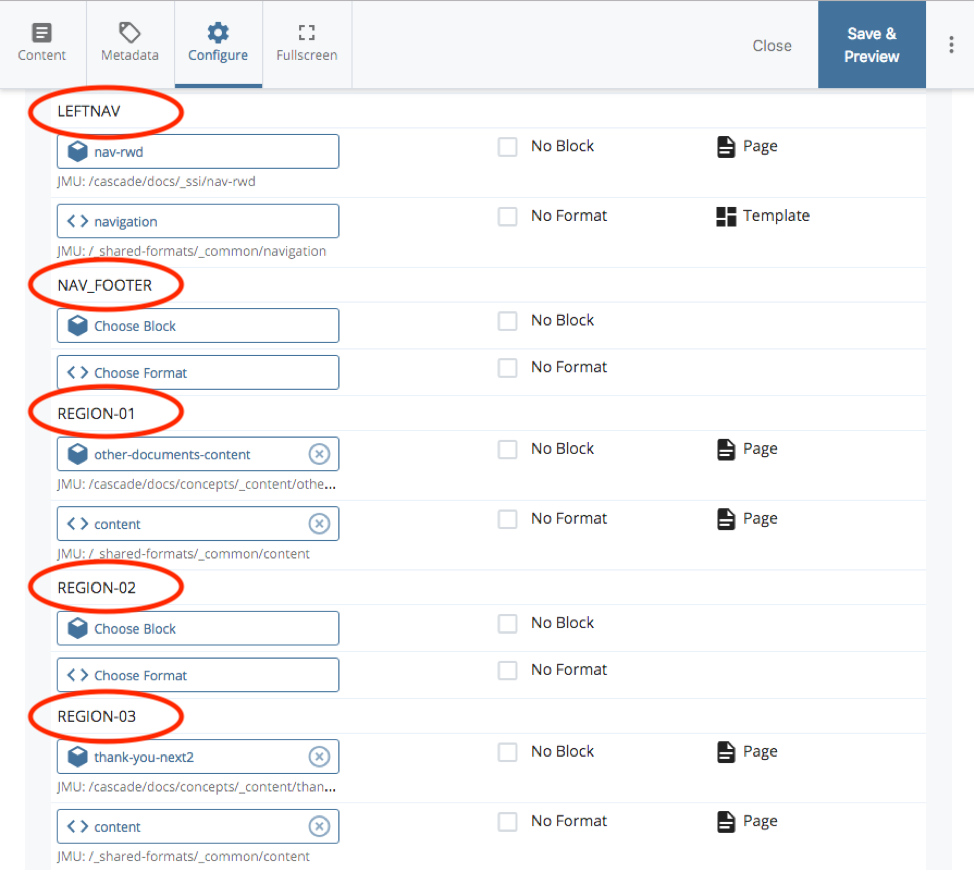
Cascade provides a list of places in which you can connect, or "wire", multi-blocks to pages. In the example below, you can see the regions for LEFTNAV, NAV_FOOTER, REGION-01, REGION-02, and REGION-03. You will only be concerned with adding content in the "numbered" regions, such as REGION-01, REGION-02, etc. If you want to wire any content block to something other than a numbered region, ask ITWeb for help.
"Formats" tell Cascade how to display "Block" content on a page. The block contains all the data to be displayed, and the format "formats" that data. The content in a block cannot be seen on a page unless a "Format" displays its content. "Formats" are already created by ITWeb and many commonly-used ones are located in the /_shared-formats folder.
Step 1: Add multi-block to a Region
- Navigate to the page where you want to add the multi-block
- In the top toolbar of the page, select: Edit > Configure tab
- Scroll down to find the numbered Region you want to add content to
- Note: The regions are in alphabetical order; scroll down to "R" to find the numbered Regions
- Select the Region to display content in (see Pro-Tip for a helpful tip on Regions)
- Click "Choose Block". In the window that appears on the right-side of the screen, you will see three tabs: Recent, Browse, and Upload.
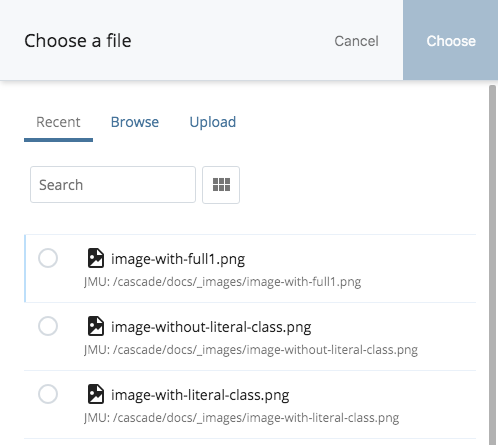
- Click "Browse" and then select the following folders: JMU > [your-website] > [folder] > _blocks > [your-multi-block]
- Click the "Choose" button

Pro-Tip: Regions
Select a region other than REGION-01 to add your multi-block into. You may want to wire another multi-block to the page in the future and have it appear before the current multi-block on the page; therefore, by wiring the current multi-block to, for example, REGION-02 or REGION-03. Therefore, you will avoid having to rearrange blocks between regions in the future.
Step 2: Add a format to your region
- In the same Region, select "Choose Format"
- Choose the content format by selecting: Browse > JMU > _shared-formats > _common > content
- Note: To save some time from browsing, you can use the "Recents" tab. Throughout the rest of the Cascade Documentation, you will notice certain blocks and formats are linked, just like the content format above is. Before you click "Choose Block" or "Choose Format", click the block/format link; by viewing the block or format, it will then appear at the top of your "Recents" tab. Go back to the region you are wiring a block/format to, click "Choose Block" or "Choose Format", select the "Recents" tab, and choose the appropriate block/format you opened in the other tab.
- Click the "Choose" button
- In the verticle ellipsis, select "Check Content & Submit"

You may decide you want to remove a multi-block from a Document. To do so, follow these instructions:
In the Configure tab:
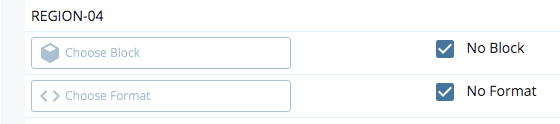
- Locate the Region that contains the block and format you want to remove
- Check the box next to "No Block"
- Check the box next to "No Format"
- In the vertical ellipsis, select "Check Content & Submit"