
If you are reading this documentation sequentially, you haven't yet learned about "Multi-Blocks", but don't worry, you will later. The purpose of the documentation on this page is to teach you how to recognize whether or not you are editing a "Built-In Multi-Block" page, or if you are editing an "EZ-Page" (which you just learned about).
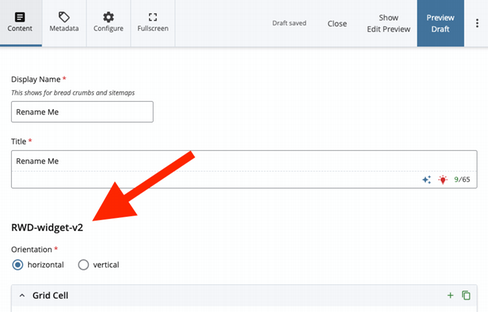
You'll know you are in a "Built-In Multi-Block" page if you click the "Edit" icon and you see this:
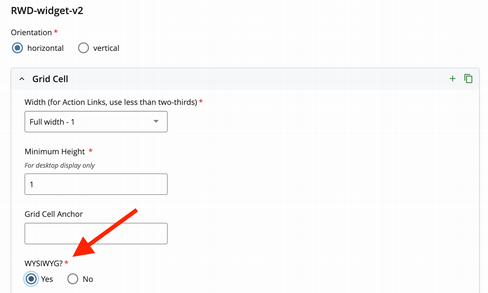
This allows you to create a page with multi-block power directly from the Edit screen without having to create separate multi-block files and then wire them up! If you don't want to get fancy, and just want to have a simple one column page (like the EZ page) then all you have to do is select "Yes" for WYSIWYG of the first Grid Cell as shown here:
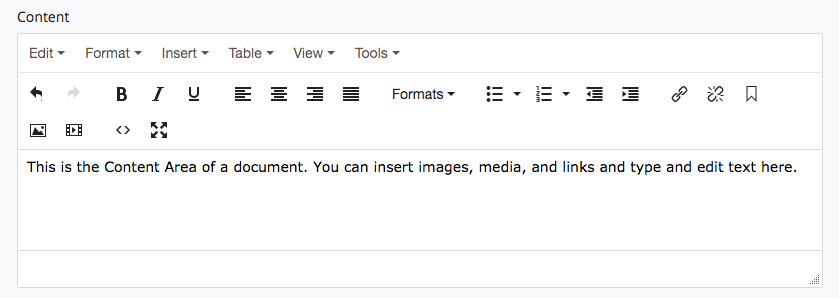
Then you'll see the familiar "Content" field:
If you want to get fancier than that, you can see the documentation for all the different multi-block options. But we will get to that eventually if you want to follow the documentation sequentially.
If you want to have a "Feature Image" at the top of your page, like in the other style (without the built-in multi-block) then all you have to do is insert the image into the first WYSIWYG grid cell. Just make sure that the dimensions of the image are the dimensions of the "Feature Image"
Also, if you want to wire multi-blocks to the page that are also wired to other pages (ie share content between pages where you only have to edit one multi-block and publish its relationships) you can still do that in a Built-In Multi-Block page by wiring multi-blocks to regions. More on that in the wiring documentation.

