
These instructions are for on-campus, JMU-owned (or personally-owned) computers which are not joined to the JMU Active Directory Domain environment
If your computer is in the Active Directory Domain environment, drive mapping will be an automatic process upon logging into your machine.
Off-campus computers connect and access files utilizing two-factor authentication through JMU’s SSL VPN service.
Configuration Instructions
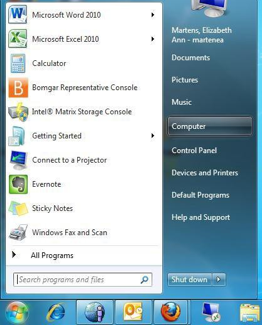
- Click on the Start Menu (The flag on the bottom left of your screen) and left click on Computer.
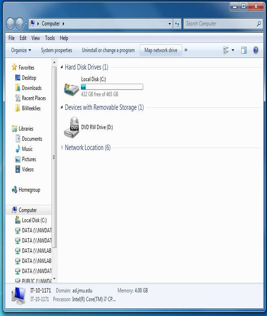
- In the menu bar, select Map Network Drive
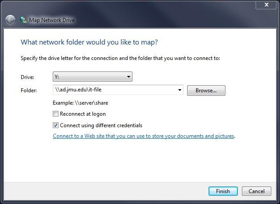
- Another box will appear. Select a drive letter to map, Y is selected here as an example. In the folder path, type: \\ad.jmu.edu\it-file
Verify that Reconnect at logon is unchecked.
Verify that Connect using different credentials is checked
Click Finish.
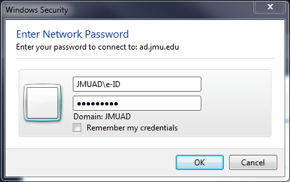
- Note: You may see a log- on box asking for your credentials. Enter JMUAD\e-ID and your password.
- The next screen now shows the drive mapped to Y:\
All folders will appear, however you will only be able to open the ones to which you have access rights.
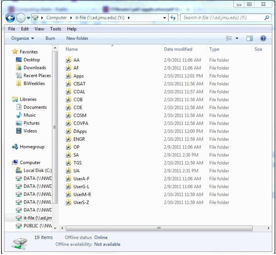
Note:
- User or personal folders, grouped alphabetically (e.g. UserA-F, UserG-L, UserM-R or UserS-Z), are no longer under your departmental folder but are now located at the bottom of the folder list.
- Your user folder will continue to be identified by your e-ID and will be contained within the User group folder corresponding to the first letter of your e-ID (e.g. the user folder for e-ID fuddex will be found under the UserA-F folder).
Information Technology