Navigation helps users easily locate information on your website. Every page on your website will have a Left Navigation that is fully customizable, which means you have control over which pages you link to in that space:

Another aspect of navigation is Breadcrumbs. Breadcrumbs are displayed above the title on a page to show the path or location of the current page by folder relationships:

Your left navigation has a Block and an _ssi file. The Block is what you can edit to change your left navigation, while the _ssi file is how you publish your left navigation changes to all of your Pages at the same time without having to publish each Page individually.
The navigation block uses three levels of links: Link/Header is the first level, Sub-Link is the second, and Third-Level is the third.
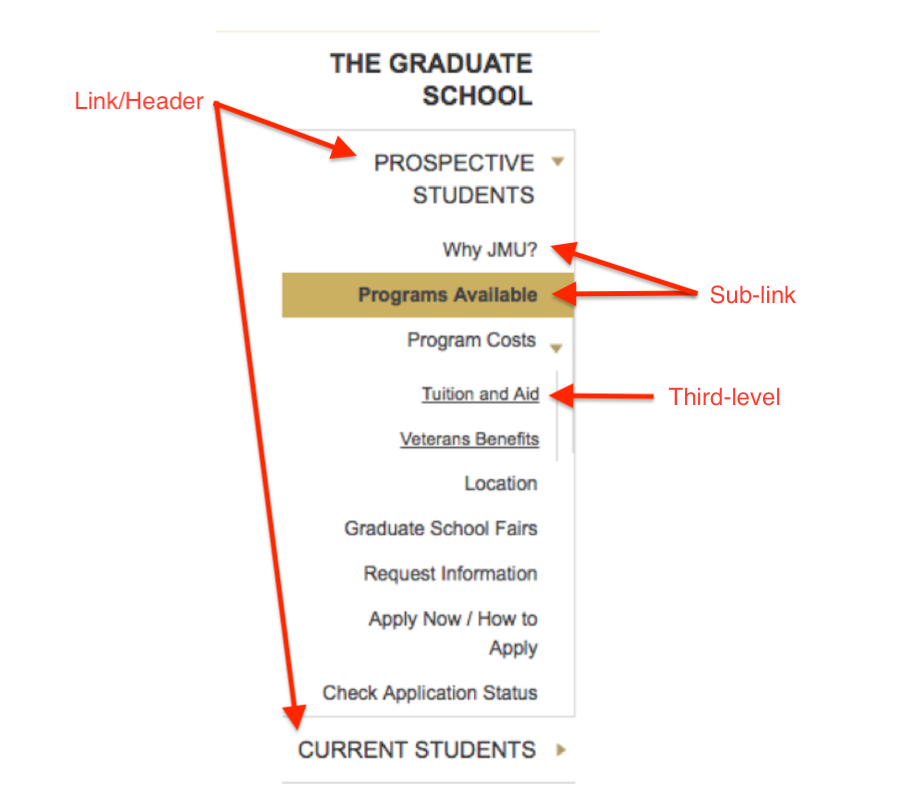
First level link/headers will link to pages, if no Sub-Link is specified.
Second level sub-links will force the Link/Headers to become toggles, which expand to display Sub-Link options, which means the Link/Header will no longer be a link.
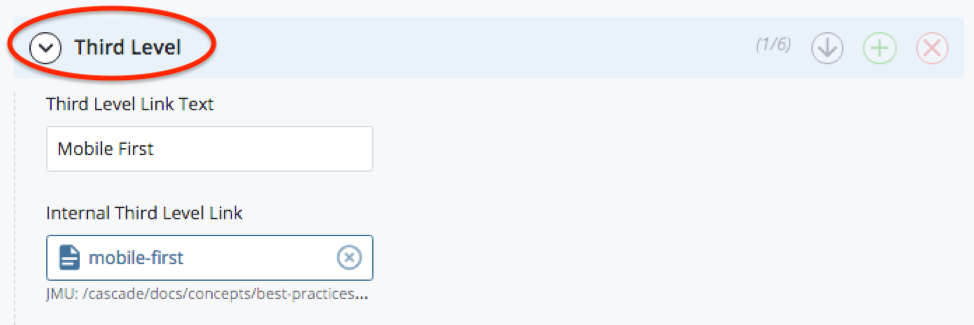
Third level links will automatically display along with their Sub-Links when Link/Headers are toggled.
Each link can be either: an Internal Link (link to a page within Cascade), an HTML link (see HTML Links), or an External Link (a full URL entered manually).
Step 1: Edit left navigation
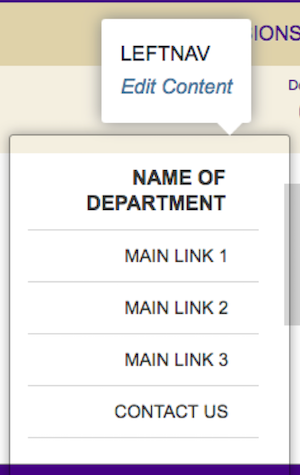
- Hover over the left navigation on your page and select "Edit Content" from the pop-up to access the Block.
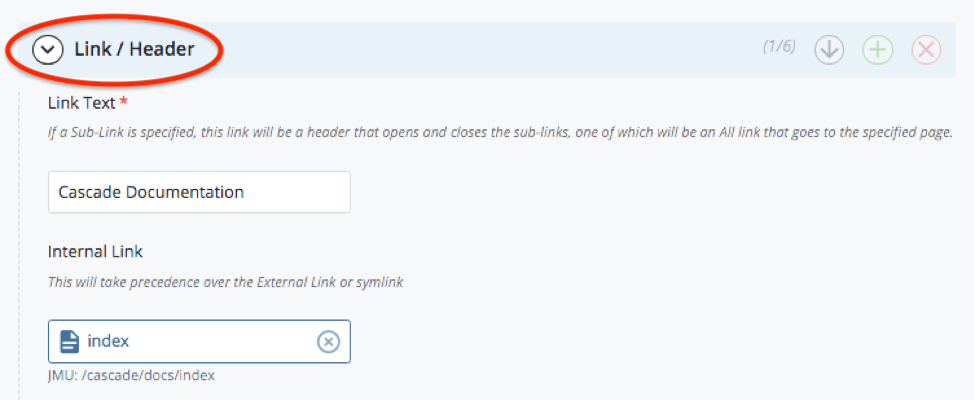
- The Link/Header sections are the first level of navigation. Edit the Link Text that will appear and the Link that the text will point to.
- You may rearrange the order of your navigation by using the icons to the right of the link section.
- Click the green plus icon to add another navigation link.
- Click the red X icon to remove a navigation link.
- Use the up and down arrows to reorder your navigation links.
- (Optional): Add second level sub-links.
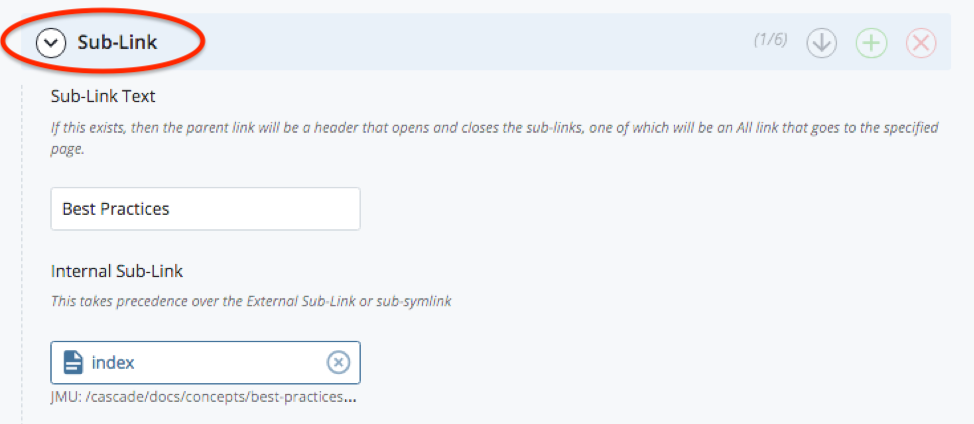
- At the bottom of the Link/Header, you will see a Sub-Link section. Click the green plus sign to add a Sub-Link to the current Link/Header.
- For each Sub-Link, add the link text that will appear and the Link that the text will point to,
Note: Adding sub-links will force the Link/Headers to become toggles, which expand to display Sub-Link options - the Link/Header will no longer be a link.
- When you are done editing your navigation, Submit your changes.

Step 2: Publish left navigation
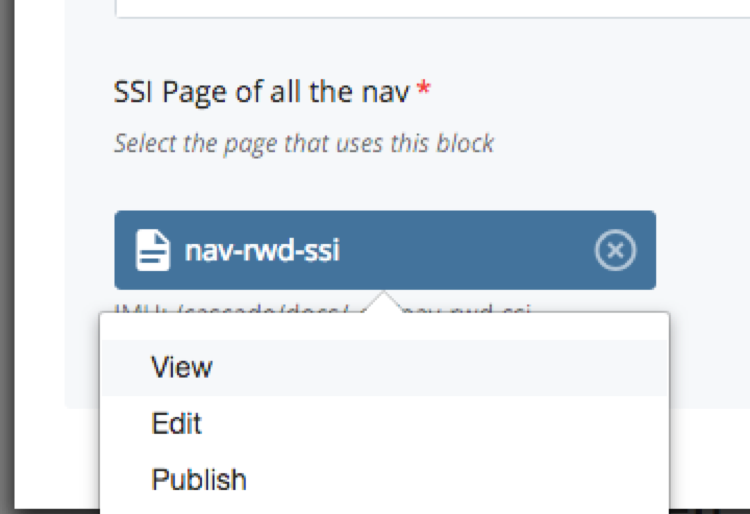
- At the bottom of the Block, an _ssi page should be specified
- Right-click on it and select "View"
- Publish the _ssi page to publish navigation changes
Note: If you are having publishing issues, see Troubleshooting: Publishing Error.
Note: Since Breadcrumbs only link to index pages, all folders in your website must contain an index page in order for Breadcrumbs to work. If a folder does not contain an index file, the Breadcrumb link won’t be generated.
For example, let's look at pages in this folder structure:
/cascade/about/index.shtml
/cascade/about/mission.shtml
/cascade/about/vision.shtml
/cascade/about/values.shtml
In this structure, the /cascade/about/mission.shtml page will have breadcrumb links that look like "Cascade > About" which would link to cascade/index page.
The /cascade/about/index.shtml page would only have a Breadcrumb link to the /cascade/index.shtml page because it would be redundant to link to itself, so the Breadcrumbs would only show "Cascade", which would link to /cascade/index.shtml.
Step 1: Edit index files
- For each index page in your site, add text to the Display Name fields (on each page, select "Edit" in the top toolbar" to find the Display Name field)
- Display Name fields are specifically for Breadcrumbs; make them brief. For example, if your about/index page Title is "About the Office of Academic Advising," your Display Name could be just "About" for a short Breadcrumb
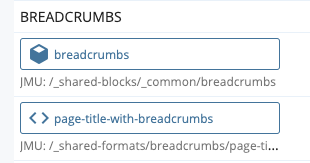
Step 2: Wire blocks and formats
- In the top toolbar on the page you want the Breadcrumb to appear, select: Edit > Configure tab
- Locate "Breadcrumbs" Region (see screenshot below)