
In this section we review adding an email list to your email in iModules. Your email list will be the recipients or audience of your email.
- To request a recipient list for Faculty/Staff, Alumni, or friends of JMU, please use this form
- To request a recipient list for current students, please contact the Office of the Registrar at registrar@jmu.edu
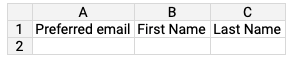
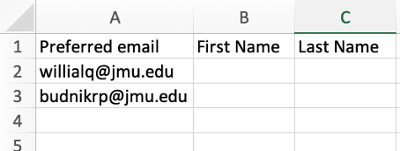
Note: Even if you do not have first and last names associated with the email addresses you are using, you will always need the "First Name" and "Last Name" headers in Columns B and C of your .CSV file.
Step 1: Add List to iModules
- In the top navigation of iModules, click "Email > Email Lists and Segments".
- Click the "Add List" button.
- "Email List" will be selected for you by default - do not change this. Upload your list by Browsing for its location on your computer. If your uploaded list is valid, you should see the Estimated Recipient Count update. If your uploaded list is invalid, you will see an error message in red.
- Type your list name into the List Name field. Your list name needs to match your email name.
- Click "Save" and return to Email Home.

Step 2: Add the Email Audience
- In the Email Drafts view, find your email and click "Add Audience" .
- Click the drop-down menu and select your email list(s).
- Click "Save". You will see the number of recipients appear next to the "Edit Audience" link.
If you selected the wrong audience for your email, you can always click "Edit Audience" and change the selected email list.

To narrow your audience by excluding or suppressing a specific subset of constituents from your recipient list, you can attach a list of recipients to exclude.
- Upload a CSV list of the records you wish to exclude. This file MUST follow the same column header formatting as your original audience list. First Name and Last Name are optional.
- From your email drafts view, click "Edit Audience". The Add Audience dialog box will open.
- Check the box "I would like to exclude records". Additional options for excluding records will appear.
- Select your exclusion list and click "Save". Your estimated audience will then update.


Digital Marketing
Hours of Operation:
Mon - Fri 8 a.m. - 5 p.m.