
In this section, we will cover how to create your email from a starter template and save it in the proper folder of the Advancement Business Unit in Marketing Cloud.
IMPORTANT:
Before building your email, you must create an email name that follows the established naming convention.
If you have not already created one, use these instructions to generate your email name. This name must remain consistent throughout the data request and email‑building process.
- Log in to Marketing Cloud using your e-ID, password and Okta multifactor authentication.
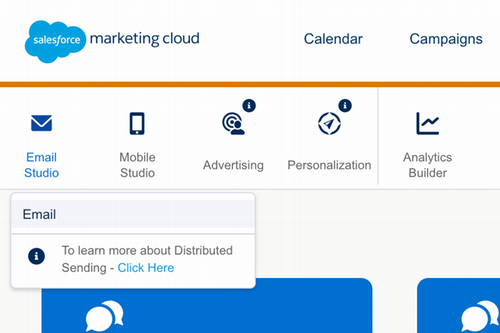
- In the top navigation bar, hover over "Email Studio" and click Email. This opens an Overview page.
- On the Overview page, click on "Content" in the top navigation to open the Content Builder. This is where you will build and save your email content.
Each department has at least one starter template available from which you can create new emails. To create an email, you'll copy from starter template by following these steps:
- Locate your department's folder in the folder structure on the left side pane.
- NOTE: Folders are organized by divisional structure. For example, Annual Giving would expand Philanthropy & Engagement and then "Office of Annual Giving - OAG".
- Click the arrow next to you department's folder to expand it.
- Click on the "_starter-templates" folder for your department. The starter templates for your department will appear in the main content area of your screen.
- Don't see a starter template for your department, or need a new or updated starter template? Contact digitalmarketing@jmu.edu - we can discuss.
- Find the appropriate starter template, then click the arrow on the far right to open the menu and select “Duplicate”.
- In the “Name” field, paste in the email name you generated previously (ie. when you planned your email and requested data - this name should remain consistent).
- Next to the "Location" Field, click “Move” to select a different placement folder for your email. Select your department's folder, and click “Save” to select that placement folder.
- It is VERY IMPORTANT to NOT create new emails inside the "_starter-templates" folder, or else it will be filled with emails and will be more difficult to find the starter template(s).
- Verify that you've entered the correct email name and chosen the correct placement folder location, then click “Save and Edit” in the lower right corner. The email editor will open and you can begin making changes to placeholder content.
IMPORTANT: Starter templates are built using the most up-to-date content configurations - you should always create new emails by copying an available starter template. If you copy previously sent emails, you will propagate outdated configurations.


Hours of Operation:
Mon - Fri 8 a.m. - 5 p.m.