When a student makes a reservation request through Accommodate, the faculty member will receive an automatic email with the information.
The faculty member will need to:
- Approve the date and time of the student’s request (or deny the request).
- Upload the exam information (for both paper AND online exams).
- Upload or drop off the actual exam (for paper exams).
*Please Note: Faculty must individually approve each student’s reservation request. Exams and exam information must be uploaded one time for each individual course AND section.
ODS Testing Center Policies
- Any exam proctored by ODS (online, professor delivers, or uploaded) must have exam information and directions uploaded to Accommodate (even if you will not be uploading an exam file).
- ODS Exams requires that professors provide the exam/exam information at least 24 business hours before the start of the exam.
- Professors delivering exams should use the check-in desk located inside the Office of Disability Services, SSC 1202, for drop off.
- Email reminders are automatically & continually sent out until ODS has received professor approval of an exam request AND exam/exam information has been uploaded or dropped off.
- Students do not receive a confirmation email until the professor and ODS has approved of the exam request.
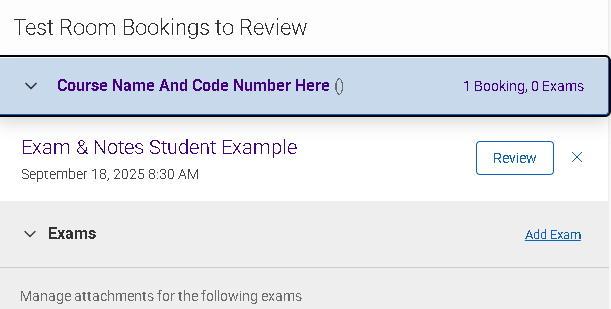
Step 1: Go to Testing Room Bookings to Review
- Click the down arrow to see the names of the students who need exam approval.
- Click review to open the student request.
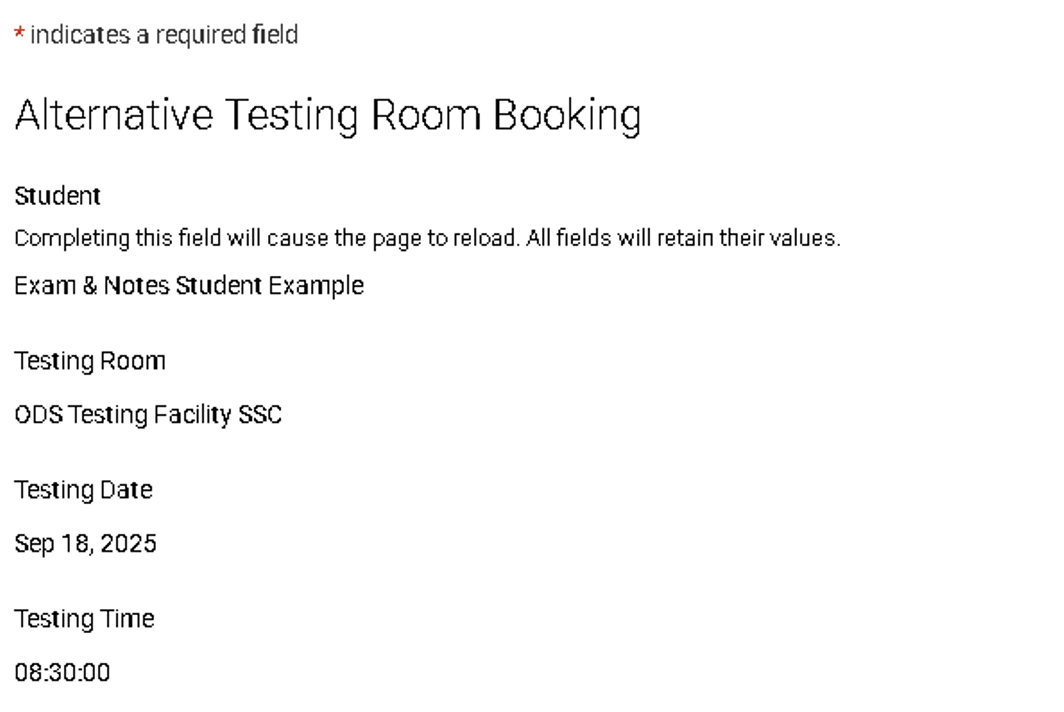
Step 2: Review Reservation Details
- Review the date and time the student has requested.
Step 3: Approve Testing Reservation
- Click YES if you approve. Click NO if you do not.
- If you click NO, a box will pop up asking for a reason. This information will automatically be emailed to the student.
- The length is automatically calculated from the length of the course and the student's extended time. This is often incorrect. ODS will adjust this when you upload your exam information.
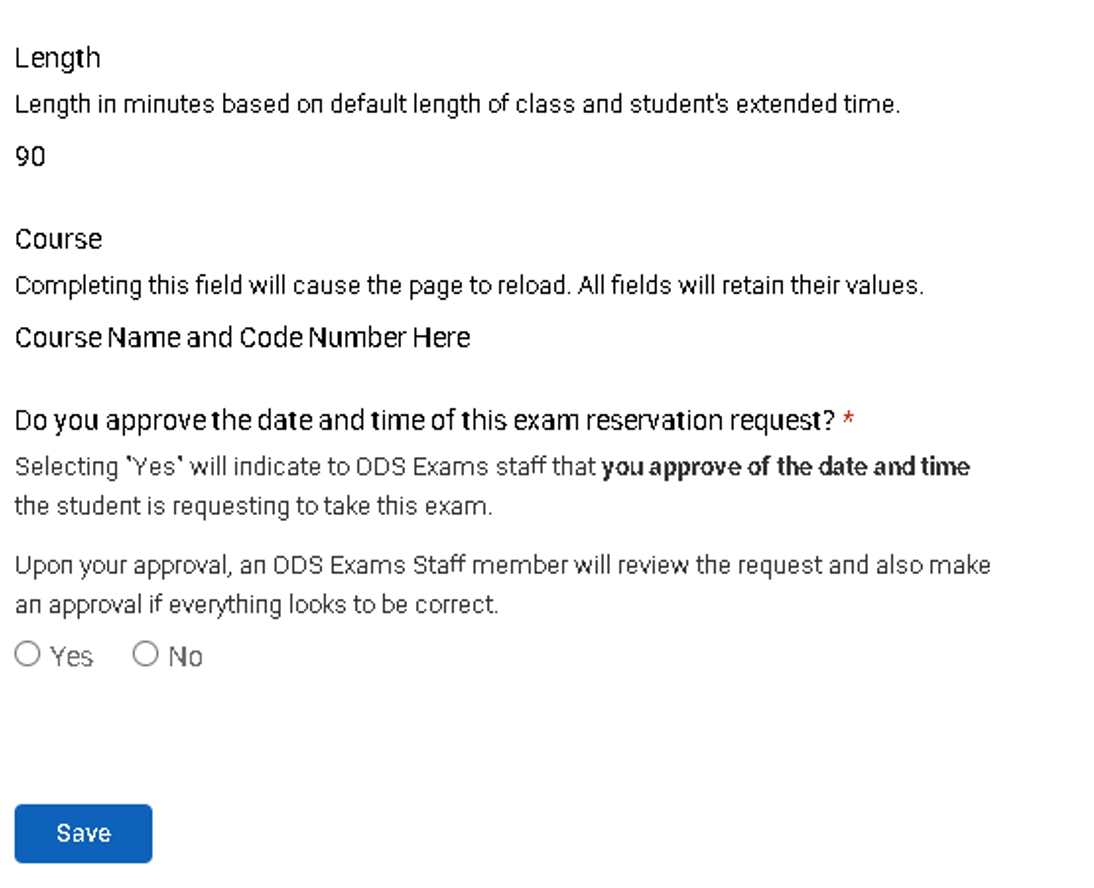
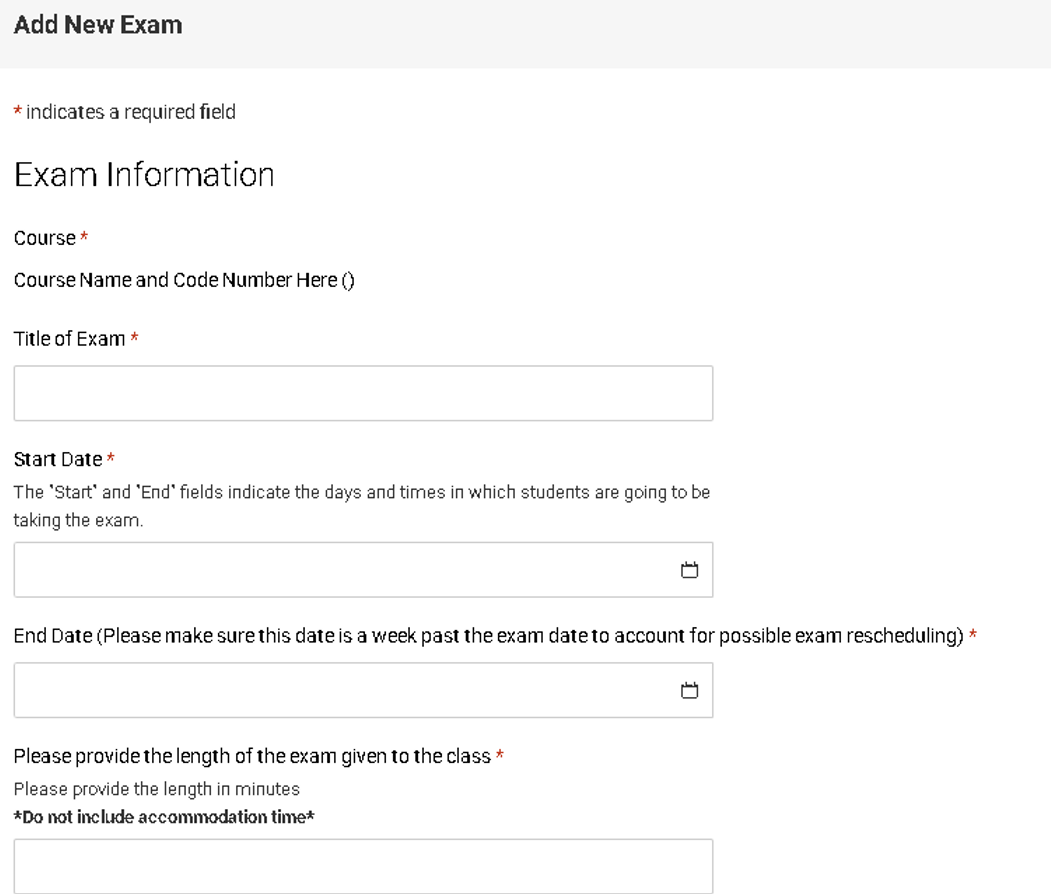
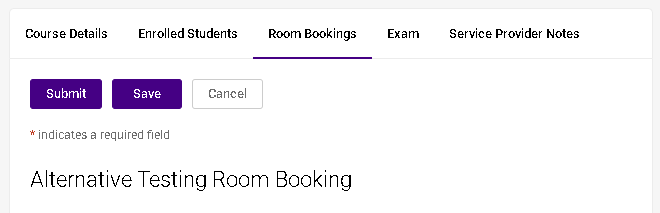
All boxes with an asterisk must be filled out or Accommodate will not allow you to submit the form.
Step 1: Go to Testing Room Bookings to Review
- Click "Add Exam" to pull up the exam information form. You must click this even if the exam is online. ODS requires certain information to proctor an exam.
Step 2: Select the Start and End Date of the Exam
- The start and end date encompass the dates students are allowed to take the exam. The exam will not show up for ODS if a student schedules outside of this time.
- Recommendation: Add a week to the end date to account for rescheduled and makeup exams.
- ODS cannot accept "unlimited" exam lengths as this would block off a seat in Accommodate for the entire day, preventing other students from scheduling.
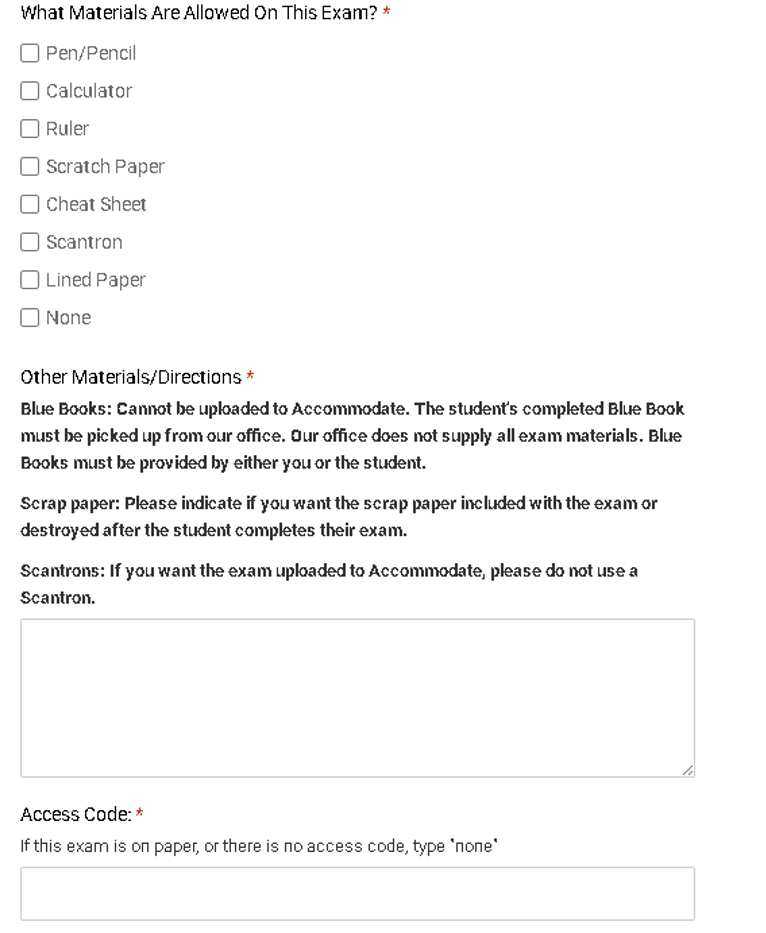
Step 3: Indicate Permitted Materials
- Please indicate ALL materials allowed on the exam. ODS will not allow a student to use any materials that are not explicitly indicated in the exam information by the faculty member.
- For online exams with an access code, please provide the code. ODS does NOT receive notification of changes made after the form is submitted. If you change your access code at any time, please email odsexam@jmu.edu.
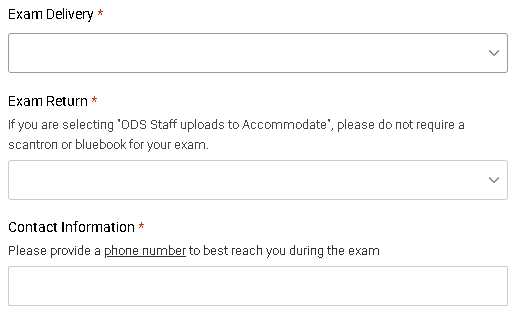
Step 4: Exam Drop Off and Return Information
- Indicate if you will be dropping off or uploading your exam into Accommodate.
- If you have chosen to drop off, faculty will continue to receive reminder emails until the physical exam is dropped off.
- Indicate if you will be picking up your exam or if you want ODS staff to upload it to Accommodate.
- Please do not require a blue book or scantron for uploads.
- Provide your contact information for ODS to reach you. If ODS is unable to reach you, the student(s) will be required to reschedule.
Step 5: Provide Exam Modality Information
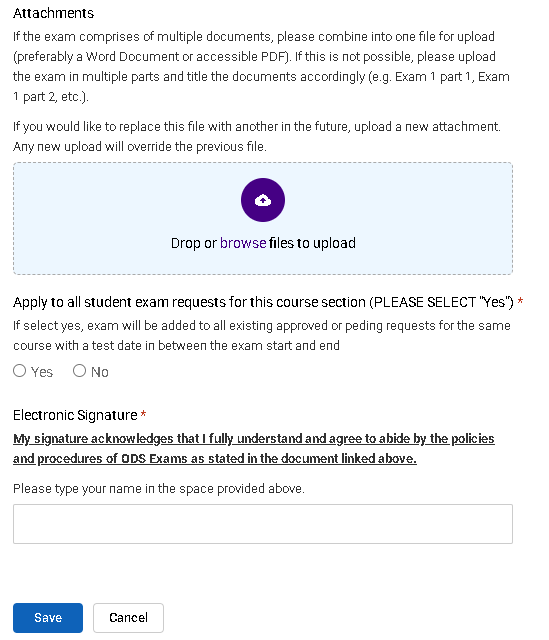
- If the student is taking a paper/pencil exam, please upload it during this step.
- If your exam is online or you are dropping off a physical copy, you do not need to upload a file.
- Select "YES" to apply your selections on this form to all students in this course and section.
- Courses with multiple sections will need to upload exams and exam information to each section individually.
Step 1: Find Your Course
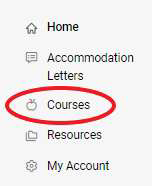
- Click on Courses on the left side of the window.
- When your course list has opened, select the relevant course.
Step 2: Find All Approved Exams
- Click on Room Bookings.
- Click on Approved.

Step 3: Select Individual Student's Exam
- Do not click on the student's name. The completed exam file can be found on the last line under the student.
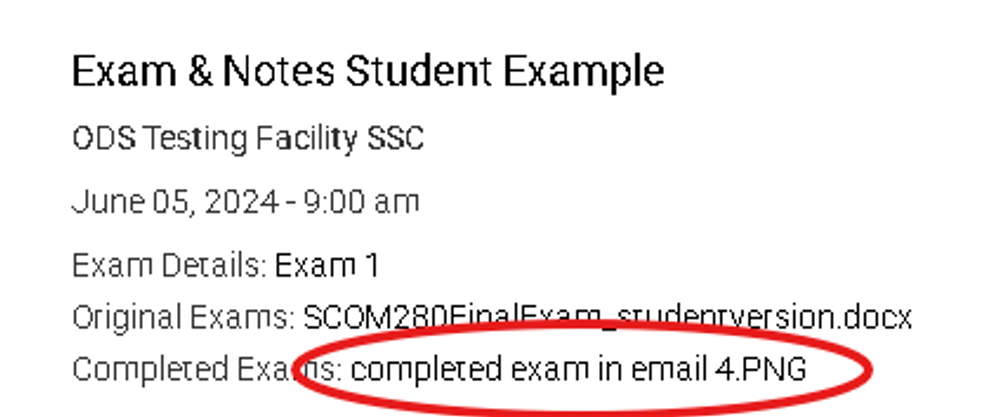
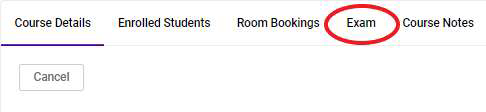
*If you clicked on the student's name, you will need to click Cancel to go back.
Step 1: Find Your Course
- Click on Courses on the left side of the window.
- When your course list has opened, select the relevant course.
- Please note, faculty will still need to approve each student's reservation individually.
Step 2: Add Exam
- Click on the Exam Tab.
- Click add new exam and follow the same steps for uploading an exam and exam information.
Exams will only attach to a student's reservation if the student reserves a date and time within your start and end date window. ODS recommends setting that window for a full week to accommodate rescheduled exams and students who must take their test on different days.
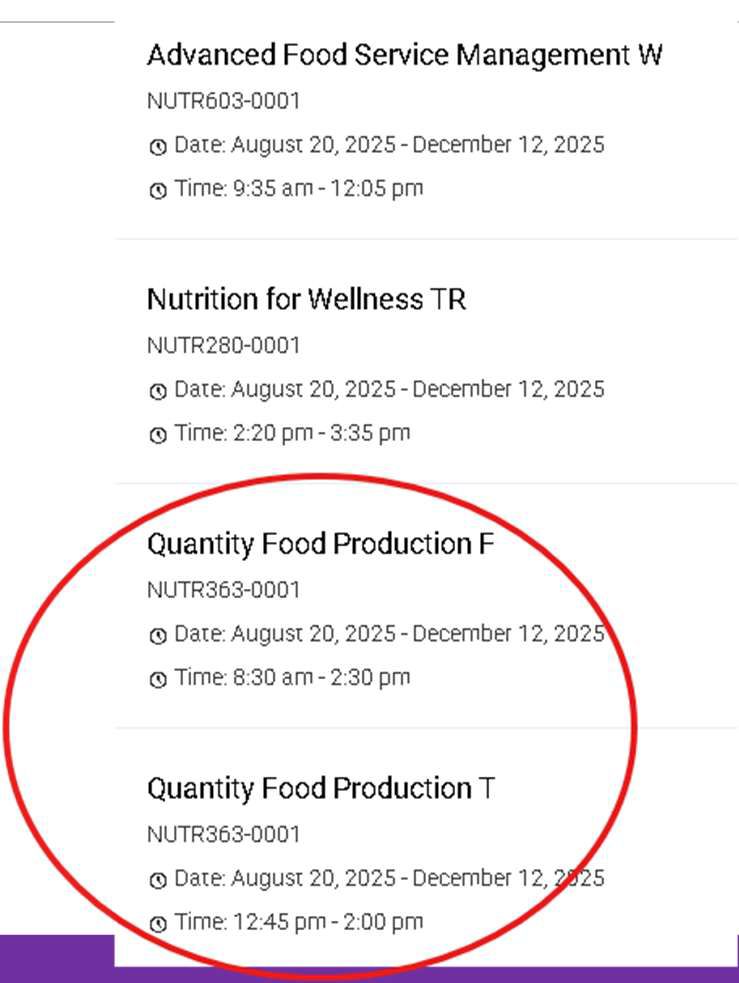
Step 1: Check All Courses and Sections
- Accommodate pulls course data from the Registrar's Office.
- Non-standard class meeting times are often broken out by both section and day of the week.
- Students will see ALL of these options and may book in any of them.
- Please check all course section options, including lab sections.
- Each of these will be treated as a separate section by Accommodate and will need their own exam and exam information.
- ODS has no control over which section a student books under.