
This guide walks you through the process of editing automatically generated captions on YouTube.
Editing automatic captions is useful for media that is long (over 5-10 minutes), has excellent audio quality, and/or does not contain specialized or technical language.
Please note: you can only edit captions for YouTube videos if you have user access to the channel to which they were uploaded.
- From the "Content" page in your YouTube Studio, click on the video you would like to caption.
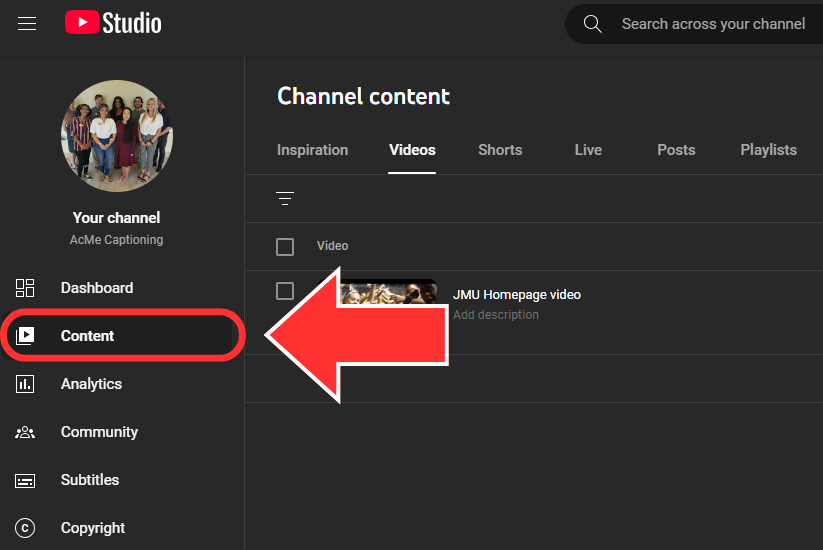
- If you are having trouble finding the YouTube Studio, go to studio.youtube.com.
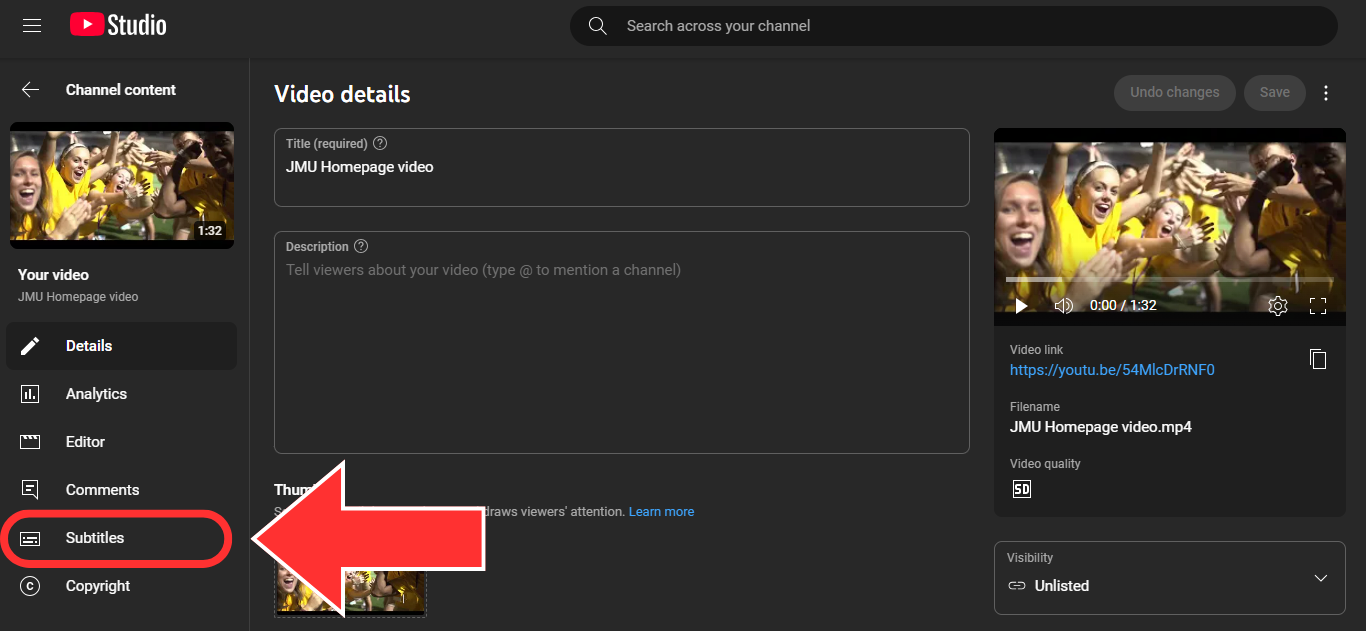
- On the "Video details" page, click on the "Subtitles" button in the left-side column.
- There is a table on the "Video subtitles" page. Find the row that says "English (Automatic),” hover over the word “Published” in the "Subtitles" column, and click on the pencil that appears on hover.
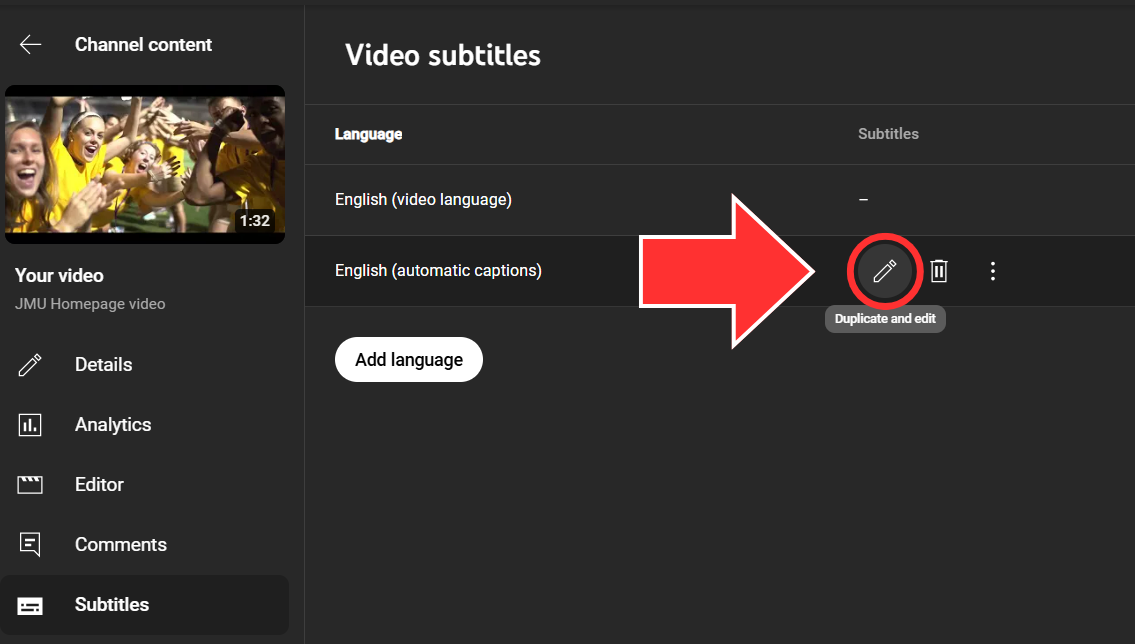
- Note that the time it takes YouTube to generate automatic captions for recently uploaded videos is indeterminate, but usually occurs within the first few hours of the initial upload.
- The captioning interface will appear with an automatically generated transcript. You will need to edit this transcript to make it accessible. See our transcription guidelines for more information.
- Play the video and follow along in the transcript, making edits as necessary. We recommend checking the “Pause while typing” box that appears below the video.
- Because a human did not create this transcript, you must pay special attention to the following:
- Capitalization
- Punctuation
- Spelling
- Important non-verbal sounds such as music and background noises
- Useful keystrokes include:
- "Shift + Spacebar" to pause or play the video
- "Shift + left arrow" to go back 1 second in the video.
- Note that if you need to leave during this process, click the “Save Draft” button to save your progress.
- Once you have finished editing the transcript, click the "Edit timings" button above the text box.
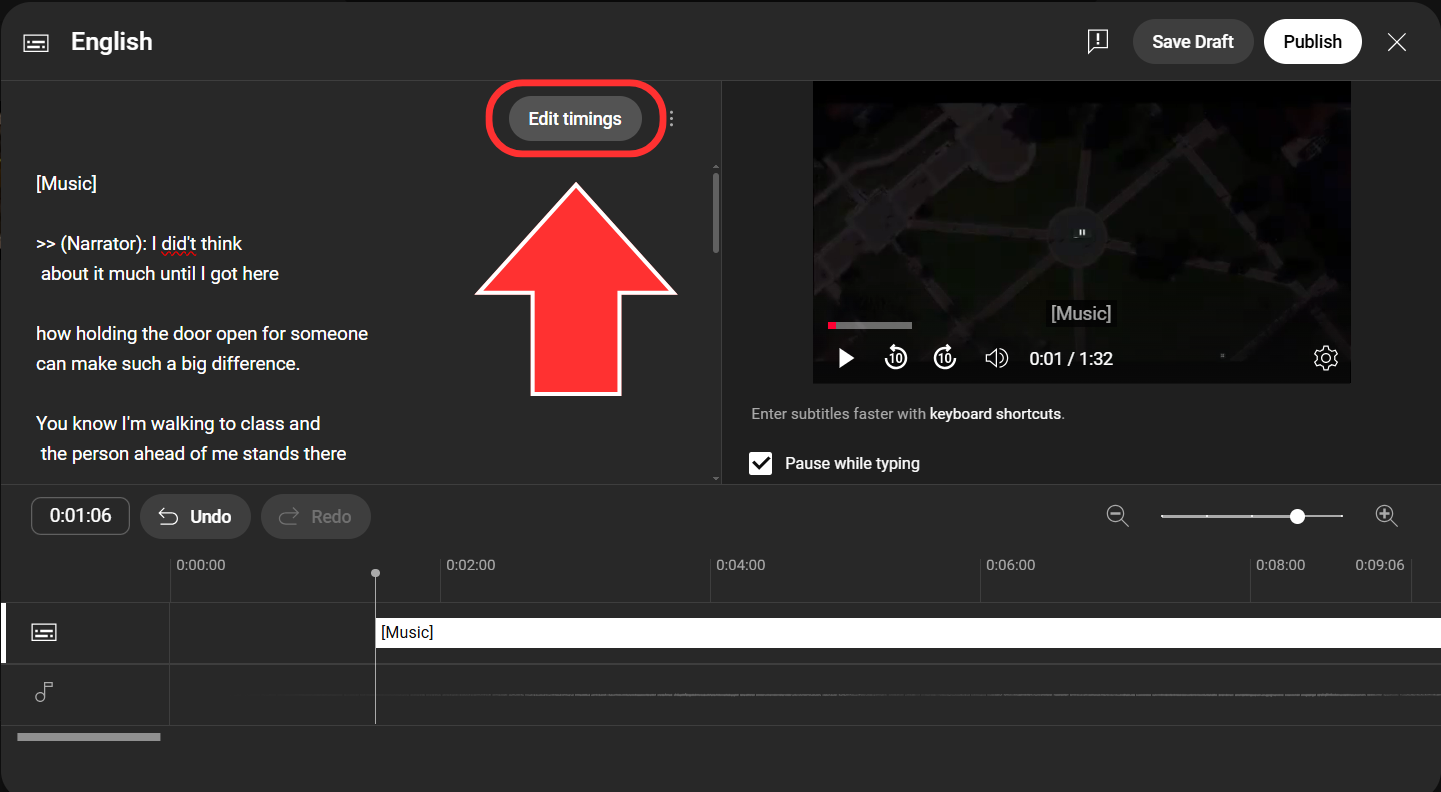
- As you were typing up the transcript, YouTube was taking its best guess at where the transcript fits with the audio of the video.
- On this page, edit each caption by following our caption editing guidelines.
- Useful keystrokes include:
- "Enter" to break one caption into two captions where your cursor is on the timeline.
- "Shift + Enter" to move words to the next line within the same caption.
- Useful keystrokes include:
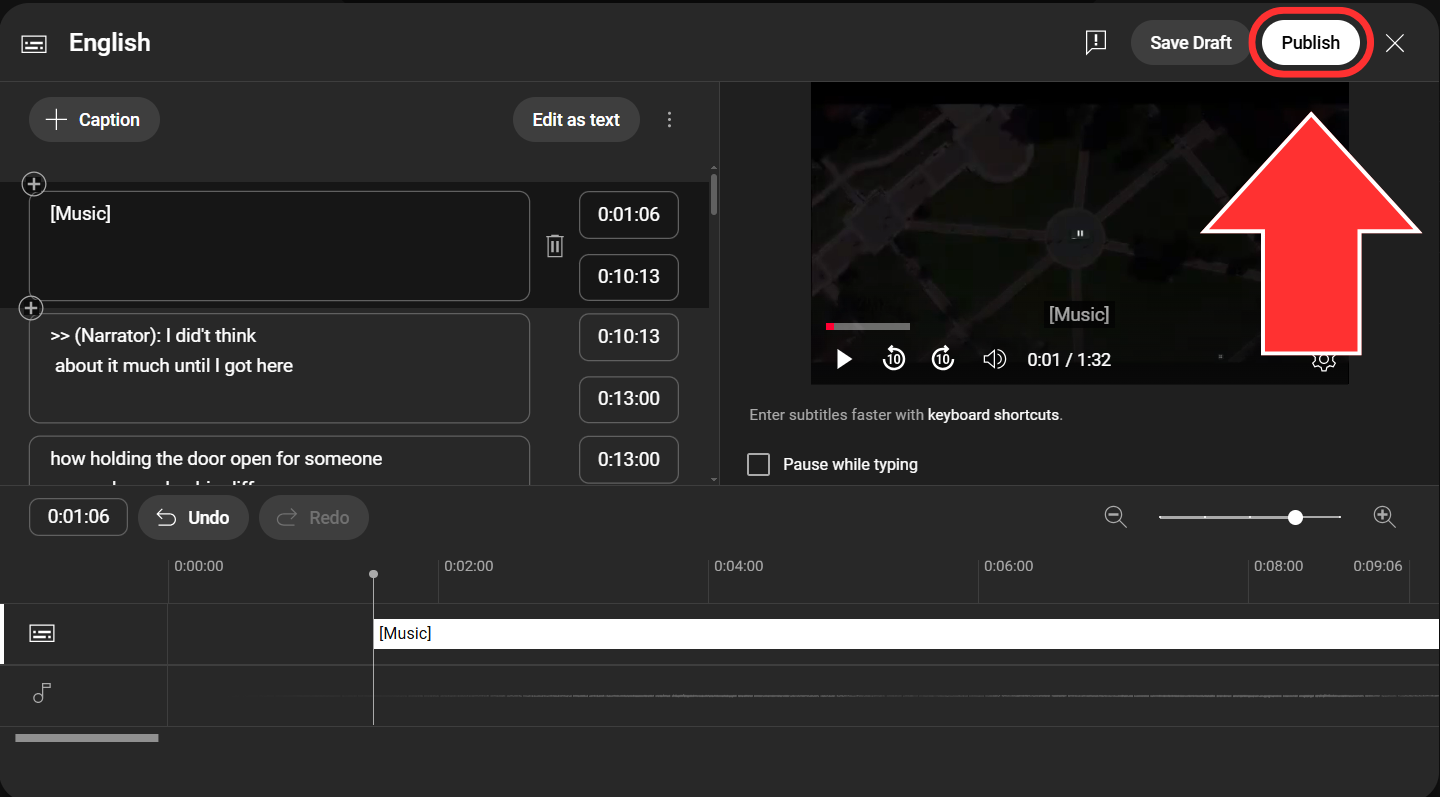
- Once you have edited the captions to your liking, click the "Publish" button to the upper right side of the interface.
You are now ready to share your captioned YouTube video!
Office of Disability Services