
Introduction
PowerPoint is a professional presentation tool. Many PowerPoint presentations use a graphical approach that present content in the form of slideshows, which are often accompanied by the oral delivery of the topic. PowerPoint presentations are often made available for students to go through on their own outside of the classroom.
Ensure all slides have unique titles
Slide titles are used for navigation and selection by people who are not able to view the slide. You may choose to have titles be either visible or hidden on each slide.
HOW TO: Add titles to your slides
To add visible titles to your slides:
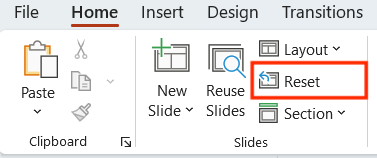
- On the Home tab, in the Slides group, click Reset to restore slide placeholders for the selected slide.
- Type a unique name in the Title text box.
- The Title should now be visible on your slide.
To hide titles from visibility:
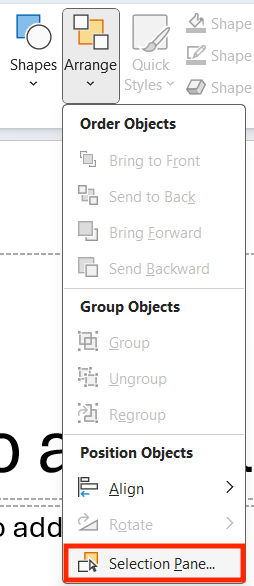
- On the Home tab, in the Drawing group, click the Arrange menu.
- Click Selection Pane.
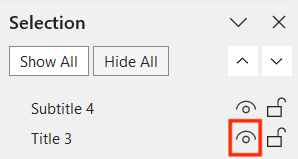
- Click the eye icon next to the text box to toggle its visibility.
Order material within slides logically
People who cannot view the slide will hear slide text, shapes, and content read back in a specific order. If objects are not part of the slide template, it is important that they will be read by a screen reader in the order intended.
HOW TO: Review the order that slide content will be read back:
- On the Home tab, in the Drawing group, click Arrange,and then choose Selection Pane.
- The Selection Pane lists the objects on the slide. Objects will be read back beginning with the bottom list item and ending with the top list item. Correct any out-of-order items by dragging and dropping each item into the desired place.
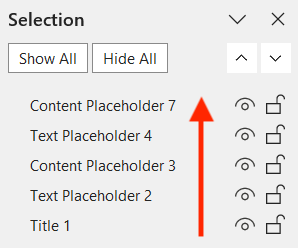
In the example above, the first item read by a screen reader will be "Title 1" followed by "Text Placeholder 2".
Provide Alt-Text
Alternative text, also known as alt text, appears when the pointer is moved over a picture or object. Alt text is also read to a user who is using a screen reader to educate them on what the image, object, or
table contains.
Alt text should be included for the following in your document:
- Pictures
- Clip Art
- Charts
- Tables
- Shapes
- SmartArt
- Groups
- Embedded Objects
- Ink (handwriting)
- Video and audio files
Alt text should be accurate and descriptive, but it does not need to include the type of object that was created (image, chart, table, etc.). The screen reader will convey this automatically.
Tip: Use clear, but concise, descriptions. For example, “a red Ferrari” tells the reader more about the image than “a car” does.
HOW TO: Add alt text in PowerPoint
- Right-click the image and select View Alt Text.
- An Alt Text text box will appear, which may be auto-filled by Microsoft’s built-in AI service. Edit or enter a description of the image into the box or check that the image is a decorative image, in which case no description is needed.
- Clicking "Generate alt text for me" will create alt text from the AI tool.
Additional Information
- Audio can be recorded on a PowerPoint presentation, which may be helpful if the PowerPoint will be accessible online.
- When presenting a PowerPoint, it is important to verbally highlight the important content of the slides. Do not rely solely on the slides to convey the message.
- Avoid putting information in the slide notes field as it is not viewable to a screen reader in many formats including a PDF.
Color Contrast
Color contrast issues are common in PowerPoint presentations because text and backgrounds appear in a wide variety of colors and many of the default Themes do not meet contrast requirements. PowerPoint presentations are also more likely to contain graphical objects such as charts and shapes. The parts of an object that provide visual information may need to meet a minimum contrast requirement.
Requirement: WCAG 2.1 AA requires normal text and images with text to have a contrast ratio of at least 4.5:1. Large-scale text (above 18pt or 14pt bold) and images with text must have a contrast ratio of at least 3:1.
Checking for Contrast Issues
While most contrast issues are automatically detected in other document types, the Check Accessibility tool fails to identify most contrast issues in PowerPoint presentations. It may flag some issues, like contrast in table headers, but it does not test the contrast of Title and body text, even if the slide background is a solid color. For this reason, you should manually review the contrast of the text and backgrounds of your slides.
Background images and gradients
Many PowerPoint templates use background images and gradients that make testing contrast even more important. When testing these non-solid backgrounds, test the parts of the slide that look like they have the lowest levels of contrast.
HOW TO: Use WebAIM's Color Contrast Checker
- Go to the WebAIM Contrast Checker.
- Use the Hex Value or Color Picker to select the colors of your foreground and background colors.
- Hex Value is a 6-digit color value. If you're unsure about hex values, use the Color Picker.
- The Color Picker allows you to use an eyedropper tool to select the color you wish to use.
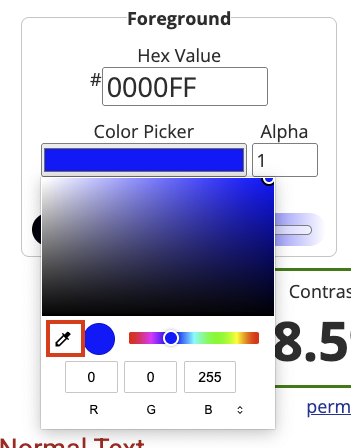
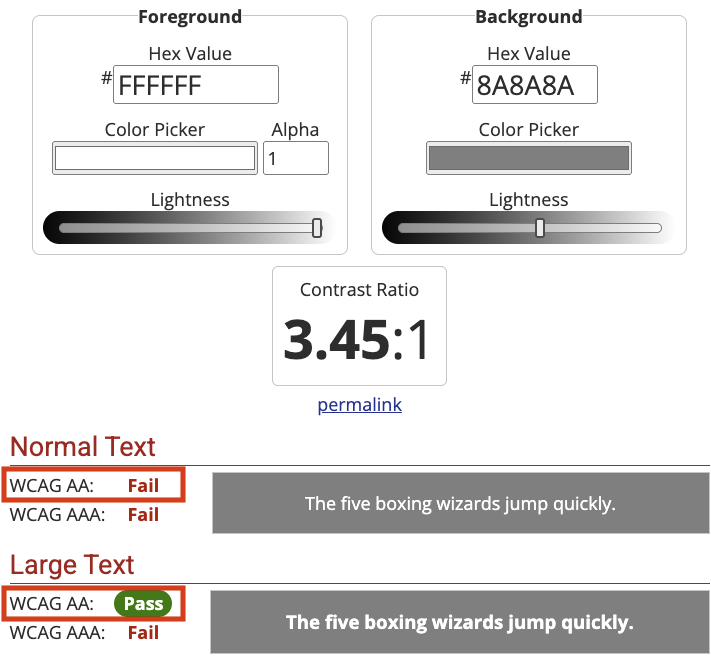
- Review the results for Normal Text and Large Text under the WCAG AA guideline.
In the example below, the contrast ratio of 3.45:1 between the white foreground color and gray background color is not sufficient for both Normal and Large Text.
PowerPoint Accessibility Checker
The Accessibility Checker helps find and fix issues that can make it difficult for people with disabilities to read or interact with a presentation.
Follow the directions below to check your presentation for issues using the built-in Accessibility Checker. NOTE: Color contrast and the logical reading order of your slides will need to be manually reviewed.
HOW TO: Check for accessibility in PowerPoint
Windows Users:
- Click File > Info.
- Click Check for Issues.
- Click Check Accessibility.
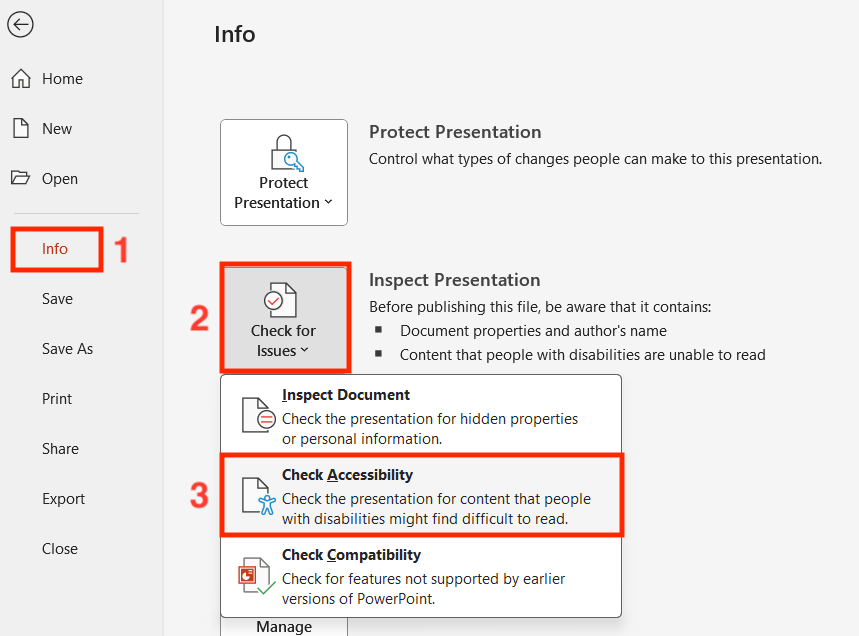
- Errors and warnings will appear in a task pane. You can then review the issues and see which ones need to be fixed.
NOTE: You can also find the accessibility checker by going to Review > Check Accessibility.
Mac Users:
- Open the Review tab in the ribbon.
- Click Check Accessibility.

- The Accessibilty Assistant pane will open on the right side of the screen.
- Click a specific issue to see more information and steps you can take to change the content.
Accessibility Checker Issues
The Accessibility Checker checks a file against a set of possible issues that people who have disabilities might experience in the file. Each issue is classified as an Error, Warning, or Tip.
- Error: An error is for content that makes a file very difficult or impossible for people with disabilities to understand.
- Warning: A warning is for content that in most, but not all, cases makes a file difficult for people with disabilities to understand.
- Tip: A tip is for content that people with disabilities can understand, but that might be better organized or presented in a way that would improve their experience.