
Introduction
Excel is a spreadsheet program that can be used for storing, organizing, and manipulating data. If Excel is not used properly, then it may be inaccessible to someone with a disability.
Provide Alt-Text
Alternative text, also known as alt text, often appears when you move your pointer over a picture or object on a website. Screen readers also read alt text to users to educate them on what an image, object, or table contains.
Alt text should be accurate and descriptive, but it does not need to include what type of object was created (image, chart, table, etc.), as the screen reader will automatically convey this.
HOW TO: Provide alt-text in Excel:
Windows Users:
- The first step will vary depending on the type of object selected:
- Chart/Picture/Shape/SmartArt: Right-click the object and select View Alt Text.
- Table: Click the Table, select Format, and then click the Alt Text command.
- Pivot Table: Right-click, select PivotTable Options, and then click Alt Text.
- Type a description of the image or object into the Description text boxes. NOTE: Any alt text in the Title box will not be recorded as alt text.
- Click Close.
Specify Column Heading Information in Tables
In addition to adding alt text that describes the table, having clear column headings can help provide context and assist navigation of the table’s contents.
HOW TO: Specify a header row in cells marked as a table:
- Click anywhere in the table.
- On the Table Tools Design tab, in the Table Style Options group, select the Header Row check box.
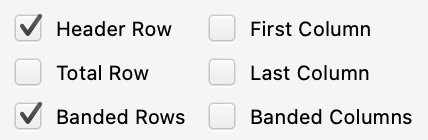
- Add your header information.
HOW TO: Specify a header row in a NEW block of cells marked as a table:
- Highlight the cells you want to include in the table.
- On the Insert tab, in the Tables group, click Table.
- Select the My table has headers check box.
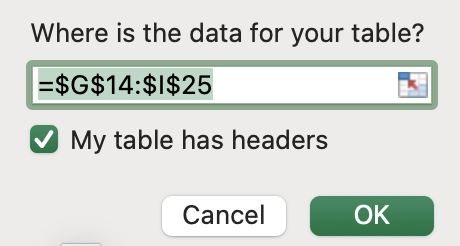
- Click OK.
Avoid Using Merged Cells
Merged cells are often used to make a spreadsheet look visually appealing, but they can confuse assistive technologies like screen readers, causing them to lose their place in the table's structure, and also make it difficult for users to sort, filter, or analyze the data.
Why Merged Cells are Problematic:
- Disrupts screen readers. Merged cells break the expected row-and-column structure that screen readers rely on to identify headers and read data accurately, making information confusing or inaccessible.
- Breaks sorting and filtering. Excel’s sort and filter tools depend on consistent cell structures. Merged cells interrupt this, preventing users from organizing or analyzing data properly.
- Impacts keyboard navigation. Merged cells disrupt predictable cell-by-cell movement, making it harder for keyboard users or those using assistive technology to navigate efficiently.
- Complicates data anaylsis. Formulas, pivot tables, and other tools often fail or produce errors when merged cells are present, reducing functionality and accessibility for all users.
Rather than using merged cells, content can be centered across a selection. Centering content across a selection can achieve the same visual presentation as merged cells, without negatively impacting spreadsheet functionality or accessibility.
HOW TO: Center content across selection
- Undo the merged cell:
- Select the merged area
- In the Alignment group of the Home tab, select the dropdown for Merge and Center, and select Unmerge cells.
- Use formatting options to center across the selection:
- Select the cells across which you would like your content to appear.
- Right click the cells and select Format Cells.
- In the Format Cells window that appears, go to the Alignment tab.
- In the Horizonal dropdown, select Center Across Selection.
- Click Ok.
Naming Worksheets
Providing sheet names make it easier to navigate through a workbook. All worksheets should be named, and any blank sheets in a workbook should be removed.
HOW TO: Rename a sheet:
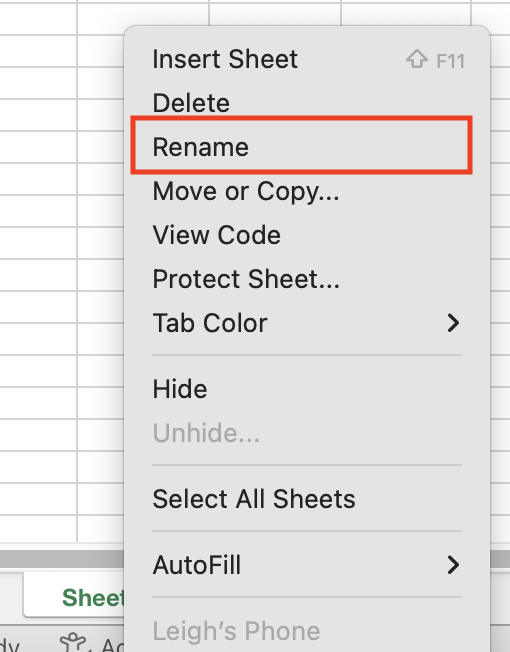
- Right-click the sheet tab, then click Rename.
- Type a brief, unique name that is descriptive of the sheet
contents.
Excel Accessibility Checker
The Accessibility Checker helps find and fix issues that can make it difficult for people with disabilities to read or interact with a workbook.
HOW TO: Check for accessibility in Excel
Windows Users:
- Click File > Info.
- Click Check for Issues.
- Click Check Accessibility.
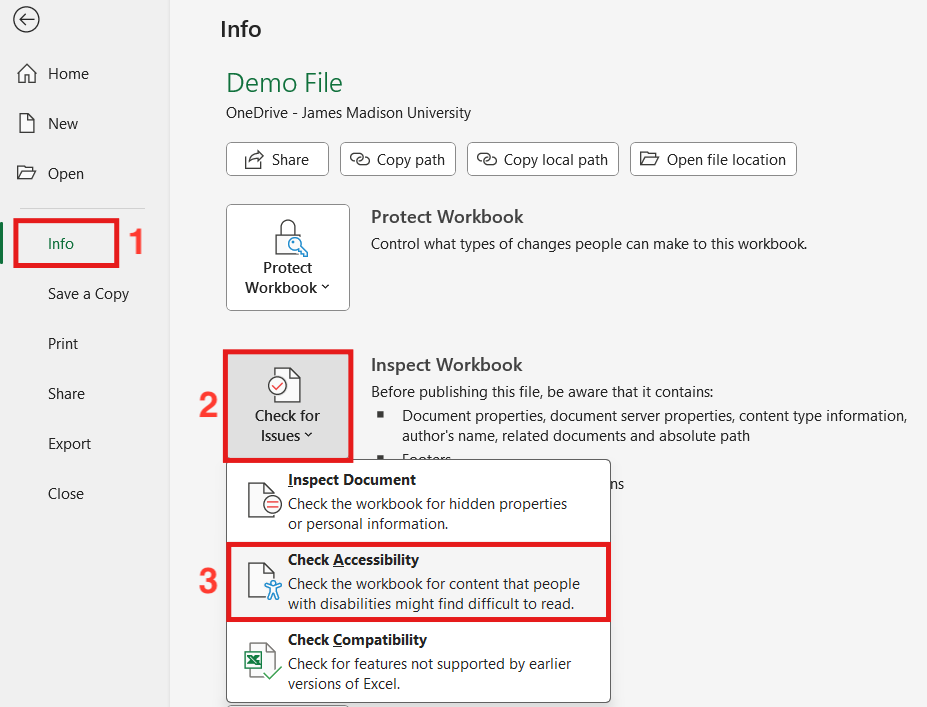
- Errors and warnings will appear in a task pane. You can then review the issues and see which ones need to be fixed.
Mac Users:
- Open the Review tab in the ribbon.
- Click Check Accessibility.

- The Accessibilty Assistant window will open on the right side of the screen.
- Click a specific issue to see more information and steps you can take to change the content.
Accessibility Checker Issues
The Accessibility Checker checks a file against a set of possible issues that people who have disabilities might experience in the file. Each issue is classified as an Error, Warning, or Tip.
- Error: An error is for content that makes a file very difficult or impossible for people with disabilities to understand.
- Warning: A warning is for content that in most, but not all, cases makes a file difficult for people with disabilities to understand.
- Tip: A tip is for content that people with disabilities can understand, but that might be better organized or presented in a way that would improve their experience.