


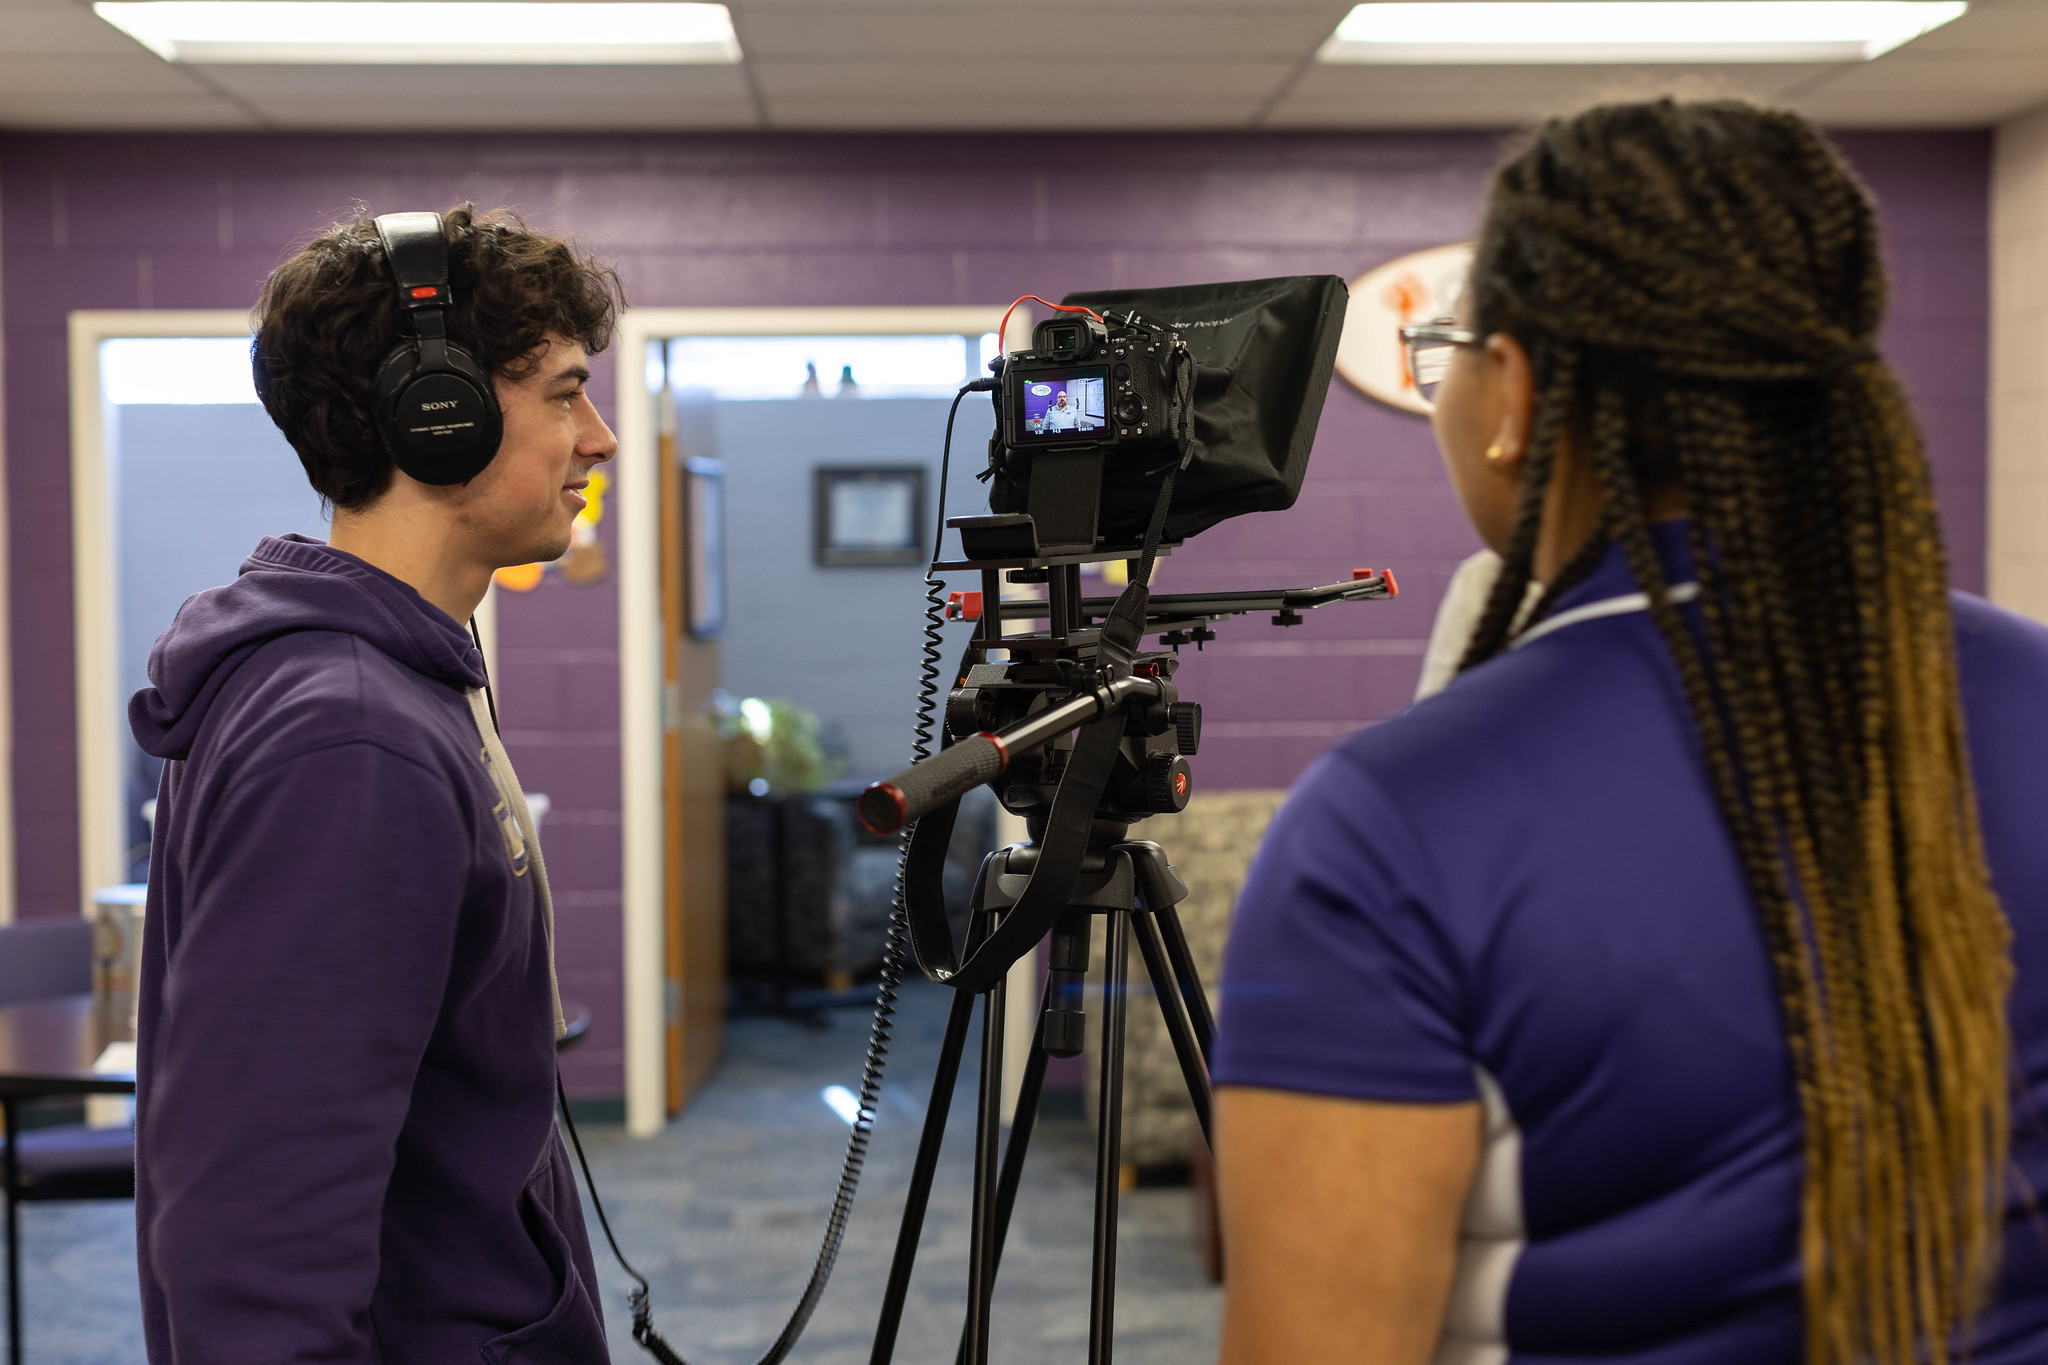
This page provides guidelines and best practices about video filming and editing. If you have any questions or recommendations for additional topics, please reach out to sacm@jmu.edu.
Filming
Filming Extra Seconds of Video
Filming and getting to the shooting stage of a video project can be a long time coming. Oftentimes, video projects require a lot of pre-work, coordination and scheduling before you are even ready to start filming and shooting scenes for your video.
However, once you are ready to start filming, make sure to film extra seconds of video.
- Start filming your video for 5-10 seconds before the action of the scene starts. Continue filming the video for 5-10 seconds after the scene ends.
- If someone is speaking into the camera or delivering lines, press record 5-10 seconds before they start speaking and record an extra 5-10 seconds after they have finished speaking or delivering their lines.
- Do not start filming immediately when they start speaking and do not stop filming right after they finish speaking, so as to not accidentally cut off any of the speaking parts.
- You want to allow a few seconds or beats for the video to start rolling before a person starts speaking/delivering lines, or else this may appear awkward or unnatural in a video.
Filming a few extra seconds before and after each shot gives editors additional footage to work with during post-production. This extra footage can be useful for syncing video with audio, creating smoother transitions, and applying visual effects or other edits. It also helps avoid the need for costly reshoots, reducing the time and effort required to coordinate and schedule additional filming days.
Film Multiple Takes
Always film more than one take, so you have multiple options to work with when editing the video and during post production. It is best to film 2-3 good, usable takes for your video.
- When someone has speaking parts, film them delivering their lines 2-3 times so you have some variety. Ask them to deliver the lines differently using a variation in tone, delivery, inflection, etc.
- Furthermore, the same applies when someone is performing an action in a scene. Film them multiple times performing the same action, so you have more options to select from when you’re editing the video.
Filming a scene multiple times is smart and ensures that you have a few options to select from when editing and ensures you won’t have to re-record.
Eye Contact with the Camera
When filming a video with someone purposefully speaking to the audience, make sure the person speaking is maintaining good, direct eye contact with the camera lens.
If you are using a teleprompter or speaking cards, make sure the teleprompter and speaking cards are placed as close to the camera lens as possible, without being in the frame.
- Place or hold the teleprompter and speaking cards at the same height as the camera lens. This ensures the person is looking directly into the camera lens while reading the teleprompter or speaking cards.
- If a teleprompter or cue cards are positioned too high or too low, the speaker's eyes will not align naturally with the camera lens. This can make it obvious that they are reading from prompts rather than speaking directly to the audience, resulting in a less natural and more awkward on-camera appearance.
Variety of Angles
If time and space allows, film a scene in a variety of angles (high, low, eye-level, panning, zoom, etc.) to enhance visual storytelling. If your video is more storytelling, using a variety of angles helps amplify specific emotions that you are trying to convey and is more visually appealing for a viewer. Rather than relying on a static or wide-angle shot, experiment with slowly panning across the scene or gently zooming in and out. Incorporating camera movement adds visual interest, helps keep viewers engaged, and creates a more dynamic, professional-looking video.
Orientation
Orientation
You want to be strategic and purposeful about the orientation in which you film your video: horizontal versus vertical.
Horizontal videos are best for cinematic storytelling and long-form videos that will be shared on websites or YouTube, or watched on a laptop, desktop computer, or tv screen.
Vertical videos are best for mobile first or social media videos aimed at receiving high engagement and interaction.
Determine what the purpose and use of the video is first. Then, determine if you want to film the video in horizontal or vertical orientation.
Lighting
Lighting
Every situation is different and will differ more depending on the videography equipment available to you. These recommendations will assume you are filming with an iPhone or another phone of similar quality but will also apply to mirrorless/DSLR cameras.
For most applications, we recommend shooting outdoors, as this will give you varied options of recognizable JMU spaces as well as balanced lighting. We suggest not filming in an open outside space between the hours of 11 a.m. and 1 p.m., as that is when the sun will be directly above your subject resulting in “raccoon eyes”. If it must be filmed at that time, we recommend finding some shade under a tree or structure.
For indoor applications, we recommend not having your back directly against a window/large light source, as this will confuse the phone camera into deciding whether to expose the subject or the window. Find a space with even and balanced lighting.
If you have a ring-light or a small LED light panel on hand, we recommend you place it about two feet away from the subject to allow for some diffusion and avoid hotspots on the subject’s skin.
Audio
Audio
Audio can be more daunting than lighting. Viewers are more likely to ignore content due to bad audio over low-quality video recording. Luckily, brands are making their products simpler to use for easy plug-and-play scenarios. Make sure all audio gear software is updated prior to use!
Here are some reliable options you can’t go wrong with:
DJI – Mic 3, Mic Mini
RODE – Wireless Micro, Wireless Micro Camera Kit (for Camera users), Wireless GO Gen 3
Hollyland – Lark Max, Lark M2, Lark M1, Lark C1
Quick audio terminology:
Receiver: The device that attaches to your phone or camera and receives audio and combines it with your video.
Transmitter: The device that clips onto the subject in the video and transmits the audio to the receiver. This is the microphone “box”.
There’s a variety of ways you can position the transmitter on yourself. Some devices are clip-on while others include a magnet. The method of attachment depends on what the subject is wearing. For example:
For button ups: the transmitter can be clipped on the button-side of a dress shirt or suit jacket close to the sternum area.
For T-shirts or dresses: the transmitter can be held in the hand, attached to the shirt via magnet or clipped onto the collar.
If your chosen device has the option to connect to a microphone cable (lavalier microphone cable), we suggest doing that instead of clipping the transmitter on your collar as it's less distracting to the viewer.
Editing
Editing
This is where all of your previous choices (audio, video, lighting) come together to form the final video. When editing for social media, keep in mind where apps like Instagram tend to keep their icons and information displayed. Text might look visible while editing and then becomes obstructed by Instagram buttons later.
As you’re making your edit, keep in mind those beginning/ending couple of seconds we left in during filming. It is recommended to not leave in shots of you going into beginning/end the recording.
Think about having a consistent font and caption style, as this will keep your content consistent and professional.
It is not recommended to include licensed music in your video, as this can have legal stipulations when posting on an official university account. JMU has a campus wide subscription to StoryBlocks that you may use to obtain background music.
Simply hop on over to Storyblocks and click login. Begin typing in your JMU email and it will recognize you’re with an organization and change the log-in process. Click the check box to accept the terms and then click Continue with SSO. After that, just use your JMU Okta to log-in.
Instagram videos need to be kept to 90 seconds or less to be counted as a Reel.
Video Accessibility
Video Accessibility
As part of the ADA Title II Accessibility compliance, videos must be accessible.
- Clear audio — any audio or speaking parts within a video must be clear and understandable. Record audio with microphones to capture the best quality and minimize background noise to reduce distractions. Don't speak too fast or too slow, keep the pace moderate for easier comprehension.
- Captions — provide a synchronized text display of dialogue, speaker identification and crucial sound effects embedded into the video. This allows viewers to follow along without sound. There are many video editing programs and software that use AI to auto-generate captions for videos; however, always edit and review the captions for accuracy, grammar, spelling and typo errors.
- Avoid Flashing Content — avoid or remove any rapidly flashing animations or strobe effects from your video, as it may be disorienting to some viewers or trigger seizures in people with photosensitive epilepsy.
Recommended Programs and Apps for Video Editing
There are editing program options for those of all skill levels. With any tool, you can make any of these programs as complex as you want. The sky is the limit. The desktop version is recommended for all these programs, if available.
Beginner: iMovie (Mac and iPhone only); Edits (mobile only)
Experienced: Adobe Premiere Pro (with subscription, desktop and mobile versions); Davinci Resolve (free version available, desktop and iPad versions); Final Cut (Mac and iPad versions)
Social Media Video Editing Programs: Instagram app — has robust Reel editing capabilities where you're able to cut and splice video clips together and add stickers, fun graphics, screen captions, and music to the video.


