
Zoom can automatically transcribe and caption your recorded meetings. This guide explains how to enable the necessary settings in Zoom and download the recorded video & caption files.
Generating automatic captions and transcripts for Zoom recordings is a two-step process. The first part will only need to be completed once per Zoom account. The second part will need to be completed for each recording.
Part 1: Enable Caption Settings in Zoom Portal Settings
You will only need to do this part once.
- Log in to the JMU Zoom portal.
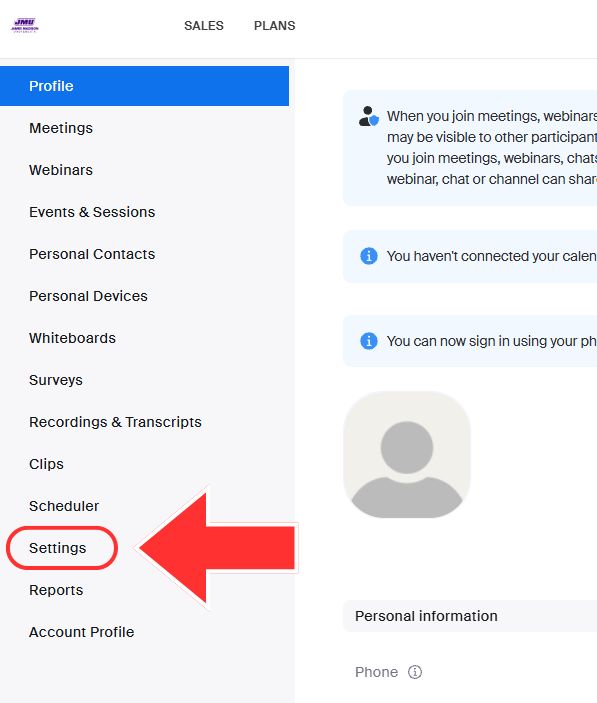
- Click Settings in the left navigation.
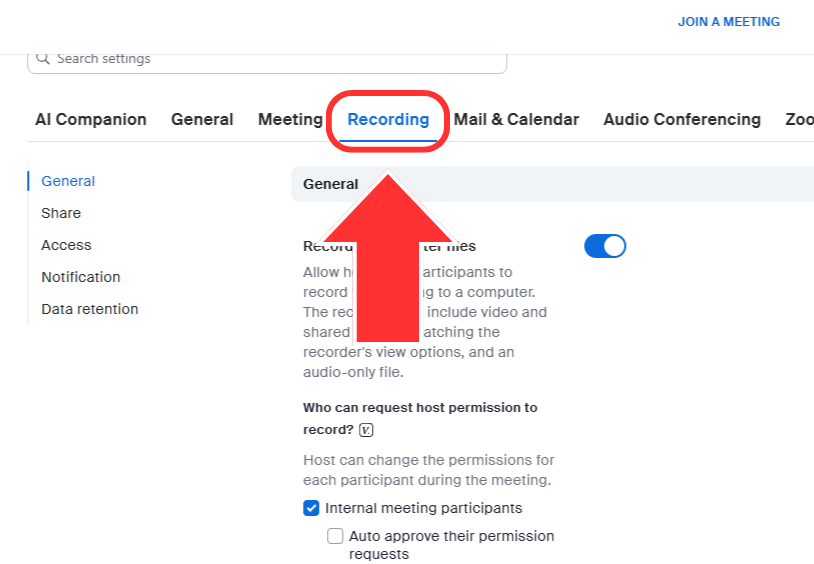
- Click the Recording tab in the navigation ribbon.
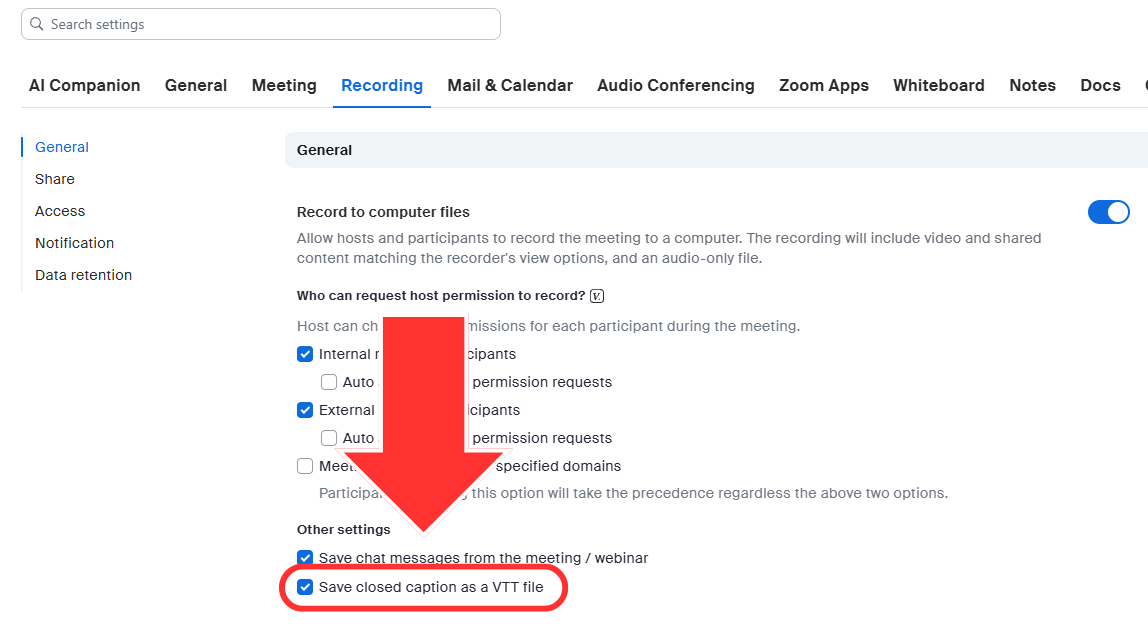
- Under Record to computer files, enable checkbox beside of Save closed caption as VTT file.
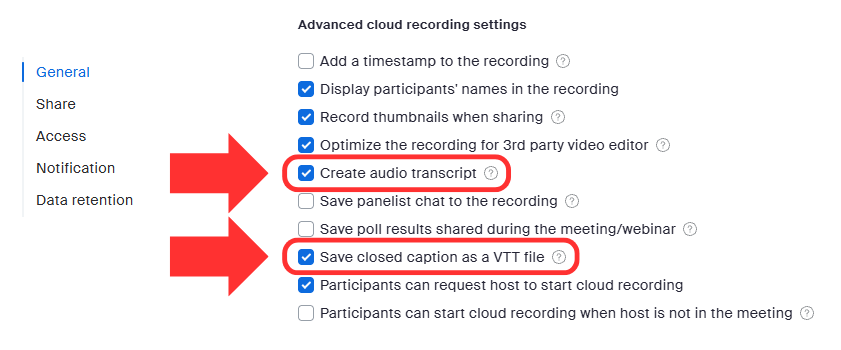
- Under Advanced cloud recording settings, enable the checkbox beside of Create audio transcript and Save closed captions as a VTT file.
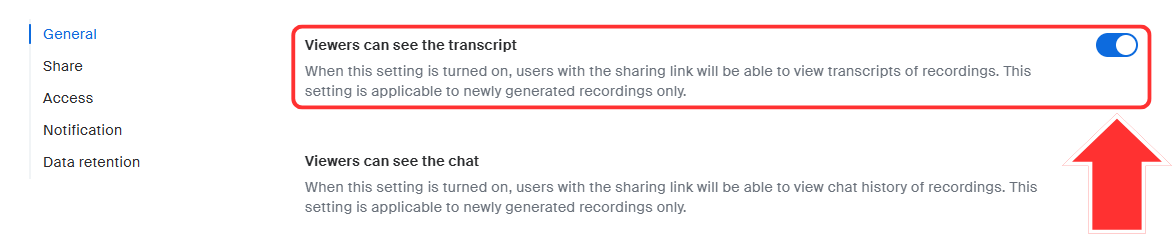
- For Viewers can see the transcript, click the slider to turn on.
Part 2a: Recordings saved to computer
For Zoom recordings that are saved to a computer, the video and caption files are saved separately. When you upload the video file to a video platform, you will also need to upload the caption file.
Additionally, you will need to heavily edit the caption file from Zoom. The accuracy of Zoom captions is highly dependent on the audio quality of the speaker(s), and the captions are often saved in the caption file as paragraphs of text (instead of 1-2 line captions). It is recommended that you use a video platform that allows you to edit captions, such as Canvas Studio, Illumira, or YouTube.
When editing captions, please reference our transcription guidelines and caption editing guidelines.
Part 2b: Cloud Recordings
There are multiple ways to interact with Zoom recordings that are saved to the cloud/your JMU Zoom portal. The following steps are recommended for the most accessible captioning experience.
- Log in to the JMU Zoom portal.
- Click Recordings & Transcriptions in the left navigation.
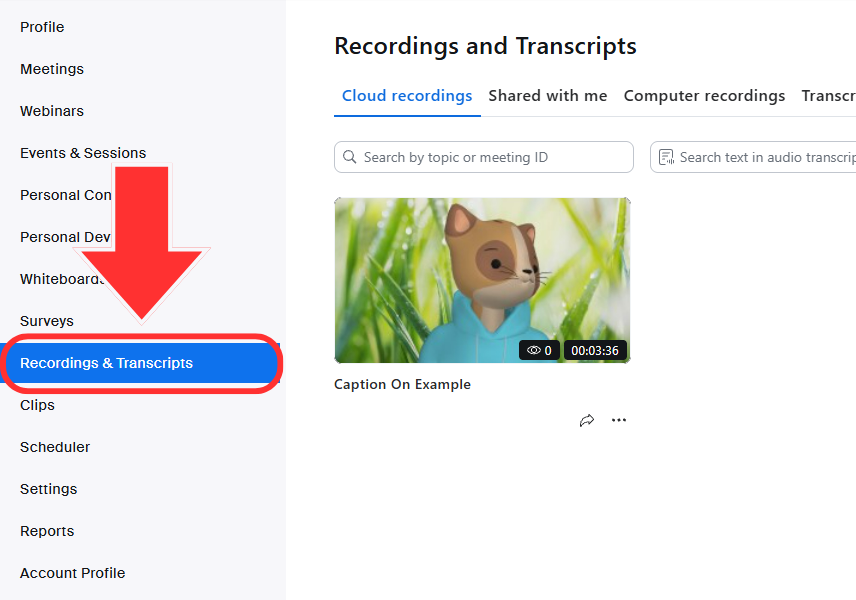
- Click on the recording you want to download.
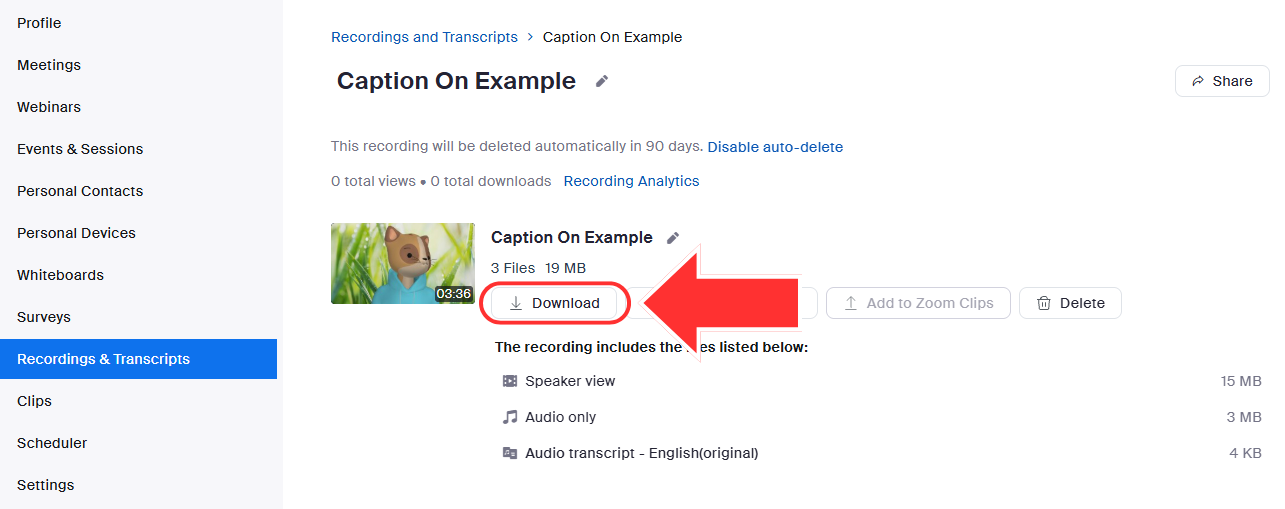
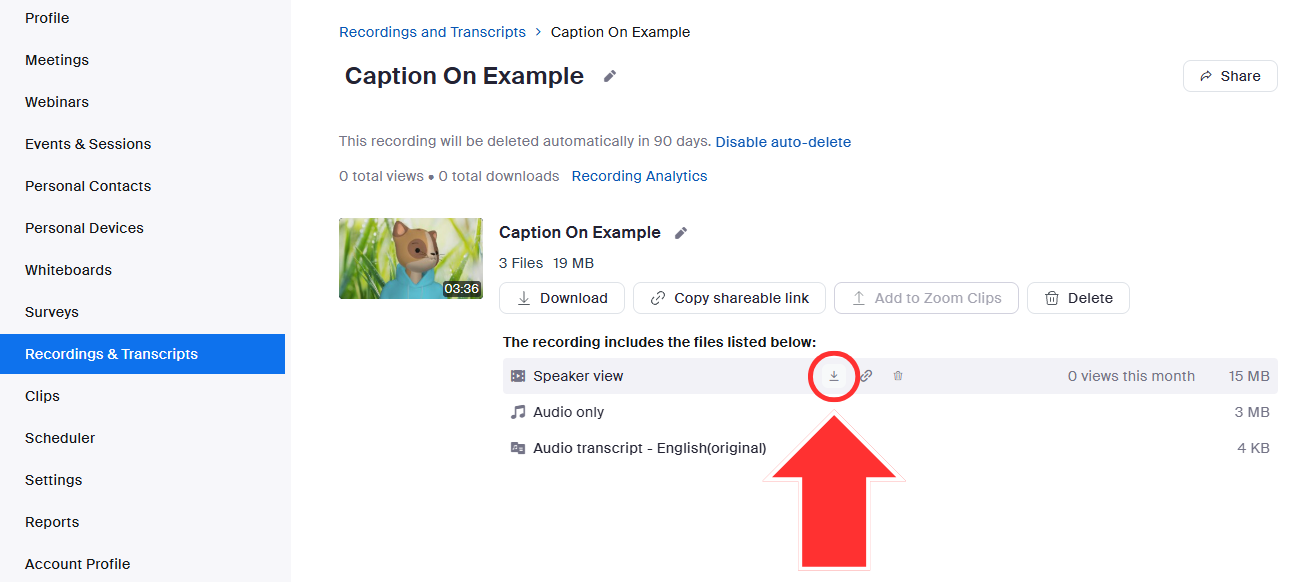
- On the recording’s page, either:
- Click the Download button to download all listed files.
- Hover over the individual files you need and click the download button that appears.
- Click the Download button to download all listed files.
- Upload the video & caption files from your computer to your video platform of choice. Because you will be heavily editing the caption file, it is recommended that you use a video platform that allows you to edit captions, such as Canvas Studio, Illumira, or YouTube.
Note: There are other ways to edit captions and share cloud recordings in the Zoom portal; however, the Zoom caption editing feature fails to adequately meet standards. While there may be niche situations in which this is the only way to provide captioning for these recordings, the above workflow is highly recommended for most cases.