This guide walks you through the process of creating a transcript and synchronizing it to a video in Illumira.
Please note: You can only edit captions for Illumira videos you have either uploaded yourself or for which you have been granted editing access.
- Log in to your Illumira account.
- Please note that you will need to have an Illumira account activated through the JMU Libraries.
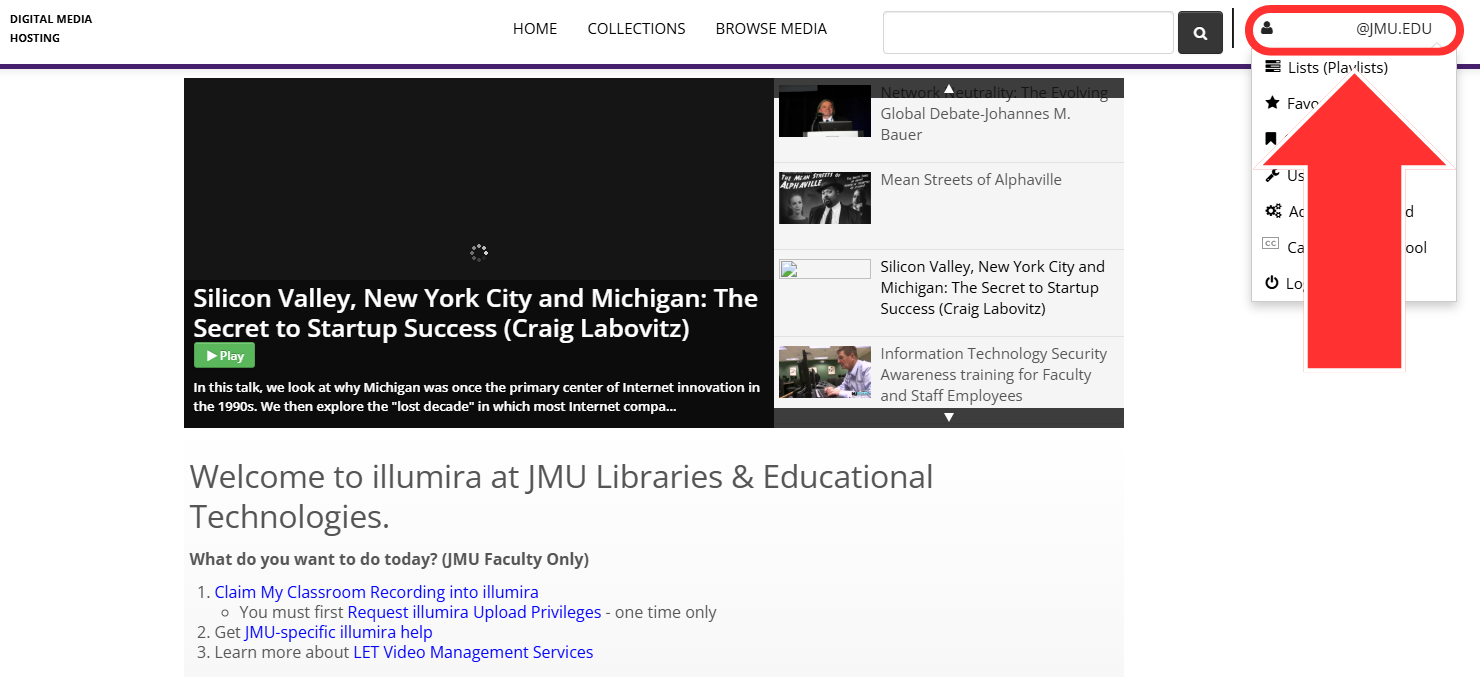
- On the Illumira homepage, navigate to the menu in the upper right of the screen. The menu’s name will be your JMU email address.
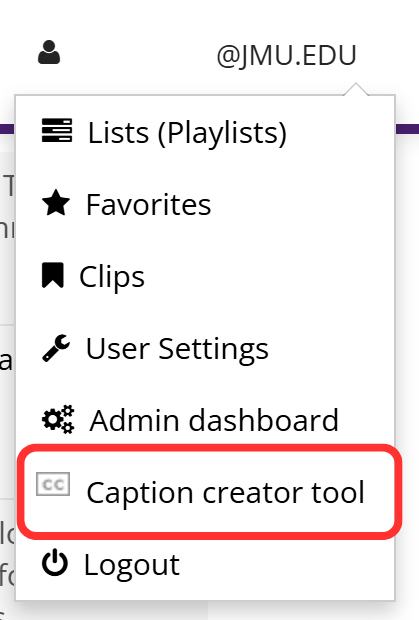
- Click on Caption creator tool.
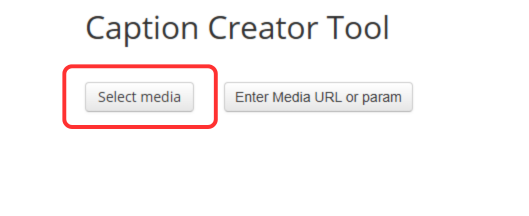
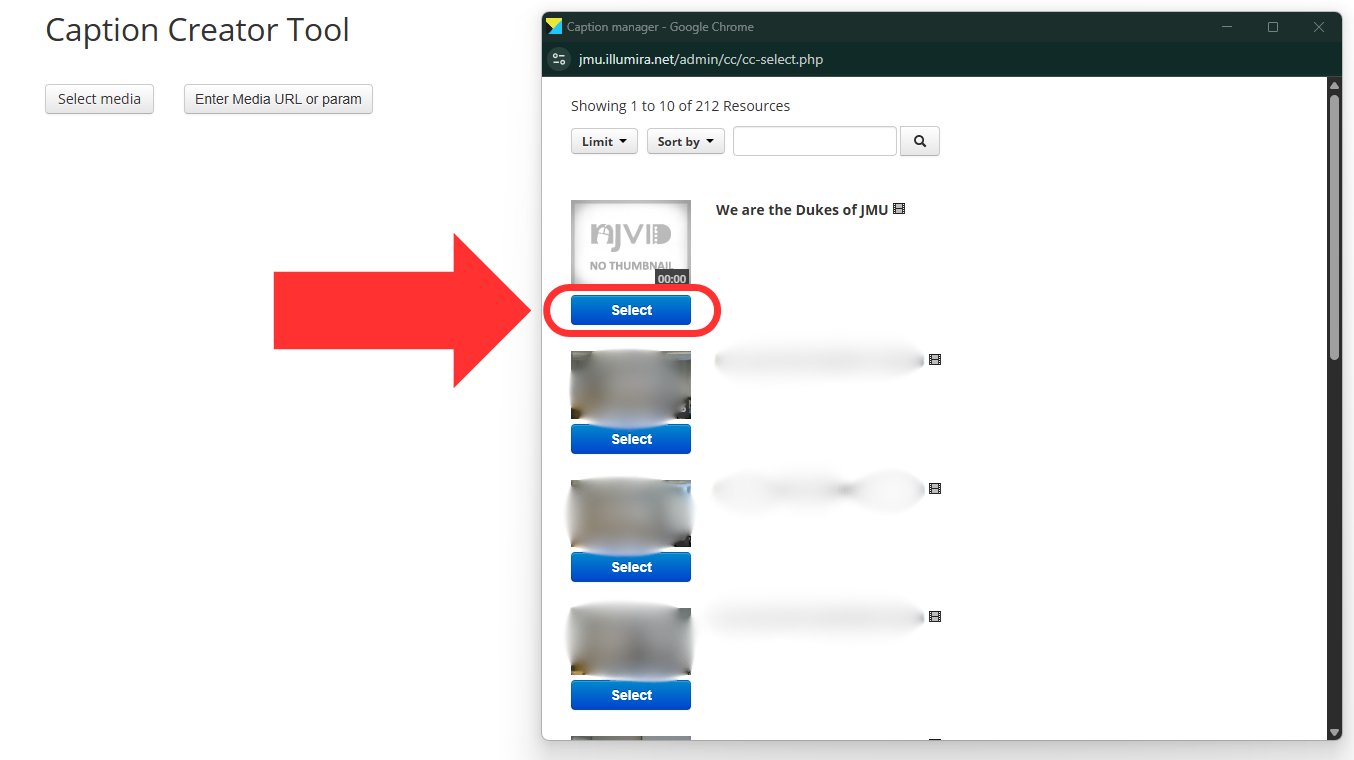
- On the Caption Creator Tool page, click Select Media.
- A new window will appear with a list of all the media you have access to caption. Find the video and click Select under its thumbnail.
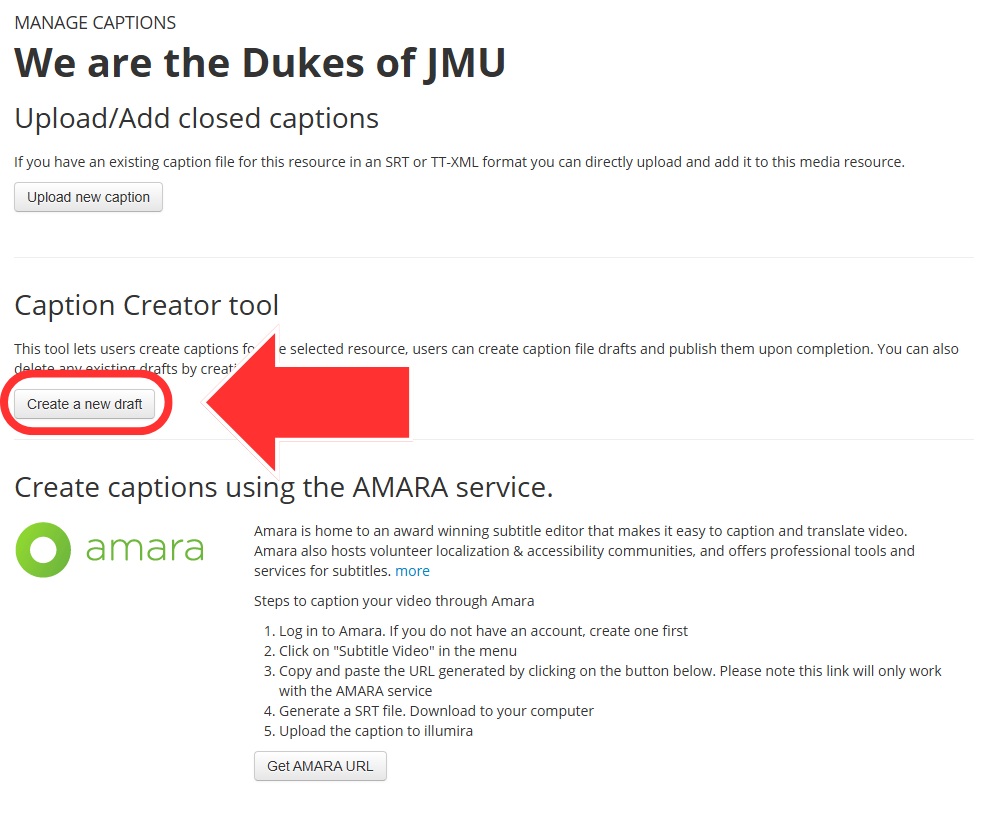
- You will be taken to the Manage Captions page for that video. Navigate to the Caption Creator Tool section of the page. Click Create a new draft.
- You will be taken to the Caption Creator page. This is the interface you will use to create each individual caption.
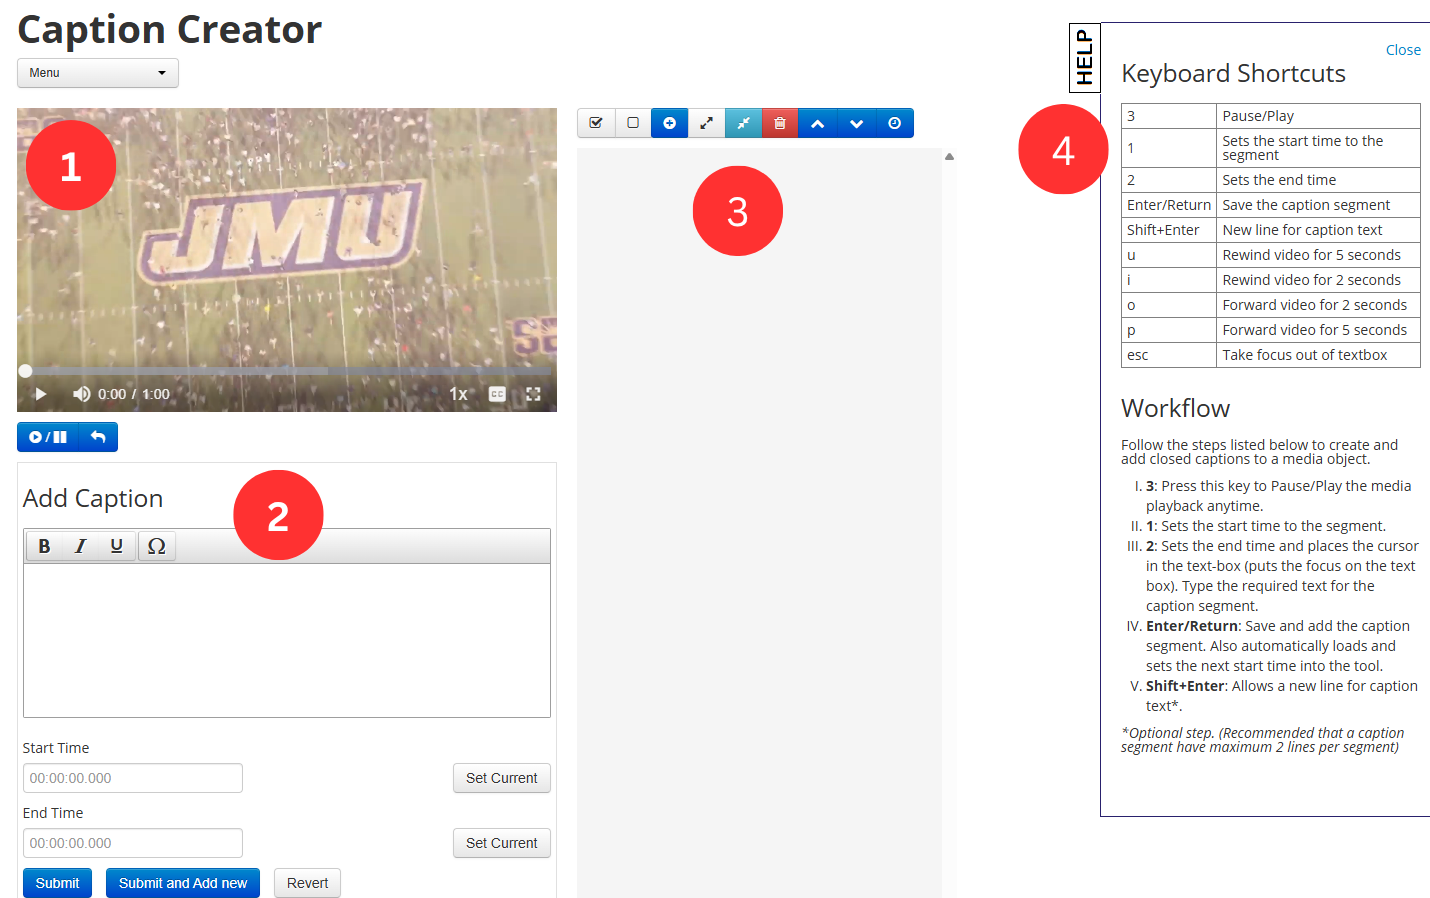
- The video you are captioning appears in the top left of the page. You can play, pause, and rewind here.
- The captioning area is in the bottom left of the page. More on this is step 8.
- In the middle of the page is the area/timeline in which your created captions will appear. You can click on captions in this list to edit them. More on this in step 9.
- There is a list of helpful keyboard shortcuts and a suggested workflow on the right side of the page.
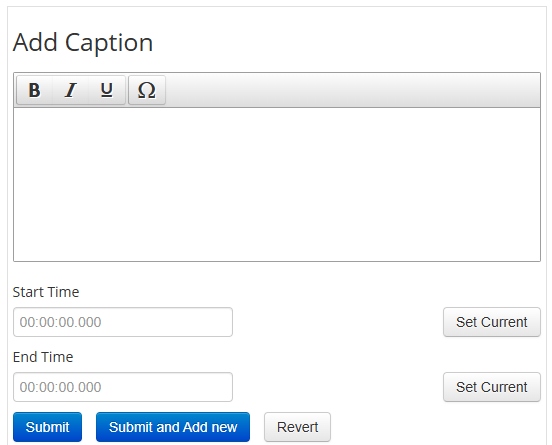
- To add a new caption, navigate to the Add Caption section under the video. Begin typing the audio you hear. Once you are satisfied with the caption text and have set the start and end time, submit the caption. If you have another caption to add, click Submit and Add new. If this is the last caption of the video, just click Submit.
- Please follow our transcription guidelines and caption editing guidelines when captioning using this tool.
- Remember, it is best practice to keep each individual caption to a maximum of 2 lines and each line to a maximum of 32 characters.
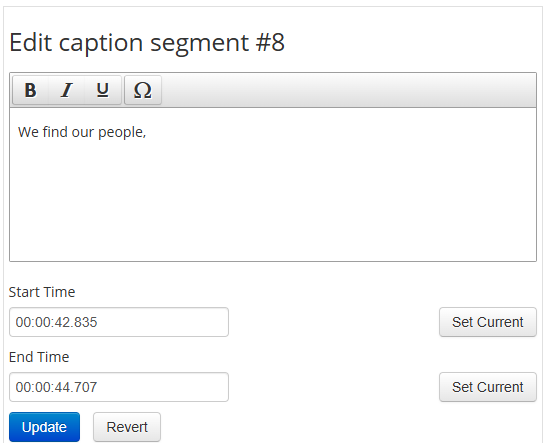
- To make edits to captions you have already submitted, first select the caption you would like to edit from the timeline to the right. The Edit caption segment field will populate under the video. Make any edits you need to the caption text or the start and end times. When finished, click the Update button.
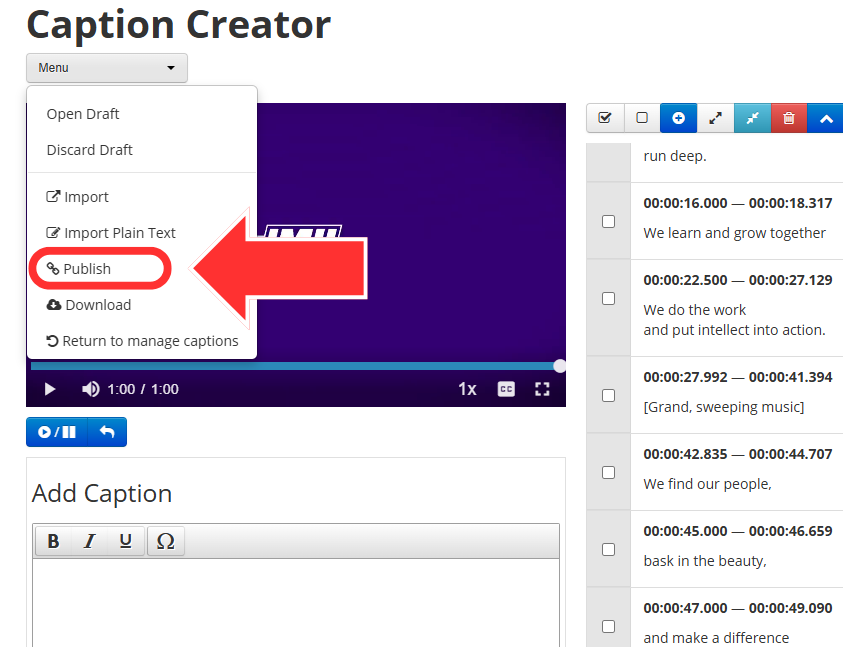
- Once you have finished creating all of the captions, navigate to the menu above the video. Click on Publish.
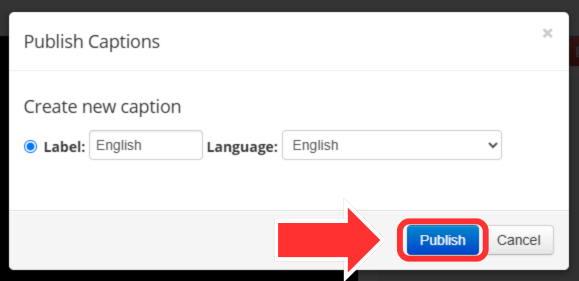
- In the Publish Captions pop-up, edit the Label and Language sections as necessary. Both fields default to English. Click Publish when you are done.
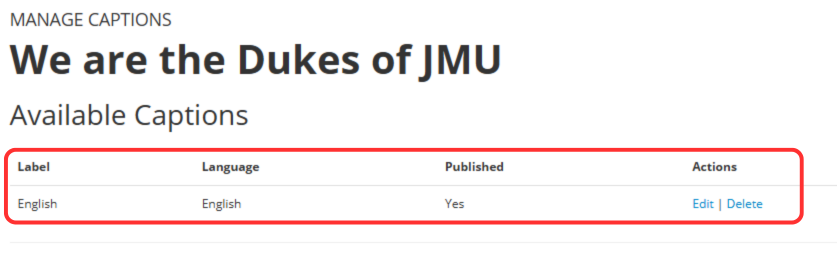
- The page will reload and the caption track will appear in the Available Captions section of the Manage Captions page.