
Amara is a free online caption and subtitle editor for public YouTube and Vimeo videos.
Before captioning long videos in Amara, it is recommended that you first practice with a short video (<1 minute).
The following guide walks you through captioning in Amara. There are two parts: Part 1 will need to be completed for every video you caption in Amara. Depending on your results from Part 1, you will navigate to the corresponding Part 2.
Part 1: Add Video to Amara Public Workspace
- Sign in to your Amara account.
- If you do not have an account, sign up for a free Amara account.
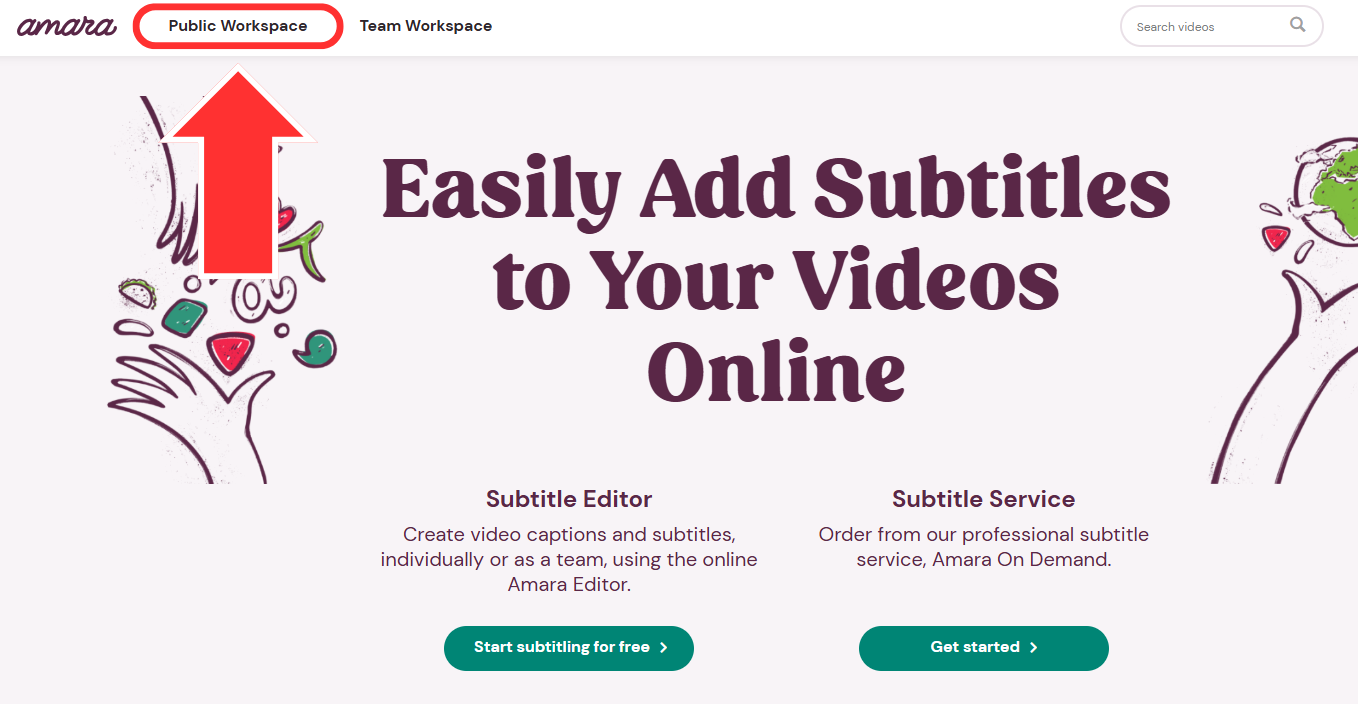
- From the Amara homepage, click Public Workspace in the top menu.
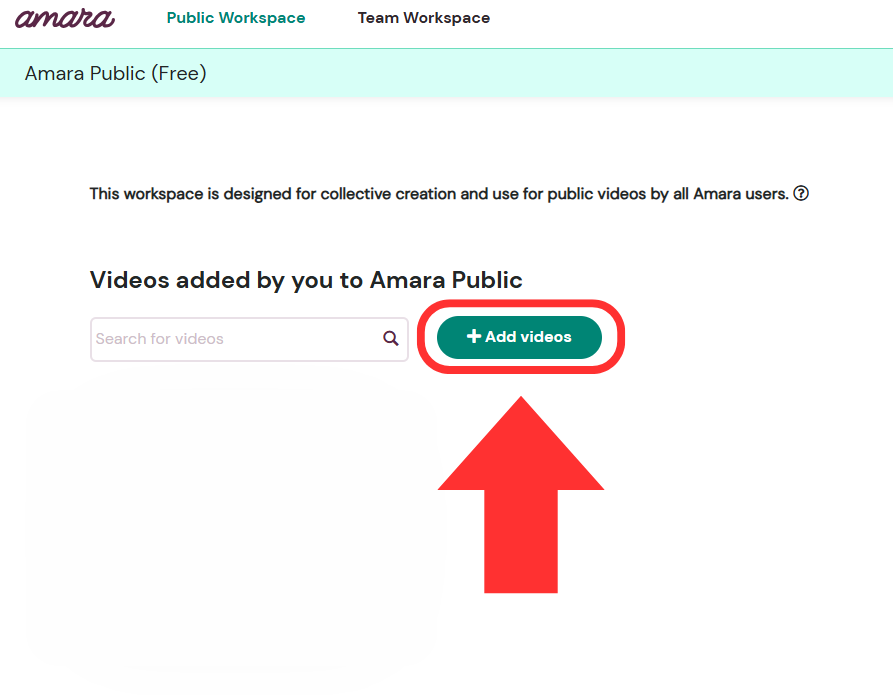
- On the Public Workspace page, click the Add videos button.
- In the pop-up:
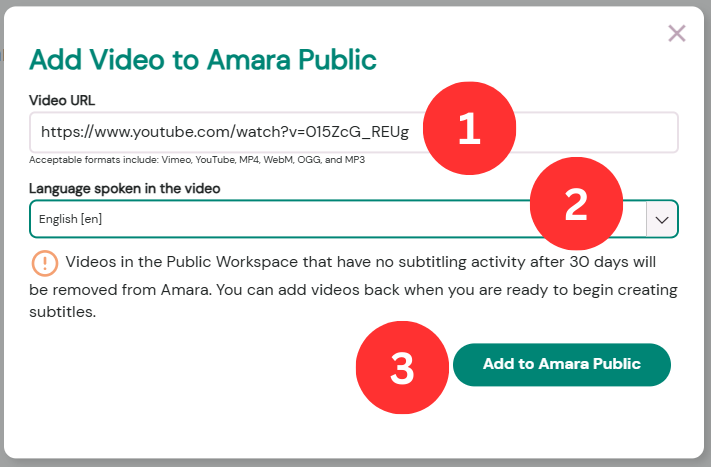
- Paste the URL of the YouTube or Vimeo video you would like to caption.
- Choose the language of the video.
- Click the Add to Amara Public button.
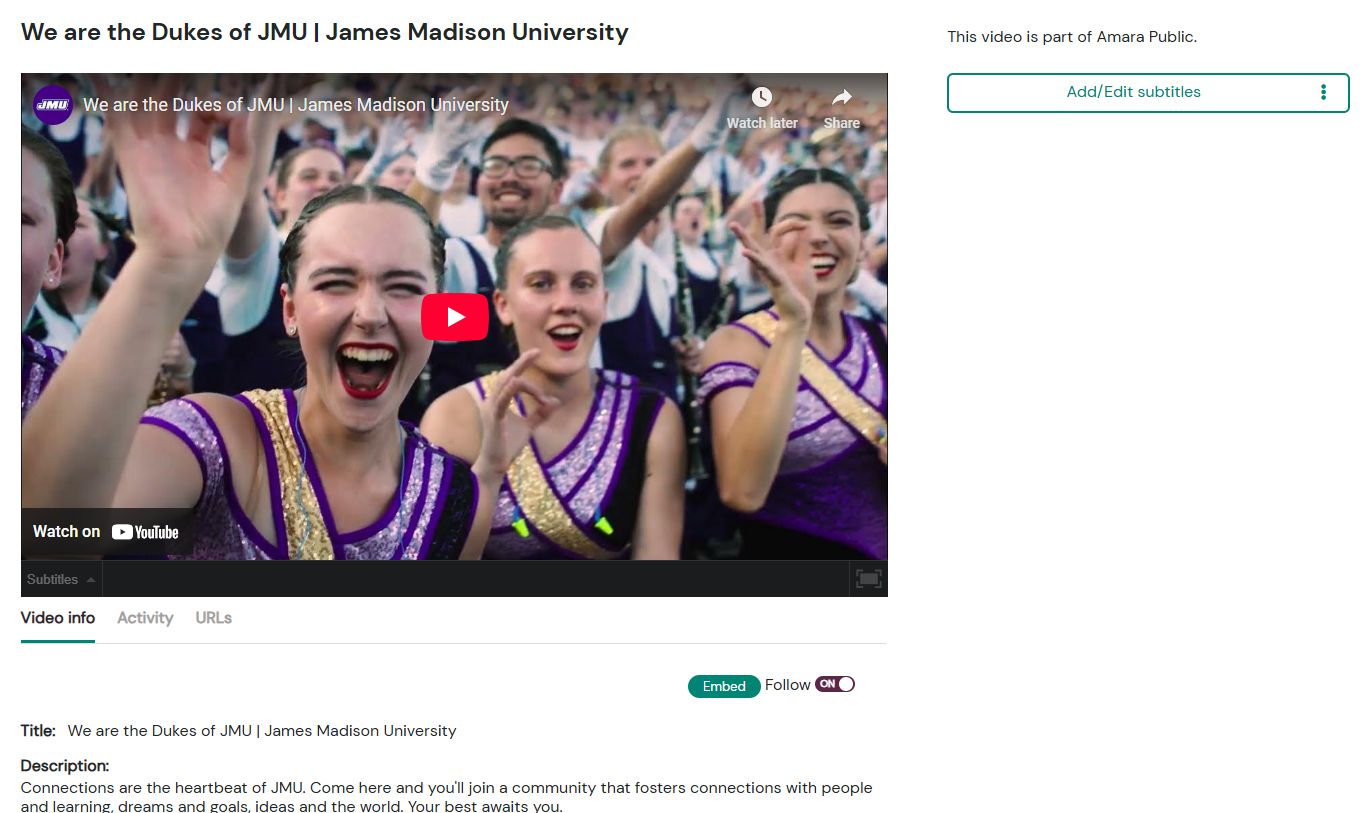
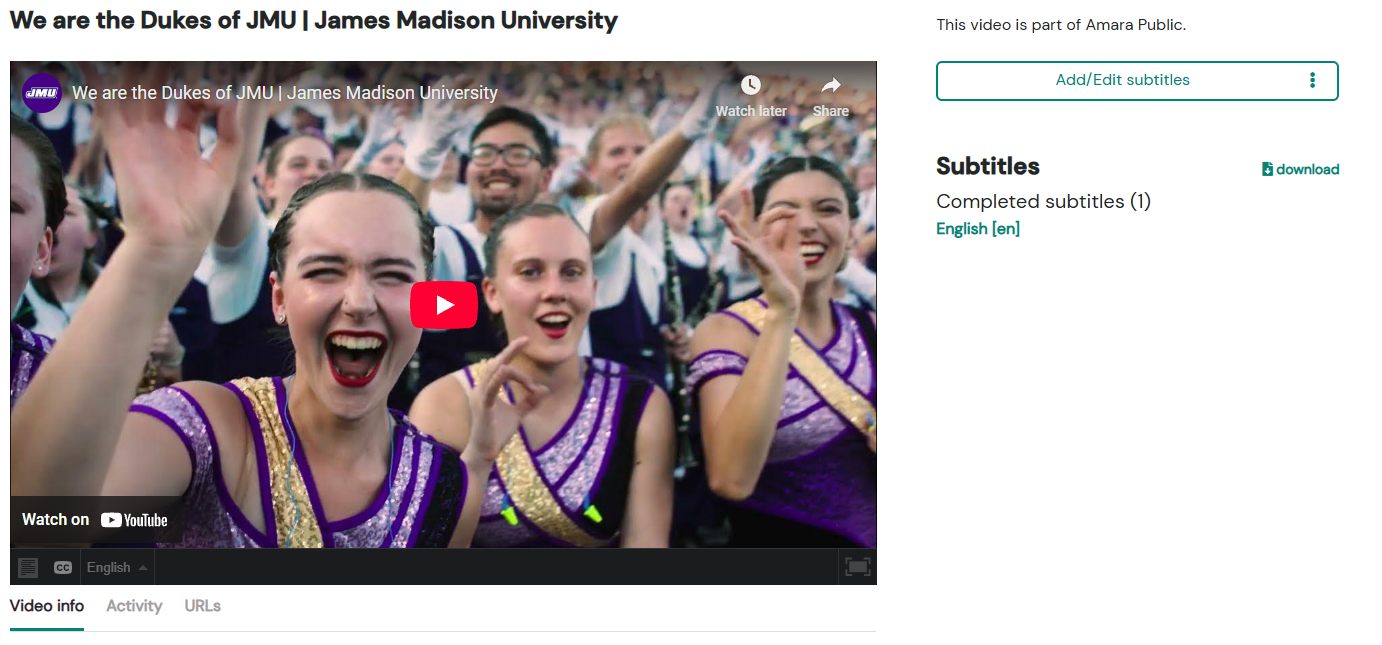
- You will be taken to a new page for your video. This page contains all the original information from the video source and a list of caption files that have been created for the video.
- If the video is new to Amara, the right column will be empty. You will need to create new captions for the video.
- For videos that were previously added to Amara, a list of the created caption files will appear on the right side under the Add/Edit subtitles button. Skip to Edit Existing Captions in Amara for next steps.
- If the video is new to Amara, the right column will be empty. You will need to create new captions for the video.
Part 2a: Create New Captions in Amara
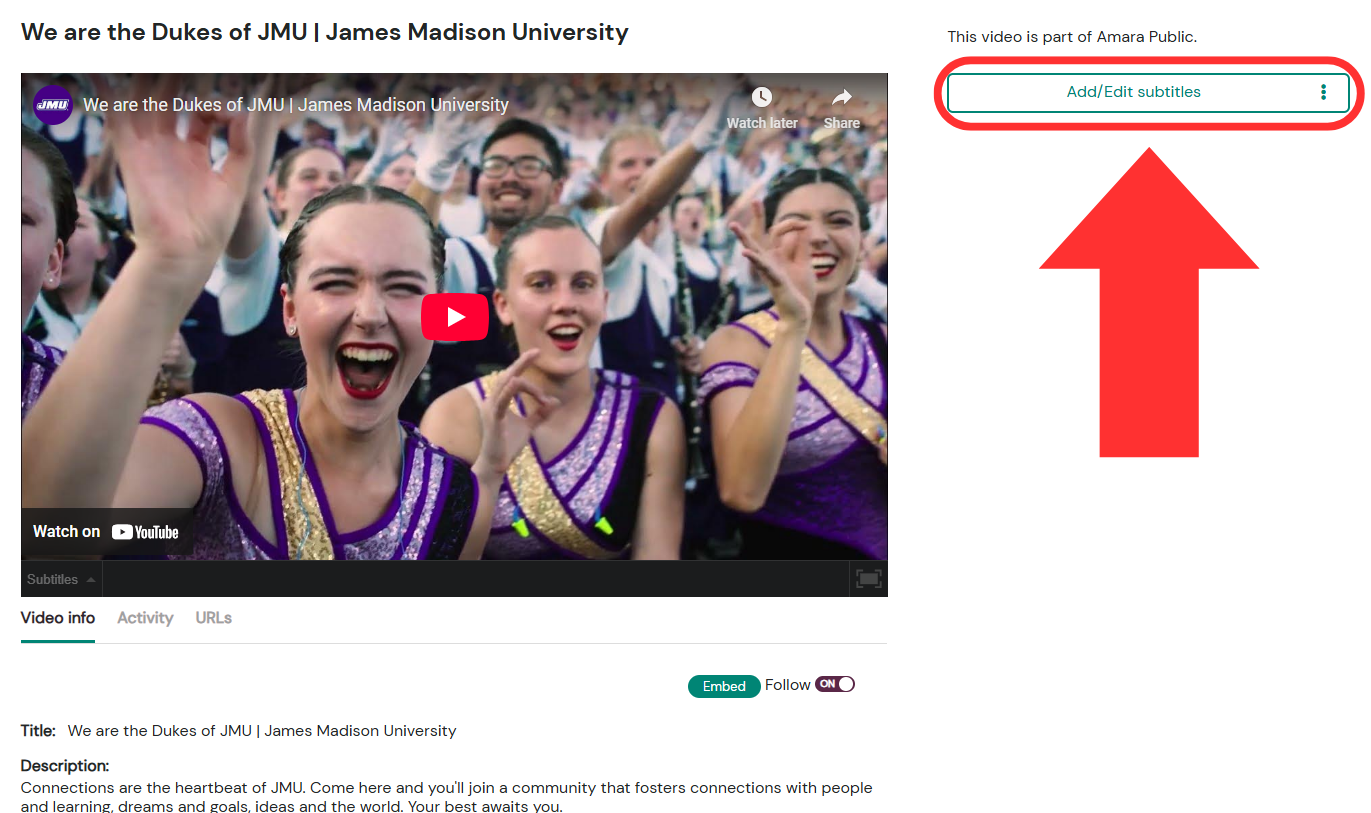
- On the video's page in the Public Workspace, click the Add/Edit subtitles button.
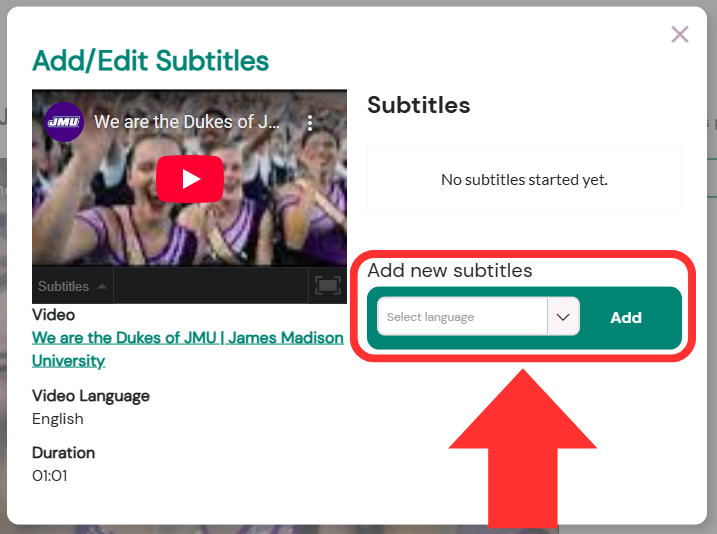
- In the Add new subtitles pop-up, choose the language in which you will be captioning. Then click Add.
- You are now in the Amara Caption Editor, which has four main areas:
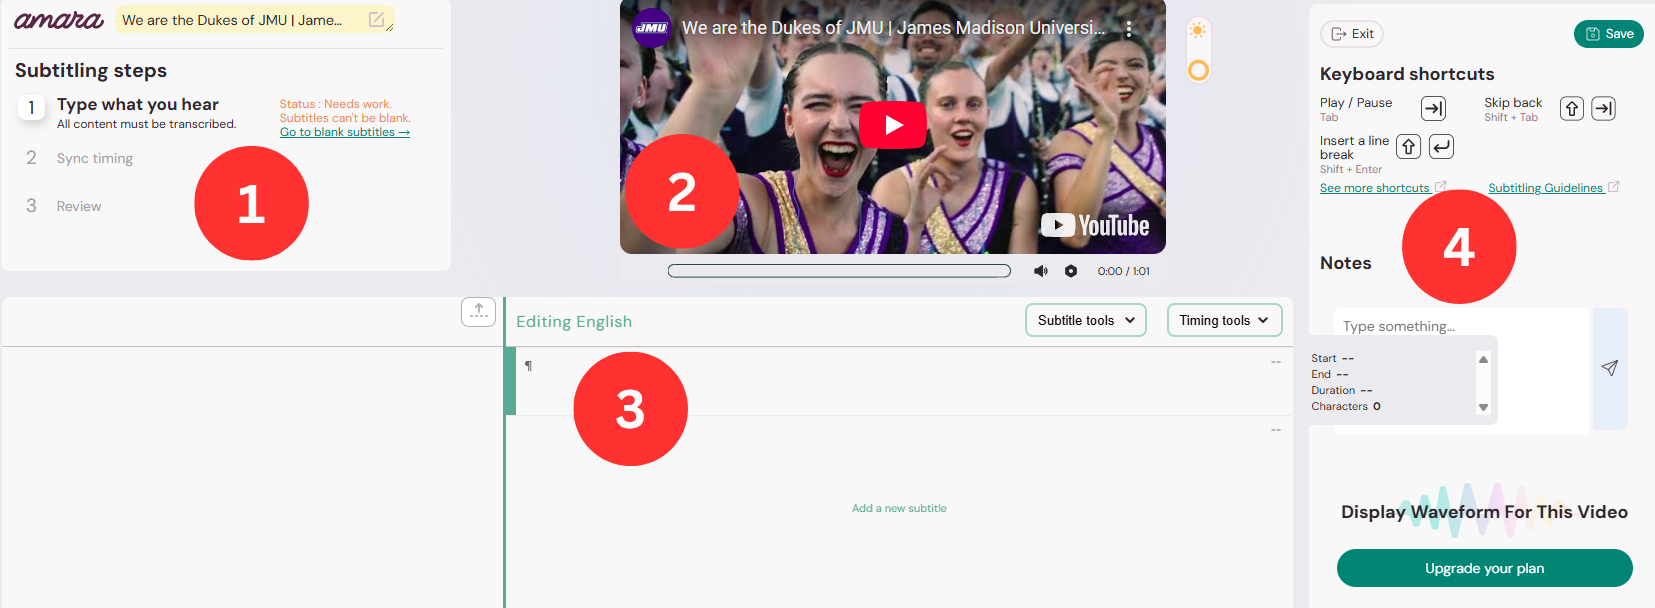
- Subtitling Steps.
- You will complete these steps sequentially and navigate to the next step in this area.
- Video player.
- You can play/pause the video here or by using the keyboard shortcuts from Area 4.
- Caption editor.
- This is where you will be typing and editing captions.
- Keyboard shortcuts and Notes.
- Subtitling Steps.
- Begin captioning in the caption editor area. This is Step 1 of the subtitling steps workflow in Amara. For this step, you are transcribing one caption cell at a time:
- To add a new caption cell, either press the Enter key or click the Add a new subtitle text at the bottom of the caption editor column.
- Fine-tuning controls you may find useful:
- Subtitle Tools and Timing Tools in the upper right of the editor area.
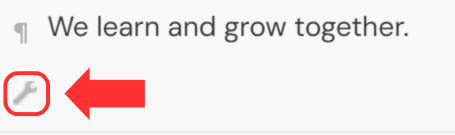
- Hover your cursor over a caption cell in the editor to reveal a wrench icon for more options.
- Be sure to follow our transcription guidelines and caption editing guidelines.
- If there are issues (e.g., too many characters in a line), an orange exclamation mark will appear in the caption cell with an explanation of the issue(s).
- Once you are satisfied with the text of your captions, click the Start syncing button in the Subtitling steps area. This will move you into the next step of the subtitling steps workflow.

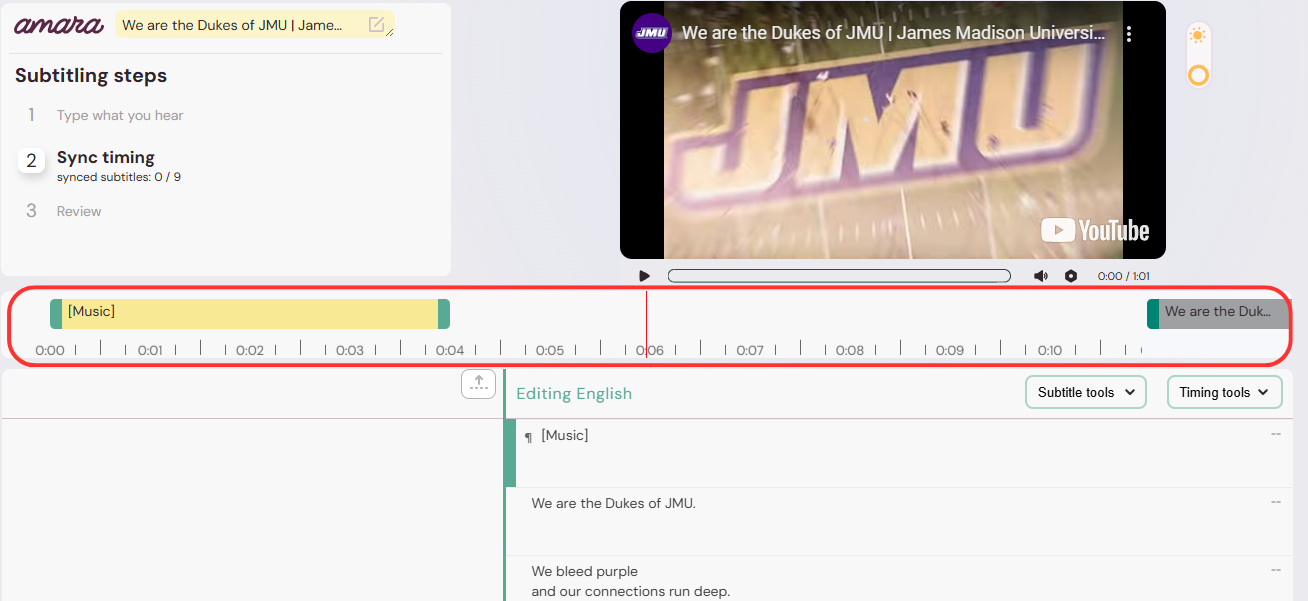
- A timeline will appear between the video player and the caption editor. This will display captions as you sync them. Grayed-out captions to the far right of the timeline indicate the next caption to be synced.
- To match the captions with the video:
- Play the video.
- Press the down arrow key when a caption starts.
- Press the up arrow key when a caption ends.
- This is the trickiest part. Don’t worry too much about making it perfect the first time. If you mess up one caption, keep going. You will have an opportunity to correct everything in the next step.
- A timeline will appear between the video player and the caption editor. This will display captions as you sync them. Grayed-out captions to the far right of the timeline indicate the next caption to be synced.
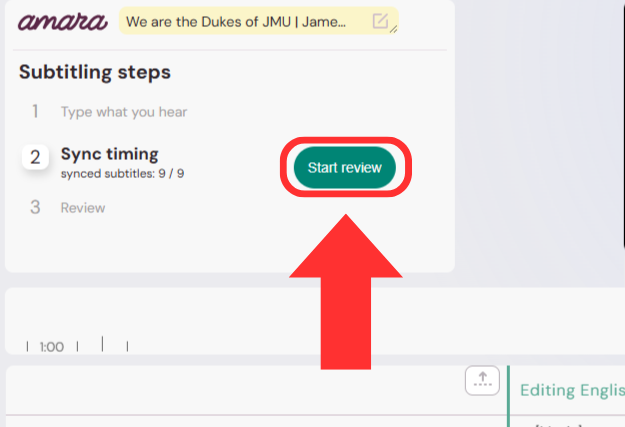
- Once you have finished the first pass at syncing your captions, navigate to the Subtitling steps area again and click the Start review button. This will move you into the final step of the subtitling steps workflow.
- During the review step, you can make edits to caption text and fine tune the caption timings by dragging the ends of the captions on the timeline to make sure they align with the audio.
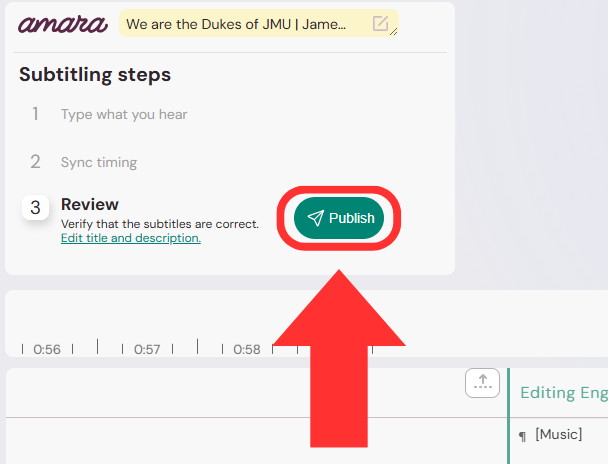
- Once you are satisfied with your captions, navigate to the Subtitling steps area and press the Publish button.
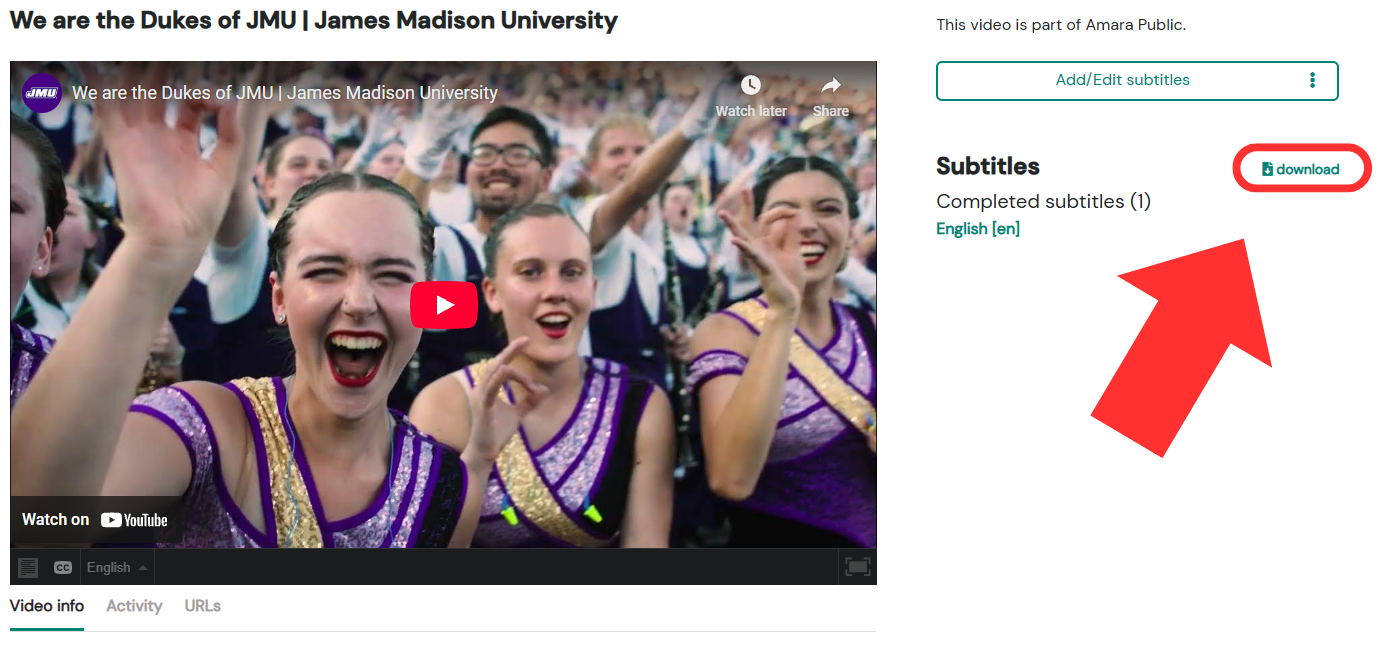
- You will be taken back to the video’s page in the Public Workspace. The captions that you just created have populated in the right column. To download the caption file, click the download button.
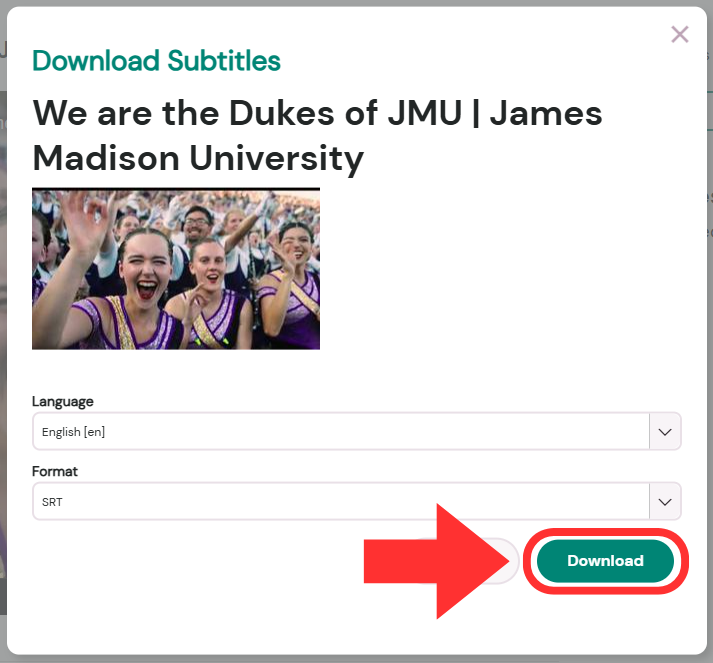
- In the pop-up, select the format of the caption file. The most common formats are SRT & VTT. Then click Download.
Part 2b: Edit Existing Captions in Amara
- If a video already exists in Amara with captions, first review the existing captions from other users by watching the video with the Amara captions on.
- Then, choose one of the following options:
- Download the caption file as is (step 3 below).
- Edit the captions (steps 4-8 below).
- To download the caption file as is, return to the video’s page in the Public Workspace and follow steps 8 & 9 above. This will download the latest revision of the existing captions.
- To edit the existing captions:
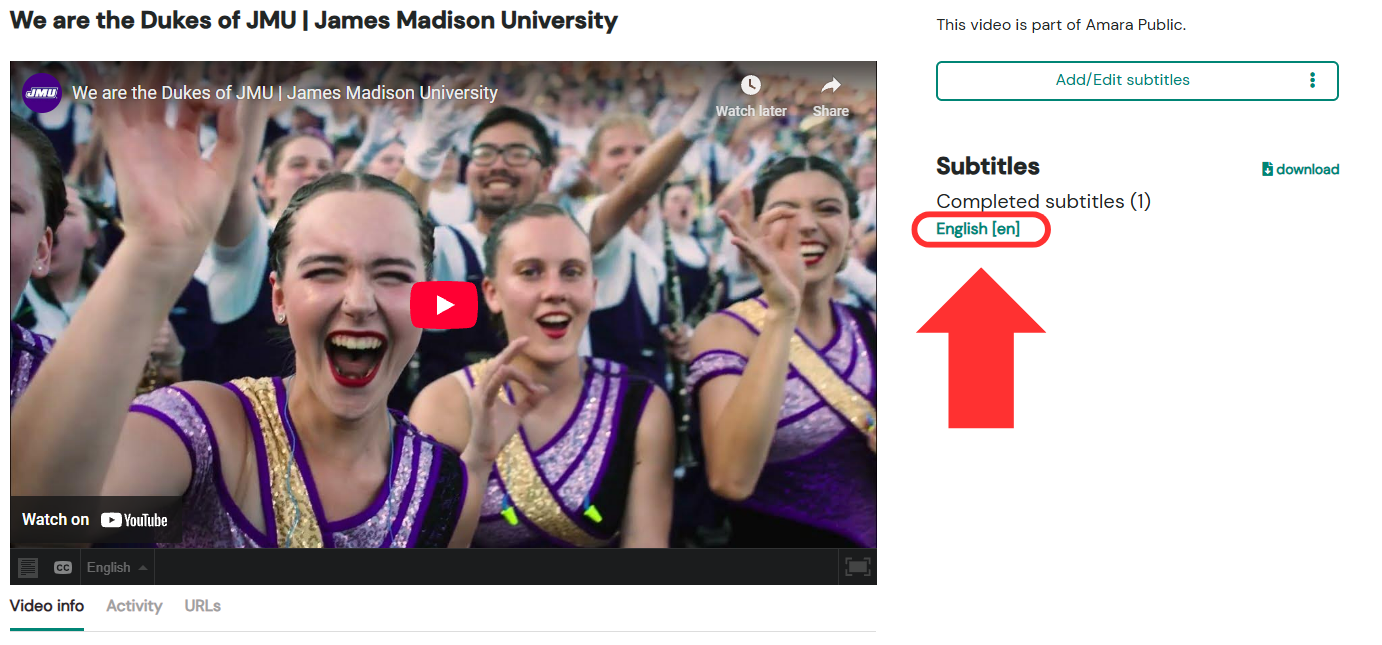
- From the video’s page in the Public Workspace, navigate to the Subtitles column on the right.
- Click on the language of the captions you would like to edit.
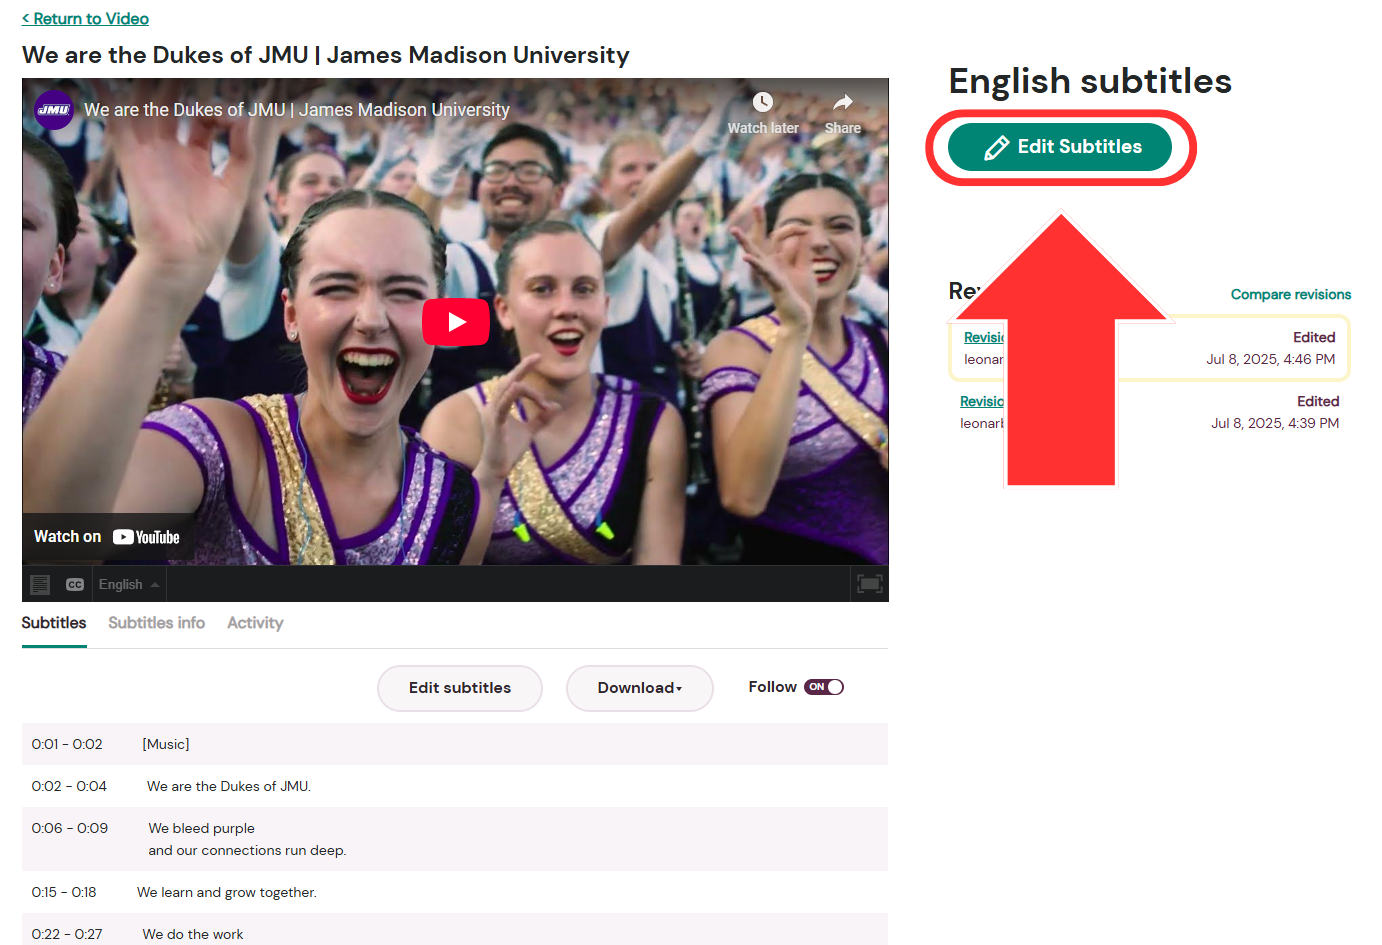
- On the next page, click the Edit Subtitles button.
- You are now in the Amara Caption Editor for that video. There are five main areas:
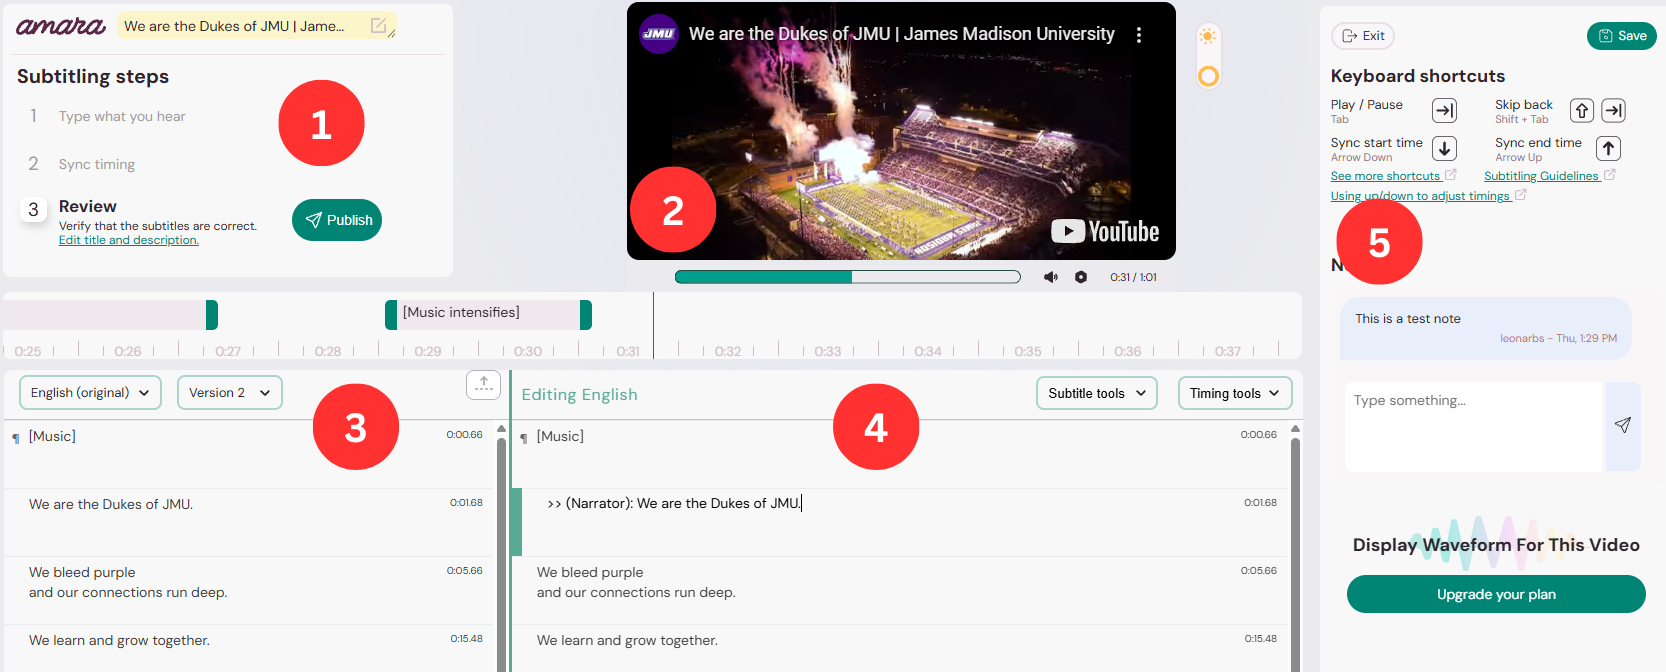
- Subtitling Steps.
- You will complete these steps sequentially and navigate to the next step in this area.
- Video player.
- You can play/pause the video here or by using the keyboard shortcuts from Area 4.
- Existing Captions.
- This area shows you the existing captions. You cannot make changes in this area. It is only for your reference.
- Caption editor.
- This is where you will be typing and editing captions.
- Keyboard shortcuts and Notes.
- Subtitling Steps.
- Make your edits. There are no sequential steps to follow when editing in this way. You can add new captions and set timings as needed.
- To insert a caption between two existing captions:
- In the Editing area, hover your cursor over the caption cell that comes before or after the new caption. This will reveal a wrench icon for more options.
- Choose either Insert subtitle above or Insert subtitle below.
- In the Editing area, hover your cursor over the caption cell that comes before or after the new caption. This will reveal a wrench icon for more options.
- To insert a caption between two existing captions:
- Once you are finished making edits, click the Publish button in the Subtitling steps area.

- To download your revised captions, return to the video’s page in the Public Workspace and follow steps 8 & 9 above.