
AI can generate a helpful first draft of alt text for image descriptions; however, it may overlook important context, misidentify people or objects, or produce unsafe or inaccurate descriptions, which can negatively impact content accessibility.
Recommendation: If you wish to use AI to generate alt text, consider it as an assistive drafting tool, not the final authority. AI generated content is NOT a replacement for human judgement.
- Please review your responsibilities, policies, etc. and do not use university data in any non-university provided system. Review the University's stance on AI.
- For best practices for image description and alt text, please refer to the "How to Implement" section of "Image Descriptions and Alt text" Fundamentals Guide.
Limitations of AI-Generated Alt Text:
- May miss context and intent - AI usually sees only the pixel content. It can’t reliably infer the author’s intent (why the image is included) or the image’s role in surrounding content, which are essential for meaningful alt text.
- Provide incorrect or misleading descriptions - AI models sometimes mislabel objects, actions, locations, or people. An incorrect alt attribute can be worse than none, because it conveys false information to assistive technology users.
- Overly verbose or under-specific output - Some AI alt text is too long for quick screen-reader consumption; other times it’s too vague (“a man standing”) and lacks the details needed for understanding.
- Bias and stereotyped language - AI models can reflect societal biases or use insensitive phrasing (e.g., describing appearance unnecessarily).
- Legal/compliance uncertainty - AI output alone does not guarantee accessibility compliance.
How to: Generate Alt Text with AI
The following instructions outline how to generate alt text using AI on available platforms.
Anthology Ally's (Ally) AI Alt Text Assistant can be used to generate alt text for images within Canvas by following these steps:
- View your Canvas course.
- Select Ally Course Accessibility Report.
- Scroll to Remaining Issues and look for items marked “The image does not have a description.”
- Select the Ally dial next to each image.
- Choose Auto Generate Description.
- Approve or edit the suggested alt text.
This new feature suggests alt text for photos, graphs, charts, handwritten notes, equations and other images in your Canvas courses. You review and edit all suggestions before saving.
Note: If you prefer to add the alt text without the AI Alt Text Assistant, you may do so.
Review Anthology's Transparency Note for the AI Alt Text Assistant
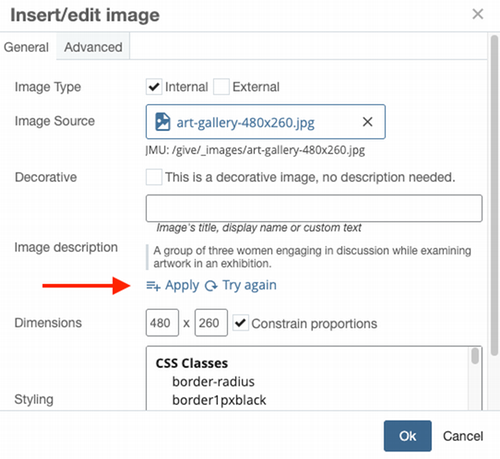
When adding/editing an image in a WYSIWYG content area in a Cascade webpage or content block, you have the option to generate an AI-powered image description for alternative text. Follow these steps:
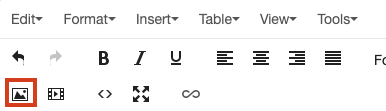
- With the image selected, click the "Insert/edit image" button in the WYSWYG editor toolbar.
-
In the Insert/edit image dialog box, click the "Suggest" link beneath the Image Description text box. Cascade's AI tool will generate an image description.
- Click "Apply" to use the AI-generated text as the image description, or "Try again" to generate a different description. Once applied, you can manually edit the image description as necessary.
-
Click "OK" to save your changes to the image.
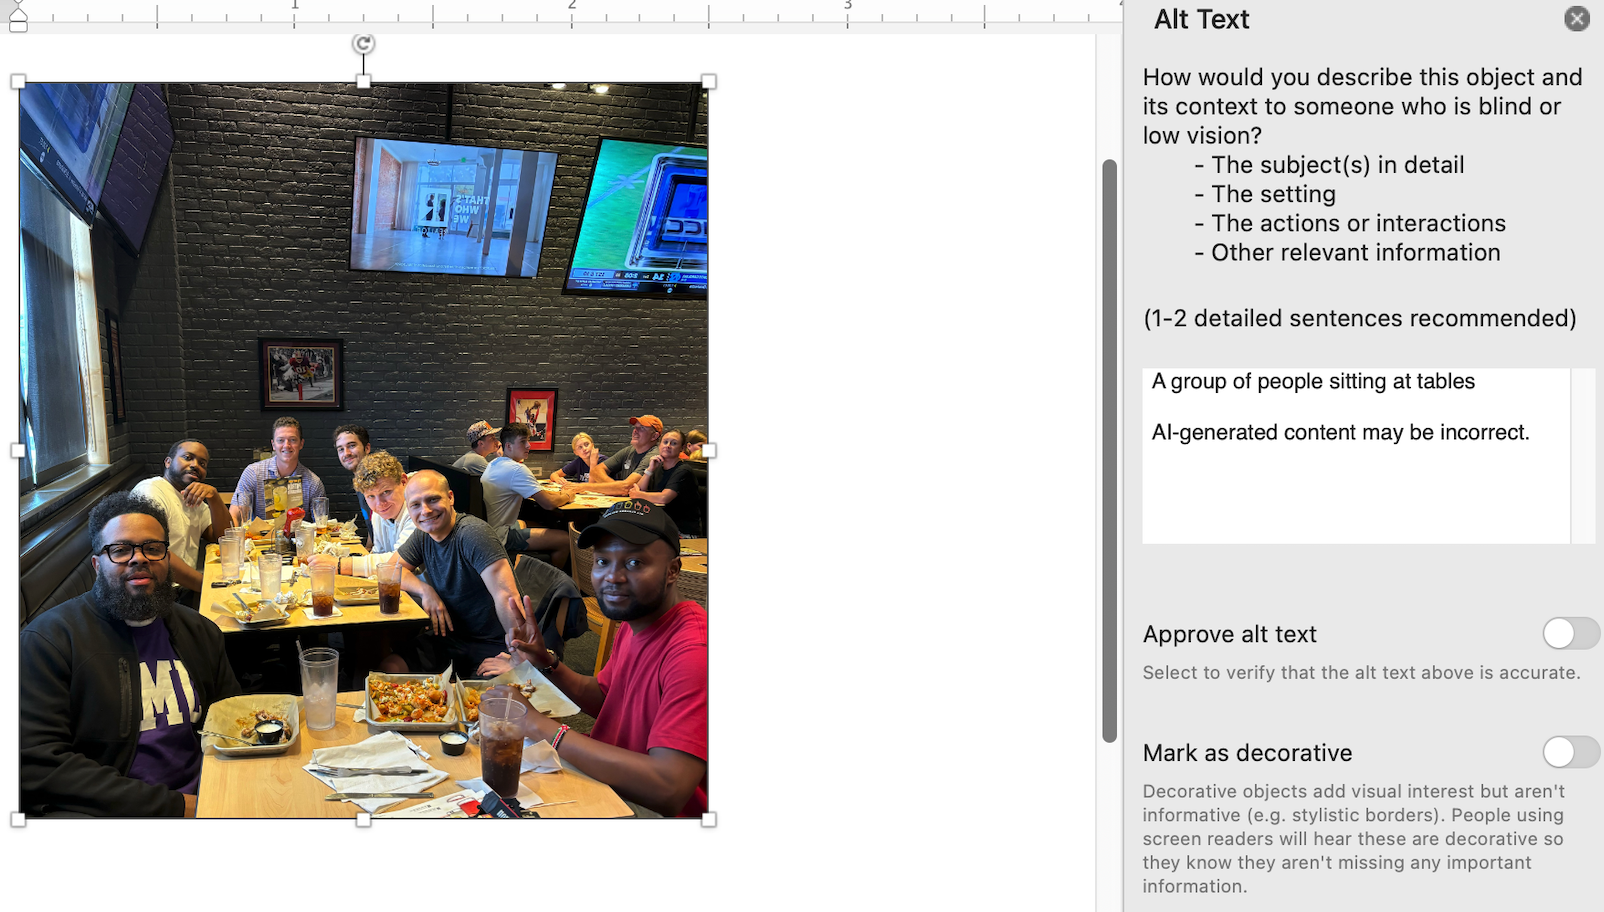
- Right-click on the image and select "View Alt Text…" The Alt Text pane will appear.
- In some versions of Office 365, right click the image and select "Format Picture" to edit alt text
- In the Alt Text pane, you may add your own alt text description OR use generated alt text.
- Clicking "Generate alt text for me" will trigger an AI description to appear in the text box. You can then edit the text and approve the alt text, OR mark the image as decorative.
- Learn more about image descriptions and decorative images
NOTE: You may need to enable Microsoft 365 Intelligent Services to use this feature:
- On Windows: Go to File > Options > General. Click the button for Privacy Settings and check the box "Turn on optional connected services".
- On Mac: Go to Word > Preferences > Privacy and check the box "Turn on optional connected services".