
Please follow the steps below to register your child/children for a youth program:
PLEASE NOTE: Youth Programs has a new registration system. This new system makes creating a family account a breeze. Parents/guardians can easily create an account as the primary account holder and add their child/children to the account as members. As of February 2026, all parents/guardians will need to create a new account in the new system.
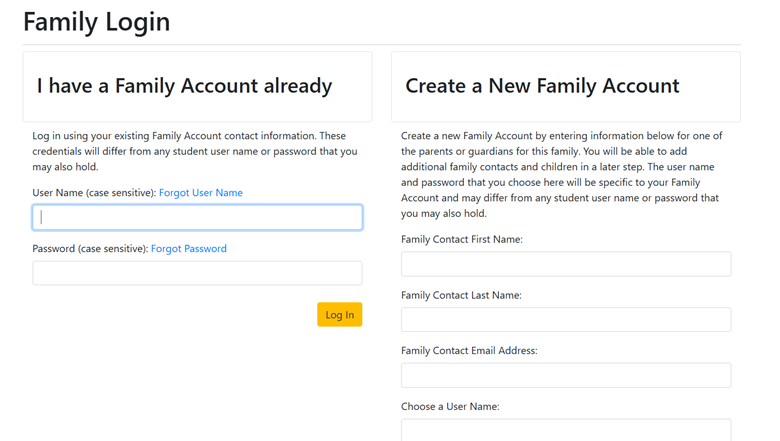
1. Visit https://noncredit.jmu.edu/portal/logonFamily.do?method=load to create a new account or log in with an existing account. If you already have an account, log in with your username and password and skip to step 8. If you do not have an account, fill in the information under "Create a New Family Account" and continue to step 2.
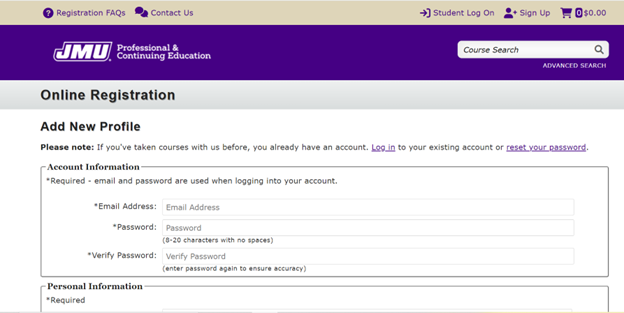
2. If you are creating a new family account, input your information (as the parent/guardian), then click the "Create Account" button at the bottom.
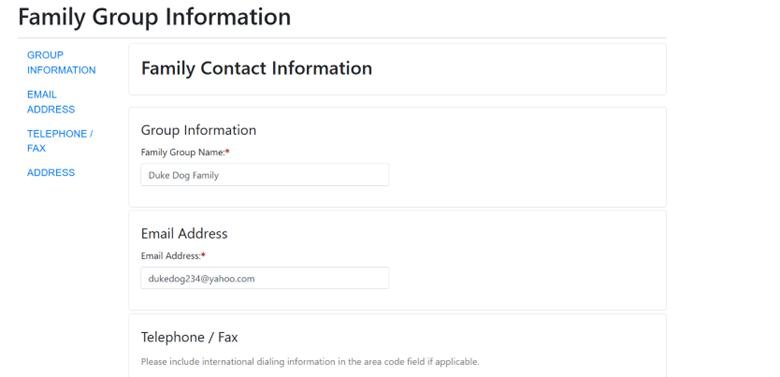
3. On the "Family Group Information" page, enter the family group name, email address, etc.
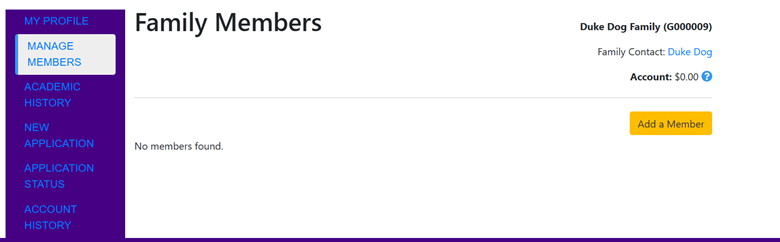
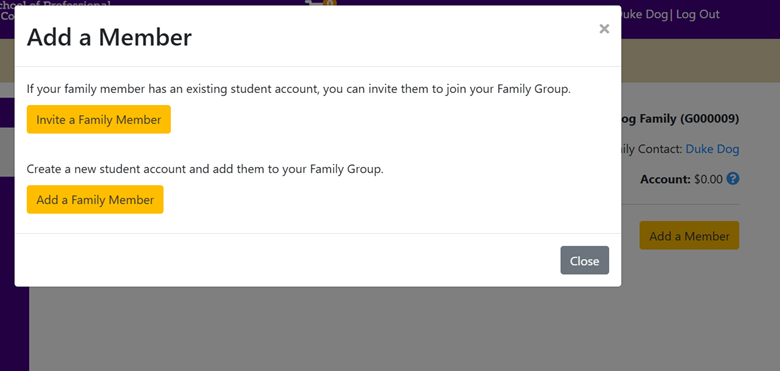
4. After adding your family group information, you can add individual children on the "Family Members" page by clicking the "Add a Member" button.
5. The "Add a Member" pop up box will appear. Click the "Add a Family Member" button.
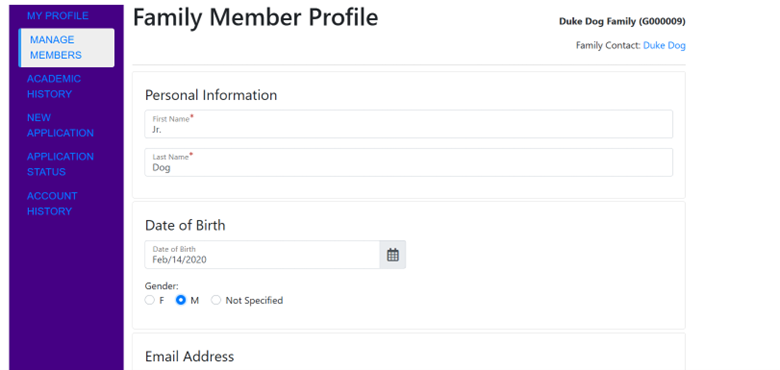
6. The "Family Member Profile" page will appear where you can add your child's information.
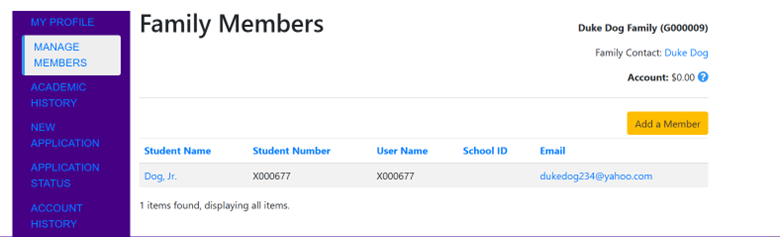
7. Once you have added your child, you can add additional children by clicking the "Add a Member" button again.
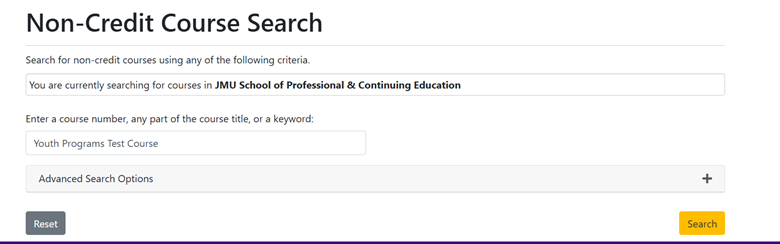
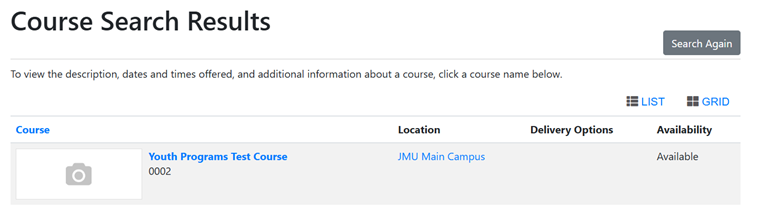
8. Once you have finished adding your child/children to your account, you can enroll them in youth programs by either searching for the course by name or viewing all available youth programs. Click the "COURSES" button in the top menu. On the "Non-Credit Course Search" page, you can either type the course name into the search box (to find the course by name), or you can expand the "Advanced Search Options" menu and click "Youth Programs" under the "Subject Area or Program" box (to view all available youth program courses).
9. In this example, we will be using the "Youth Programs Test Course". Click the name of the course.
10. On the "Course Description" page, click the plus symbol on the far right to expand the menu.
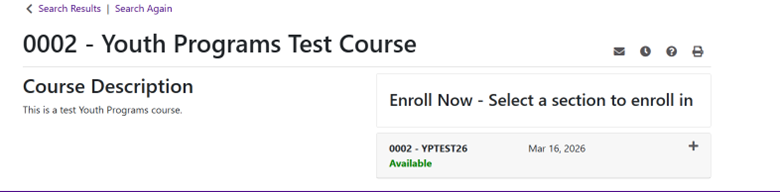
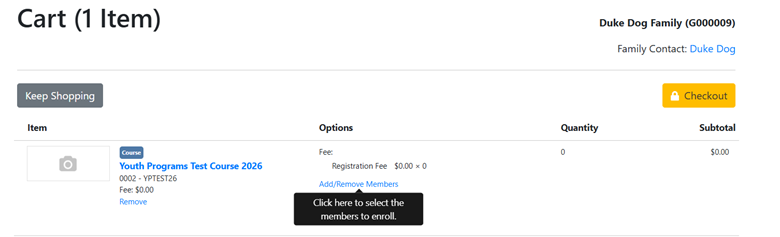
11. Click the "Add to Cart" button. Once you are on the shopping cart page, click the "Add/Remove Members" to choose the correct child to enroll in the course.
12. In the "Members" pop up box, chose the child that you wish to enroll and click the "Enroll Members" button.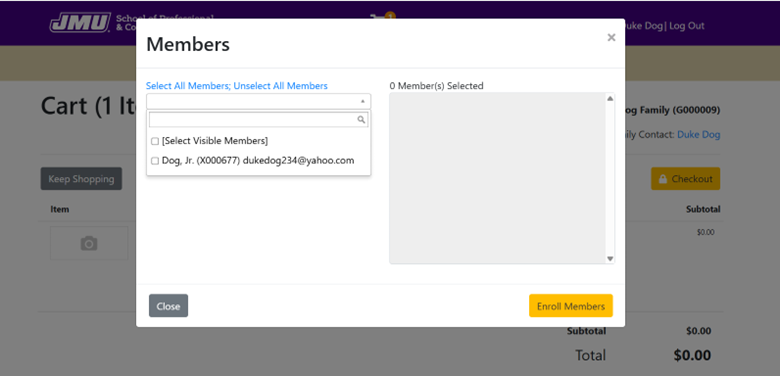
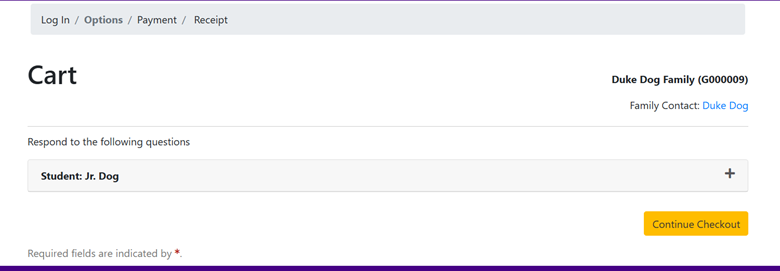
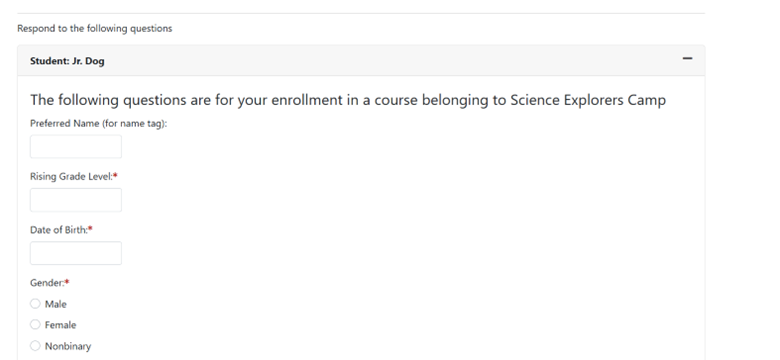
13. On the next page, click the plus symbol on the far right to expand the registration questions. Answer each question before clicking the "Continue Checkout" button.
14. Once you click the "Continue Checkout" button, follow the prompts to make payment and complete your registration.
Adult Degree Program
Professional Development
Lifelong Learning Institute
Test Preparation
Youth Programs